

You know what I'm talking about: when those little design dilemmas fix themselves without much work on your part? Yeah, don't you just love when that happens?
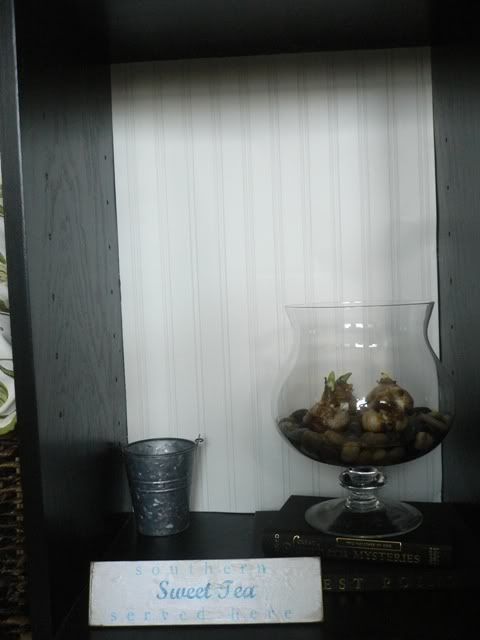
After I finished shooting the wall unit, I dove right into filling up some of those cubes by shopping the house and deciding what I might need to buy. And since I was ordering things, I went ahead and started to order the zinc tray I've been wanting for the coffee table. Thankfully, I had the foresight to group the items together that would accommodate the 11"x20" tray. Once I was happy with their layout, I got out my Home Depot yardstick and measured. This is what I started with:
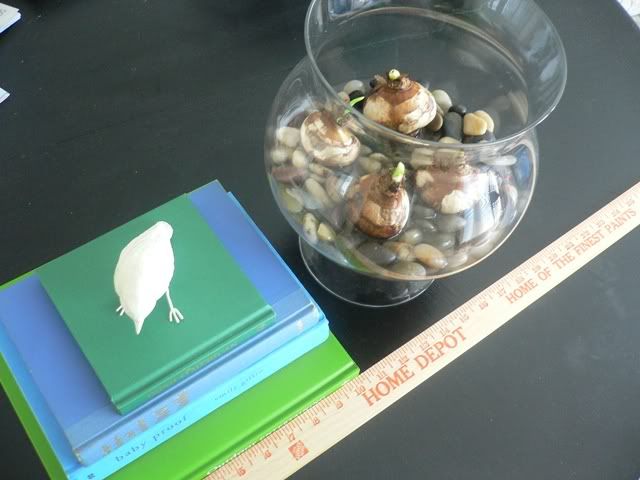
(The Ella Canister from Pottery Barn is holding narcissus bulbs and river rocks.)
Hmm...not exactly what I'd pictured. The canister looked way too big and was taking up prime accessorizing space. So I removed it and replaced it with a few items I had sitting on myinsanely cheap new Ralph Lauren cake stand. The mason jar is also holding a narcissus bulb (if anyone's keeping track, that's now four mason jars in our home).
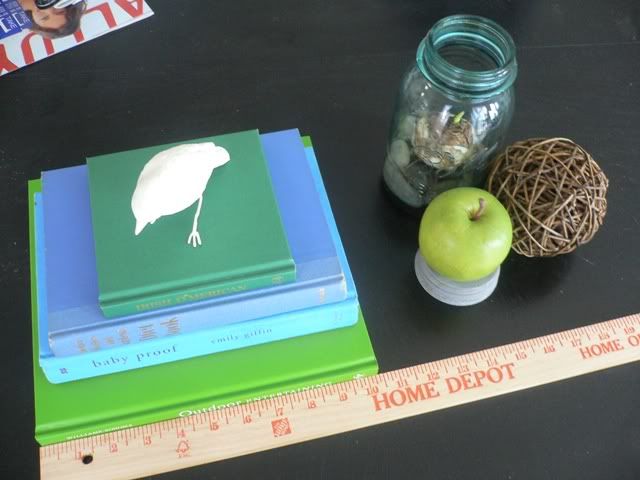
Much better! I'd like to figure out how to prop my apple up a little higher so it's not the exact same size as the twig ball, but that's a project for another day. But now what to do with my vase? Well...I do have a big empty cube on the bottom of the wall unit.
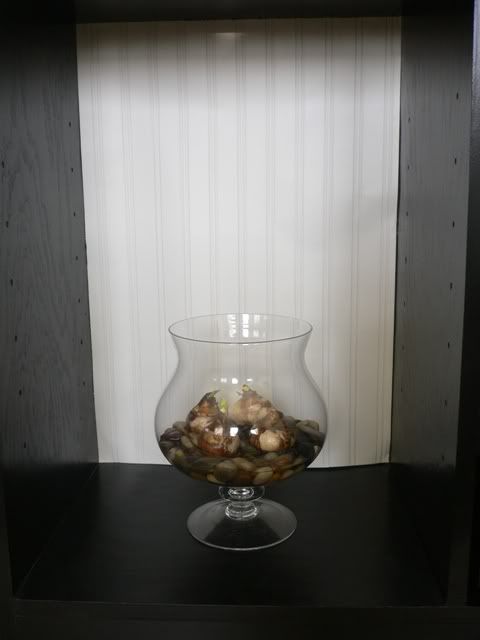
Now I need to fill in all that extra space! I probably could have talked to my blooming flowers and heard myself echo in that cavern. After a quick post on my favorite Nest board--ahem! Decorating & Renovating, woot!--I had a plan (thanks Tarheel&Rebels!):
stack the vase on a few books to give it height
find some branches of some kind to fill in the vertical height
add a couple knickknacks
The books were easy, since we're totalgeek-tastic bookworms literary geniuses. The branches had to be store bought because unfortunately, living on the beach only nets you sand, seashells, and the odd palm frond (plus, our house is so new, we only have saplings in our yard). I bought two of these bundles from Save-On-Crafts so it will be a nice full bundle. However, I didn't like the idea of having their bare bottoms showing (pause for immature chuckling from yours truly), so I grabbed my galvanized tin bucket that I purchased on my last brainwashed shopping spree trip to Pottery Barn.
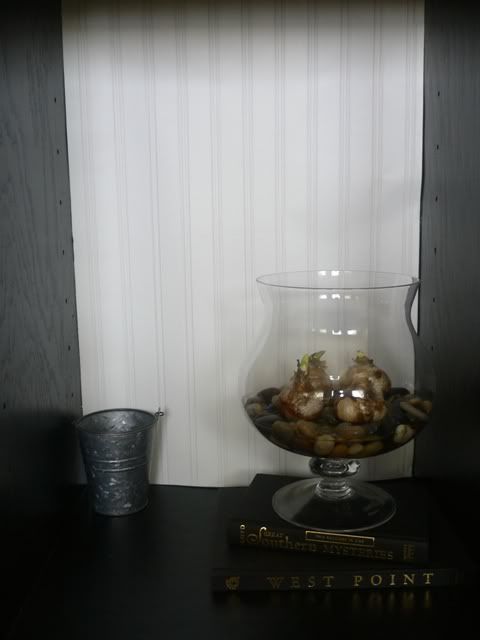
(Okay, so just imagine that bucket full of warm natural twigs.)
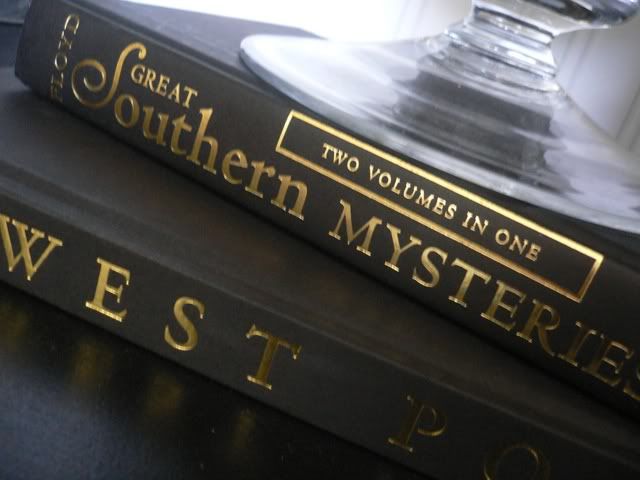
I've really been trying to use books that have some sort of meaning to them while decorating. I love these two. The Southern Mysteries book I bought when we were moving to North Carolina. The West Point book was the first book I ever bought Jason (for Christmas, from Tuesday Mornings!).
Now we're getting somewhere! But what of the knickknacks? I'm in pink puffy heart love with porcelain or milk glass figurines. But I didn't want to put anything too precious that close to the ground. On the very very rare occasion we have children in our house, I'd hate to think of the hellfire I might rain down on my friends if their precious baby broke my antique knickknack. (<--- we're definitely not ready for kids yet, can you tell?) Then I remembered something I'd recently seen on etsy.
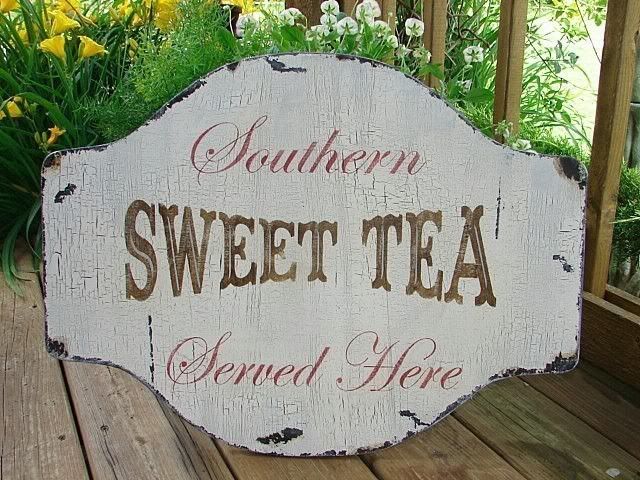
Oh God, is that not shabby-chic scrumptious?! Maybe it's not everyone's style, but I love it (if you love it too, you can see it at Family Attic). The only problem is I have no place to put it. It's too large for the walls in our house (which are mostly lined with windows--not that I'm complaining). So I figured I'd make a small one for myself using some leftover wood scraps and modge podge.
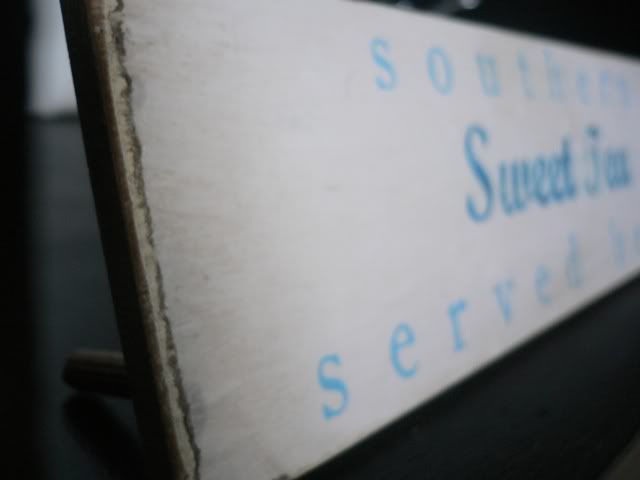
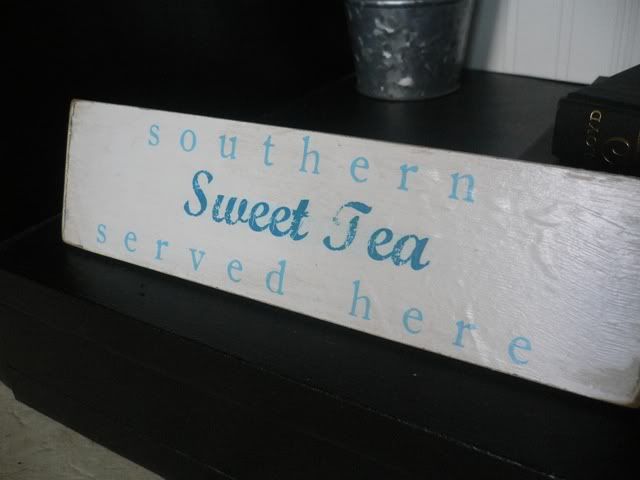
(Find these fonts here and here--they're free!)
Isn't it cute? And didn't it fill in that front gap perfectly? All I did was paint a little 9.5"x2.5" piece of scrap wood with Rust-Oleum Heirloom White. Once it was dry I modge podged my little paper sign onto the wood (I find this is a great alternative if you don't want to buy vinyl letters, or can't afford a Cricut machine like moi). Once everything was dry, I distressed the corners, went over it with my Ralph Lauren glaze, and hot glued some wood dowels on the back. Easy peasy.
Now all I need is my twigs, my filigree cross, and to figure out what the heck I'm going to do with the top right cube, and I'll be set! And I'm open to suggestions! ;)
I'm linking this little project up to:
Saturday Night Special @ Funky Junk Interiors
After I finished shooting the wall unit, I dove right into filling up some of those cubes by shopping the house and deciding what I might need to buy. And since I was ordering things, I went ahead and started to order the zinc tray I've been wanting for the coffee table. Thankfully, I had the foresight to group the items together that would accommodate the 11"x20" tray. Once I was happy with their layout, I got out my Home Depot yardstick and measured. This is what I started with:
(The Ella Canister from Pottery Barn is holding narcissus bulbs and river rocks.)
Hmm...not exactly what I'd pictured. The canister looked way too big and was taking up prime accessorizing space. So I removed it and replaced it with a few items I had sitting on my
Much better! I'd like to figure out how to prop my apple up a little higher so it's not the exact same size as the twig ball, but that's a project for another day. But now what to do with my vase? Well...I do have a big empty cube on the bottom of the wall unit.
Now I need to fill in all that extra space! I probably could have talked to my blooming flowers and heard myself echo in that cavern. After a quick post on my favorite Nest board--ahem! Decorating & Renovating, woot!--I had a plan (thanks Tarheel&Rebels!):
The books were easy, since we're total
(Okay, so just imagine that bucket full of warm natural twigs.)
I've really been trying to use books that have some sort of meaning to them while decorating. I love these two. The Southern Mysteries book I bought when we were moving to North Carolina. The West Point book was the first book I ever bought Jason (for Christmas, from Tuesday Mornings!).
Now we're getting somewhere! But what of the knickknacks? I'm in pink puffy heart love with porcelain or milk glass figurines. But I didn't want to put anything too precious that close to the ground. On the very very rare occasion we have children in our house, I'd hate to think of the hellfire I might rain down on my friends if their precious baby broke my antique knickknack. (<--- we're definitely not ready for kids yet, can you tell?) Then I remembered something I'd recently seen on etsy.
Oh God, is that not shabby-chic scrumptious?! Maybe it's not everyone's style, but I love it (if you love it too, you can see it at Family Attic). The only problem is I have no place to put it. It's too large for the walls in our house (which are mostly lined with windows--not that I'm complaining). So I figured I'd make a small one for myself using some leftover wood scraps and modge podge.
(Find these fonts here and here--they're free!)
Isn't it cute? And didn't it fill in that front gap perfectly? All I did was paint a little 9.5"x2.5" piece of scrap wood with Rust-Oleum Heirloom White. Once it was dry I modge podged my little paper sign onto the wood (I find this is a great alternative if you don't want to buy vinyl letters, or can't afford a Cricut machine like moi). Once everything was dry, I distressed the corners, went over it with my Ralph Lauren glaze, and hot glued some wood dowels on the back. Easy peasy.
Now all I need is my twigs, my filigree cross, and to figure out what the heck I'm going to do with the top right cube, and I'll be set! And I'm open to suggestions! ;)
I'm linking this little project up to:
Saturday Night Special @ Funky Junk Interiors

No comments:
Post a Comment
Thanks for dropping by! I love comments and I read each and every one of them. You can also contact me by e-mail if you want to chat!
"Never miss an opportunity to make others happy, even if you have to leave them alone in order to do it."
~ Author Unknown
In other words: Be nice or I will delete you!