

You know you're a DIY-er when you DIY while sick. Ick. Ever since we got home from Las Vegas, I've had a horrible cold. I've literally been down all. week. long. My ears were still plugged as of Thursday, but I thought I was feeling back to normal enough to do a little more work on our wall unit. I shouldn't have, because I was all shaky and dizzy when I called it quits. But it was worth it for the progress I made! ;)
A few of you have asked why I didn't just add one large piece of plywood to the back with bead board on it. I can't get a good shot of the curved edges in the front, but if you've ever been in a house that has curved wall corners you'll know what I'm talking about. These curved edges create a ledge in the back, which is what I'm using to support the bead board wallpaper.
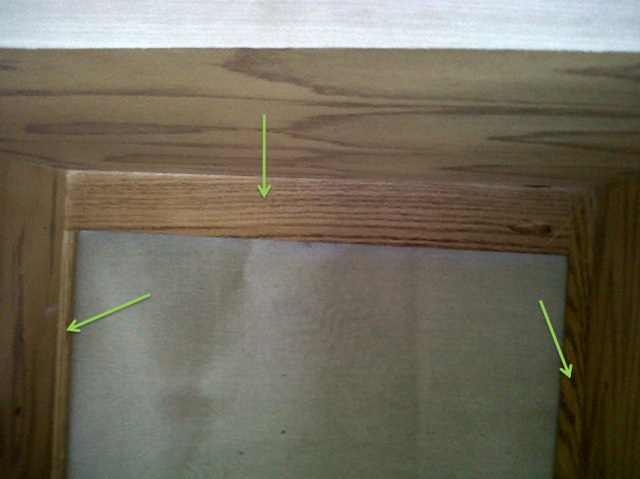
It probably seems like a lot of extra work, but I feel like those curves in the front keep the piece really dated.
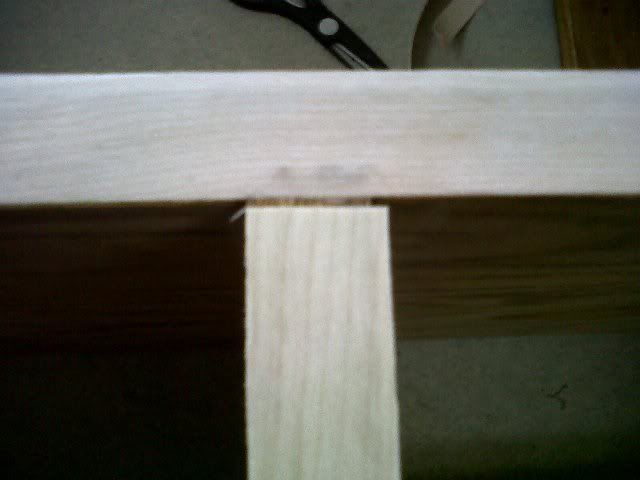
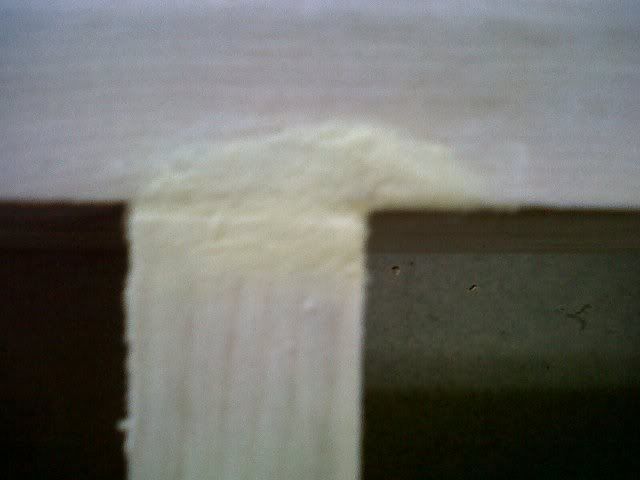
Anyways, Thursday I finished ironing all the trim on, wood puttied the gaps, and got started on a kick board. (Sorry for the super pixelated and blurry Blackberry photos.)
From the front the wall unit looks totally solid, but the the minute you turn it around you realize the top and bottom are actually open.
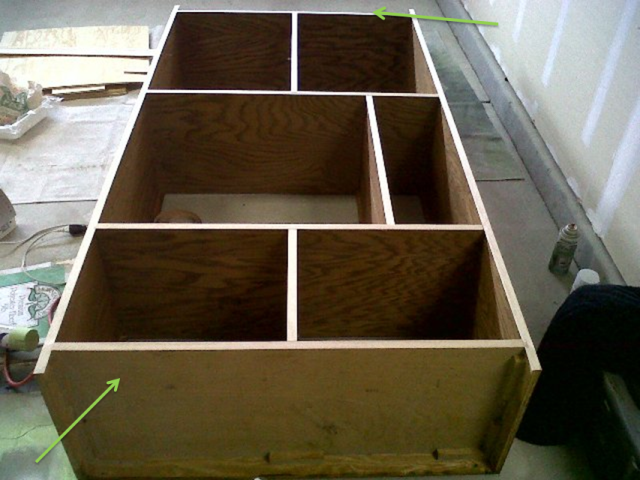
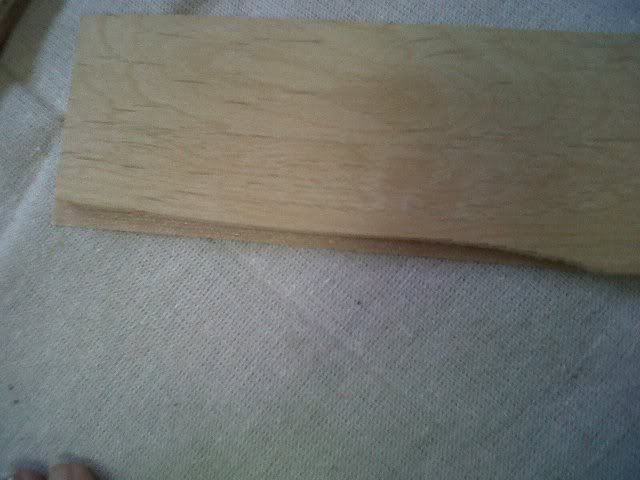
So I figured (for the bottom at least) I'd create a sort of kick board. I haven't quite decided what I want to do with the top. I could make a matching piece, but I don't know if I want to "close" everything up, so to speak. I have this vision of an open space perfect for lots of decorating accessories. I guess we'll see once I get a little closer to completion. Anyhoo, I grabbed a small 2x4 from Home Depot thinking it would be the perfect fit for the bottom. Unfortunately because of the odd dimensions, I still had to cut it a little more with my jigsaw (I think I actually needed it to be like, 1.75x4). And as you can see from the photo, my jigsaw skills are atrocious!
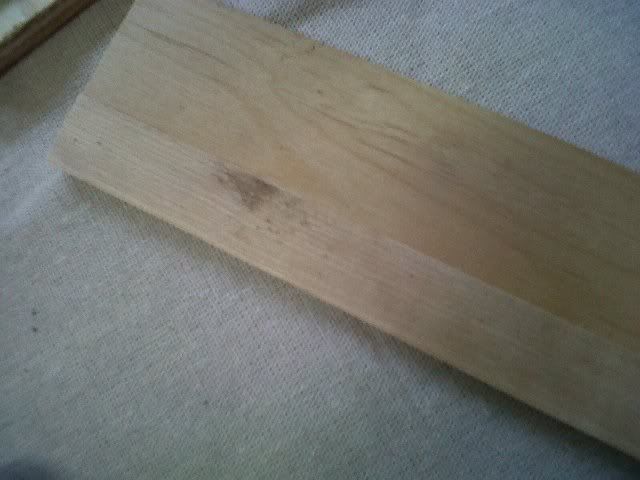
But my iron-on trim came to the rescue! It hides a multitude of sins!
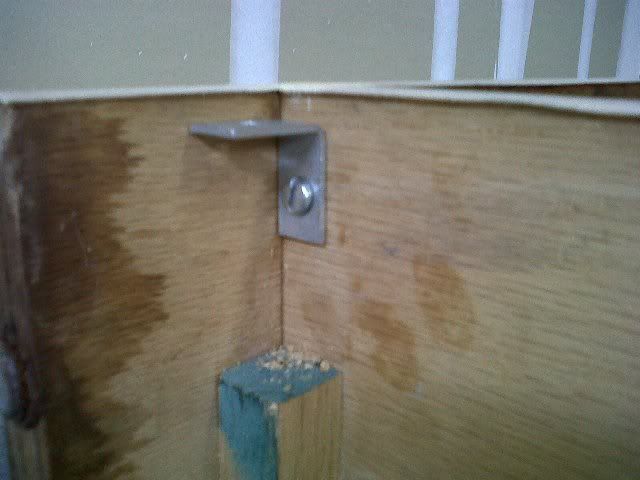
Working on the advice I got from a hardware guy at Home Depot, I attached the kick board using an "L" bracket and Liquid Nails. I had to use Liquid Nails because the screws would have penetrated the 2x4-now-turned-1.75x4.
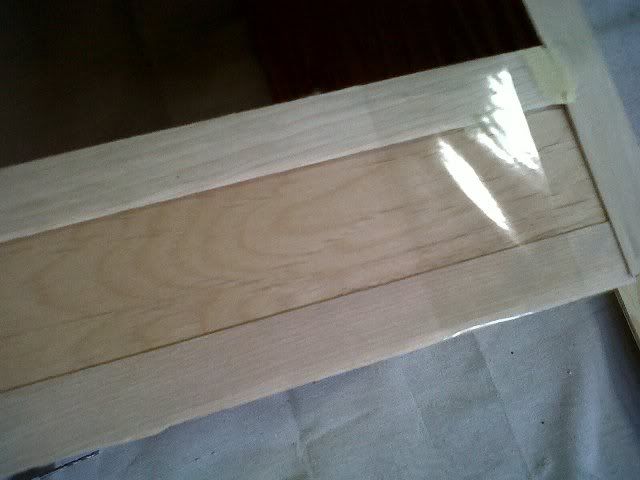
And I'm actually really loving the way the trim looks on both sides! The next step will be to paint it, and hopefully my bead board wallpaper will get here soon. I can't wait to see how it looks once it's all finished!
A few of you have asked why I didn't just add one large piece of plywood to the back with bead board on it. I can't get a good shot of the curved edges in the front, but if you've ever been in a house that has curved wall corners you'll know what I'm talking about. These curved edges create a ledge in the back, which is what I'm using to support the bead board wallpaper.
It probably seems like a lot of extra work, but I feel like those curves in the front keep the piece really dated.
Anyways, Thursday I finished ironing all the trim on, wood puttied the gaps, and got started on a kick board. (Sorry for the super pixelated and blurry Blackberry photos.)
From the front the wall unit looks totally solid, but the the minute you turn it around you realize the top and bottom are actually open.
So I figured (for the bottom at least) I'd create a sort of kick board. I haven't quite decided what I want to do with the top. I could make a matching piece, but I don't know if I want to "close" everything up, so to speak. I have this vision of an open space perfect for lots of decorating accessories. I guess we'll see once I get a little closer to completion. Anyhoo, I grabbed a small 2x4 from Home Depot thinking it would be the perfect fit for the bottom. Unfortunately because of the odd dimensions, I still had to cut it a little more with my jigsaw (I think I actually needed it to be like, 1.75x4). And as you can see from the photo, my jigsaw skills are atrocious!
But my iron-on trim came to the rescue! It hides a multitude of sins!
Working on the advice I got from a hardware guy at Home Depot, I attached the kick board using an "L" bracket and Liquid Nails. I had to use Liquid Nails because the screws would have penetrated the 2x4-now-turned-1.75x4.
And I'm actually really loving the way the trim looks on both sides! The next step will be to paint it, and hopefully my bead board wallpaper will get here soon. I can't wait to see how it looks once it's all finished!

No comments:
Post a Comment
Thanks for dropping by! I love comments and I read each and every one of them. You can also contact me by e-mail if you want to chat!
"Never miss an opportunity to make others happy, even if you have to leave them alone in order to do it."
~ Author Unknown
In other words: Be nice or I will delete you!