March 30, 2010

the living room reveal


- Finish curtain rods & hang

- Hang curtains

- Sew and embellish lumbar pillow

- Put furniture back in place

- Swiffer & vacuum floors and rug

- Purchase/find/arrange final accessories

- Photograph!


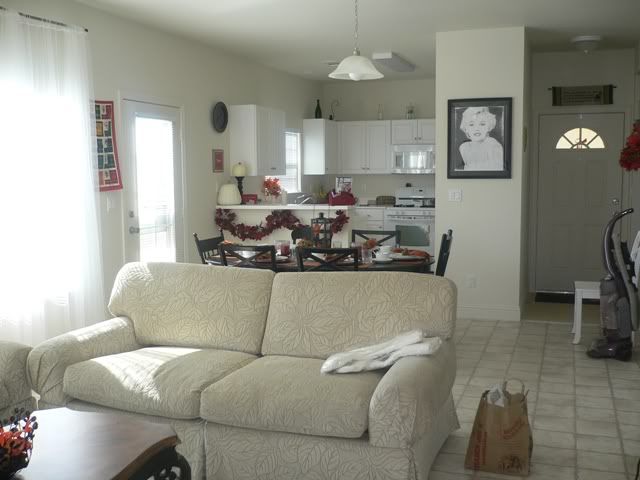
Since this room is a little larger, I thought I'd shoot it in sections and show the befores with the afters so you get a better idea of the whole revamp!

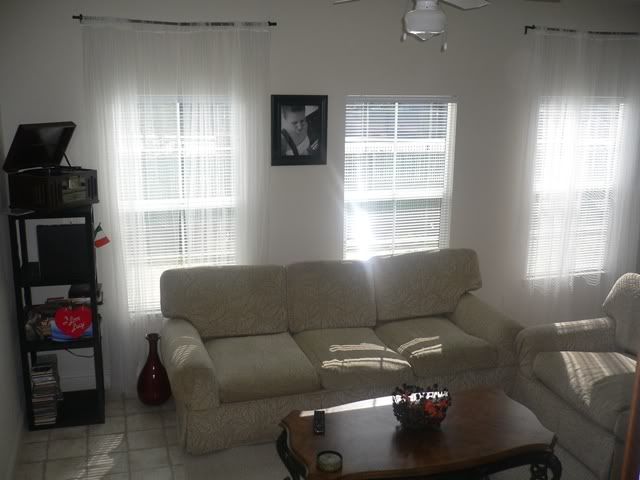
Before when you walked down the stairs, the first thing you saw was our tower covered with CDs, DVDs, and one two very puny beige carpets trying to pull together as one.


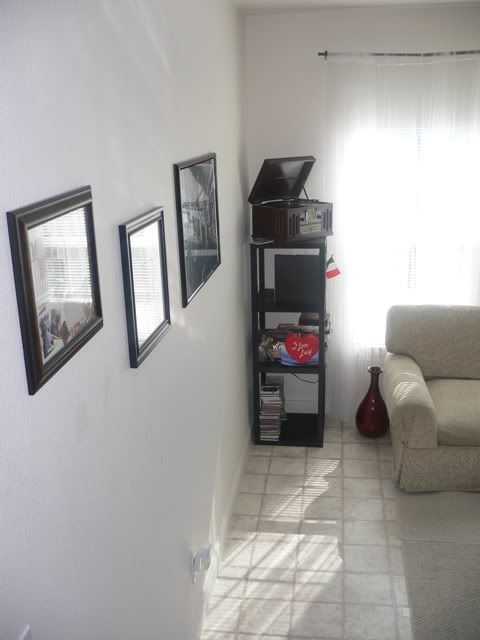
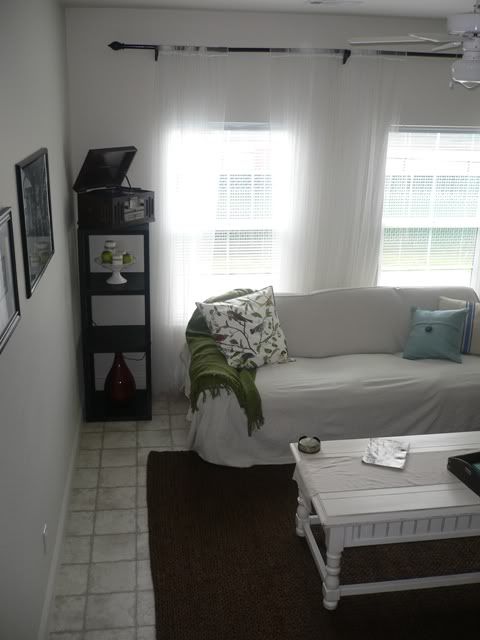
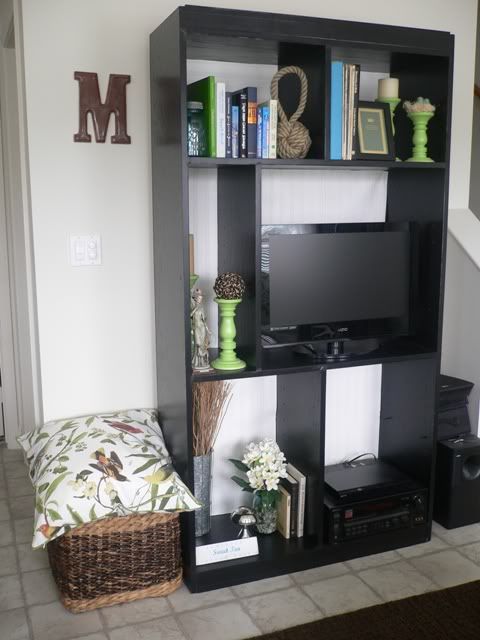
Now the tower is streamlined and ready for some pretty new accessories. The chocolate hand braided jute rug (Ballard Designs) adds some much needed warmth and texture to that linoleum floor.


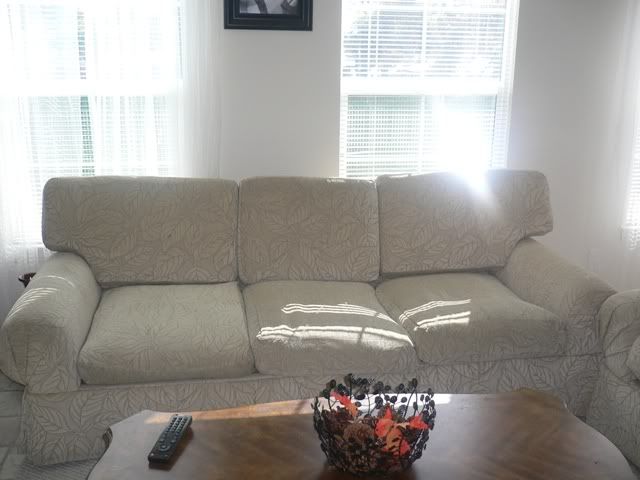
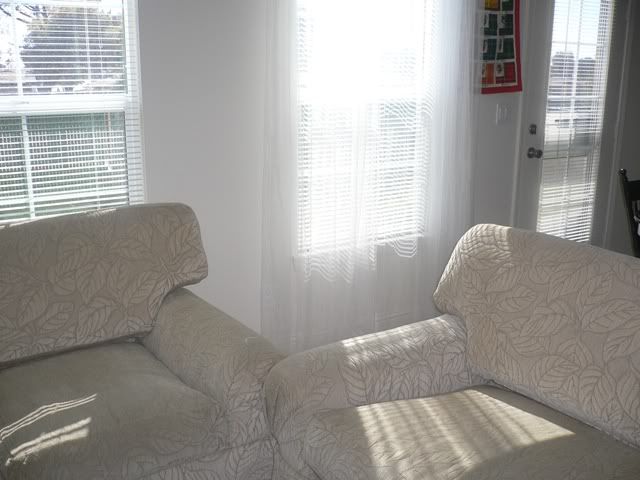
Before the coffee table felt a little too ornamental, the couches were sagging, and the leaf pattern was tired.


Now my Pottery Barn-inspired drop cloth slip covers--made from simple painter's drop cloths--give me a clean slate to work with without breaking the bank (see more about the couches here). The Norfolk Bench-inspired coffee table looks crisp and is more visually soothing than its predecessor (see more of this project here).


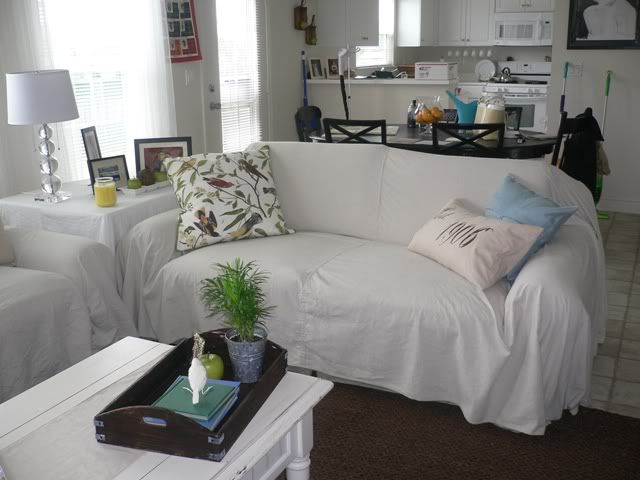
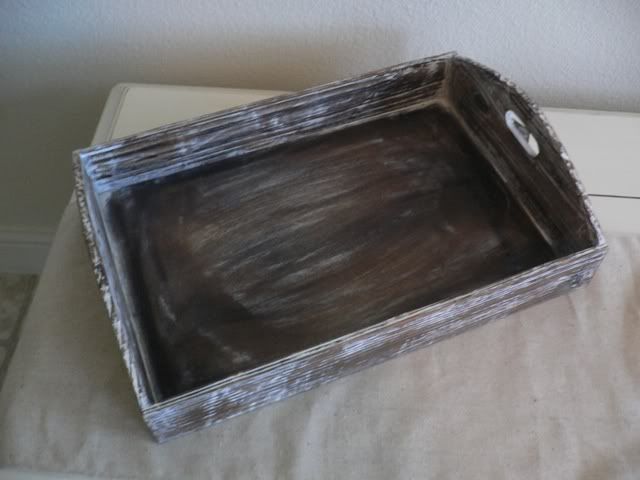
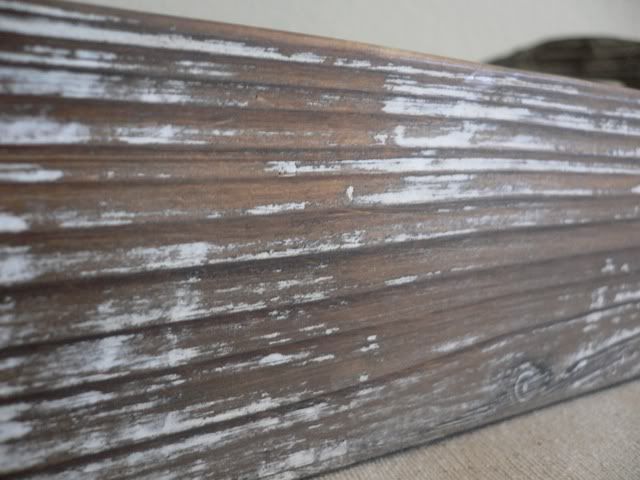
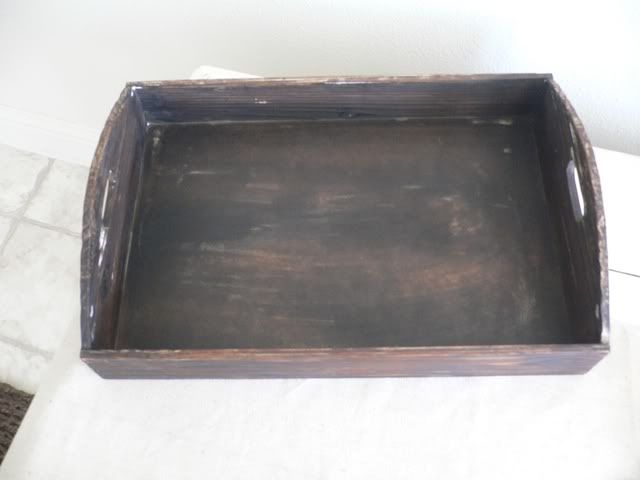
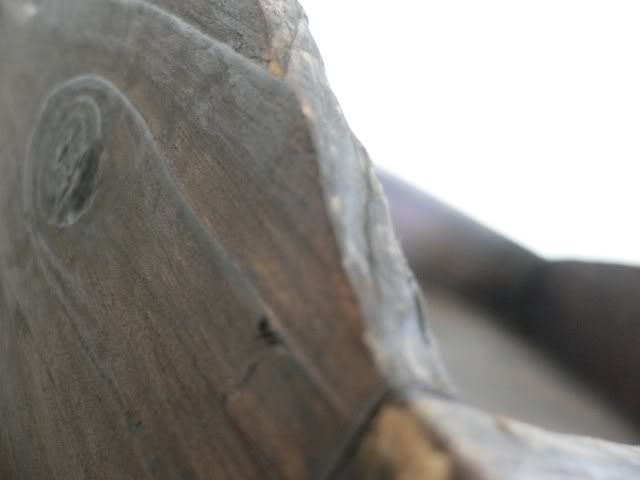
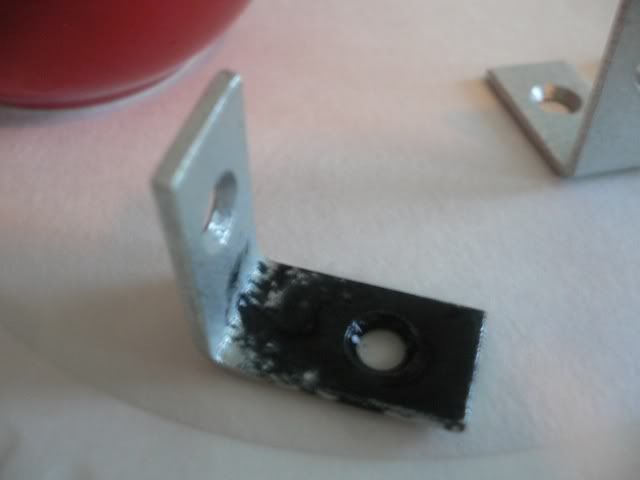
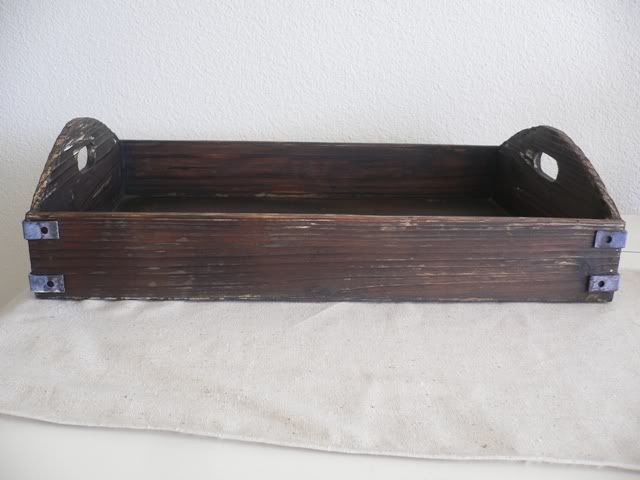
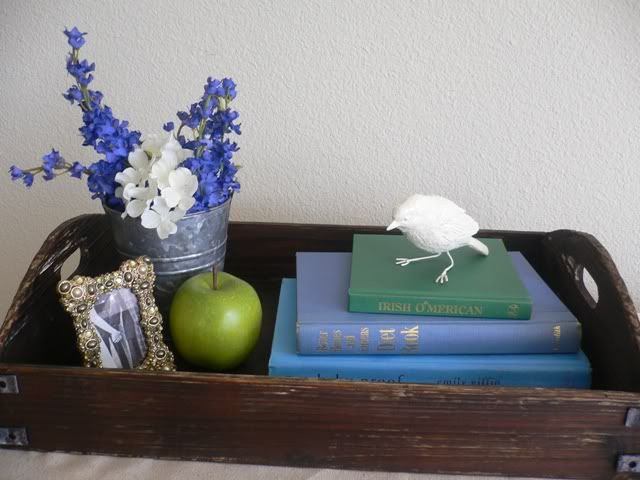
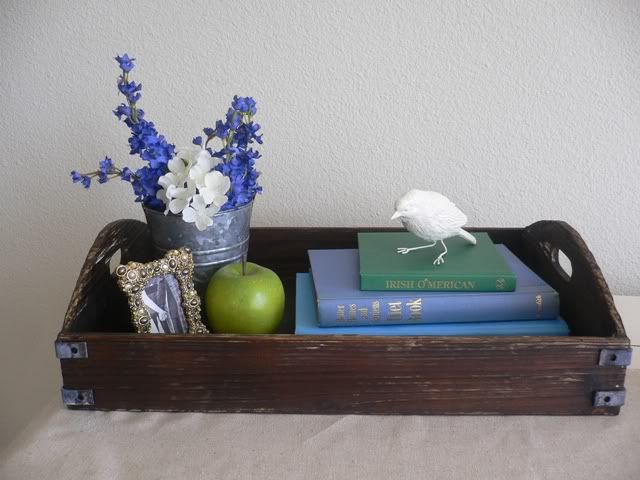
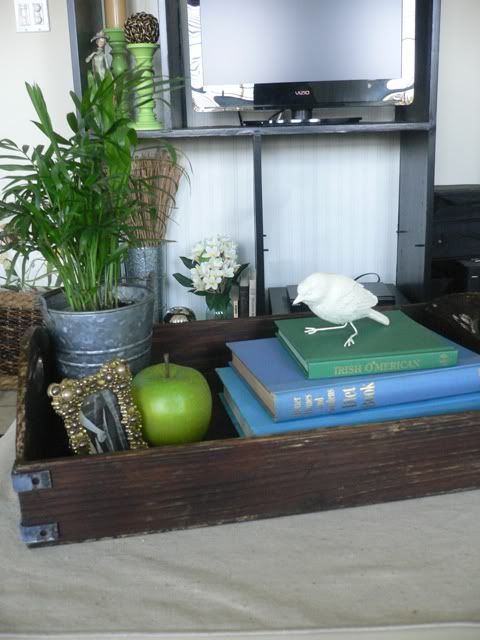
My JoAnn tray got a much need make-over and is now a pretty catch-all for living room type items (because let's face it, it won't stay this pretty for long!). The mini-palm tree was just what the galvanized bucket needed (see the transformation here).


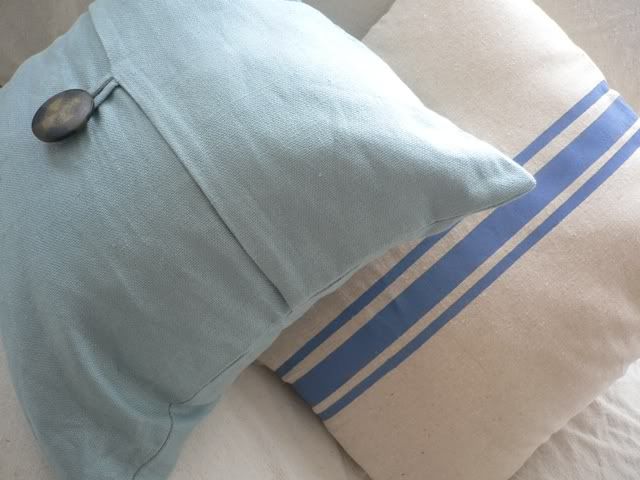
Blue linen button pillow from Pottery Barn, "grain sack" pillow by me (find the tutorial here). I buy all of my pillow inserts from Rick's Foam Products on eBay. They're comfy and his prices are unbelievable!


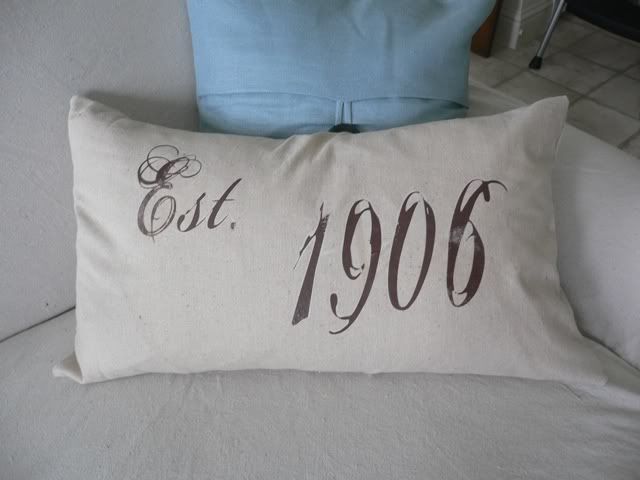
My once ruined pillow came together quite nicely in the end. I opted for the "Est. 1906" rather than the "No. 19" design. I just subtracted 100 years from the year Jason and I were married. Plus, I love the fact that 1906 breaks down into the day and year of our wedding: February 19, 2006.


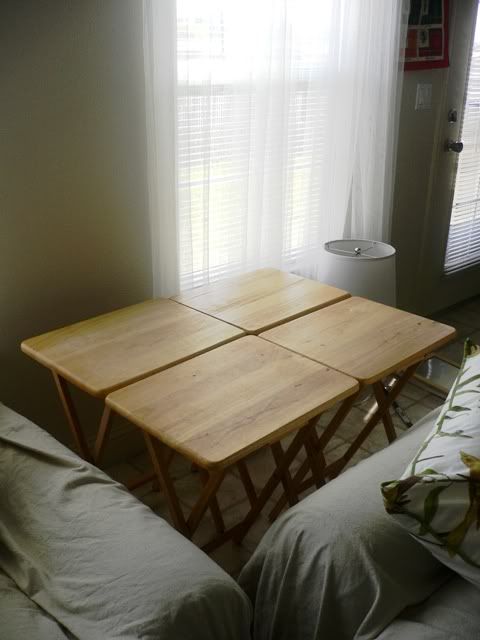
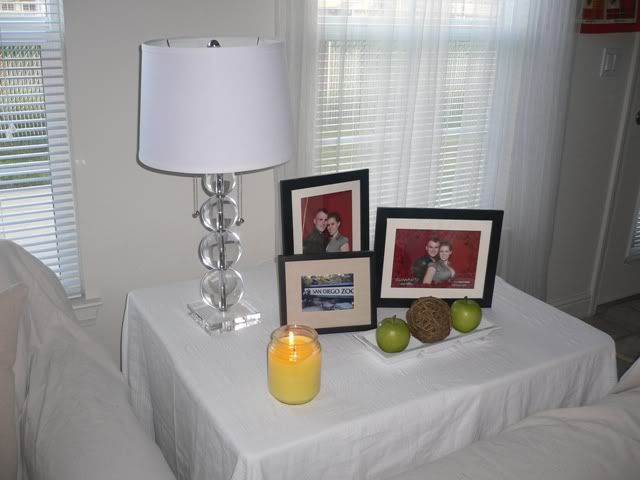
Before there was a huge blank spot next to the couches, just begging for some company!


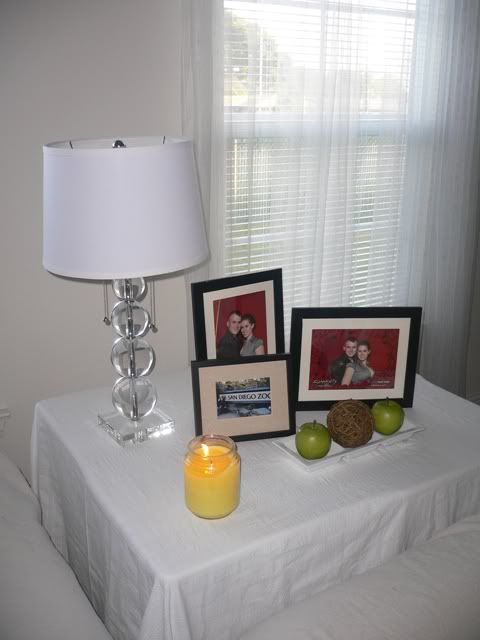
Now my make-shift side table fits that space like a glove (see how I made it here).


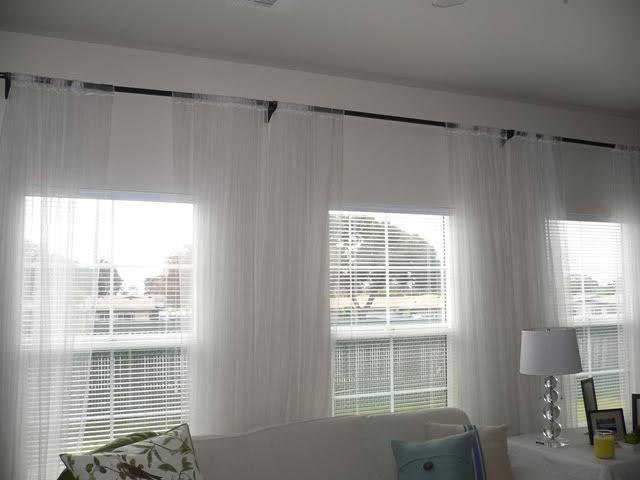
Before the curtains were sagging on the IKEA curtain rods. They just weren't long enough to span the length of the window without bowing!


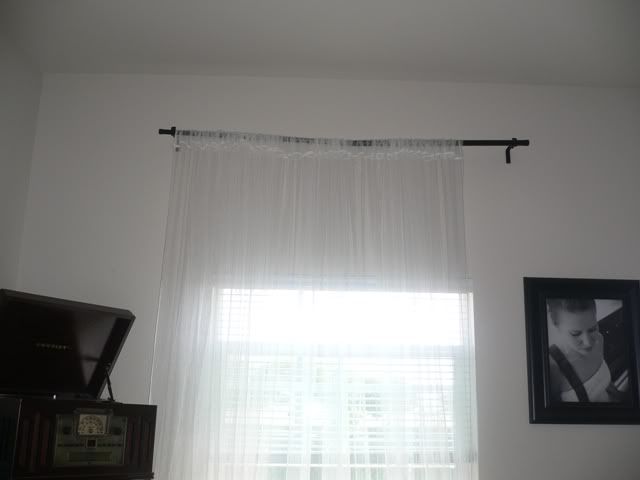
Now my $2 PVC-pipe curtain rods add some weight to really anchor the windows and help them be more of a focal point rather than an after thought. I got this great idea from The DIY Show Off and A Little of This, A Little of That.


Before the wall unit was stuck in the past with it's orangey oak finish.


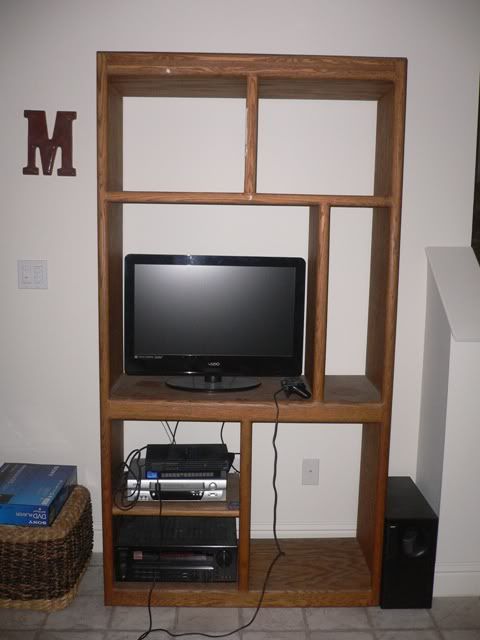
Now it's beauty-licious. The white bead board wall paper hides a multitude of sinful cords behind it and makes the entire thing look much more finished (see more of this project here).


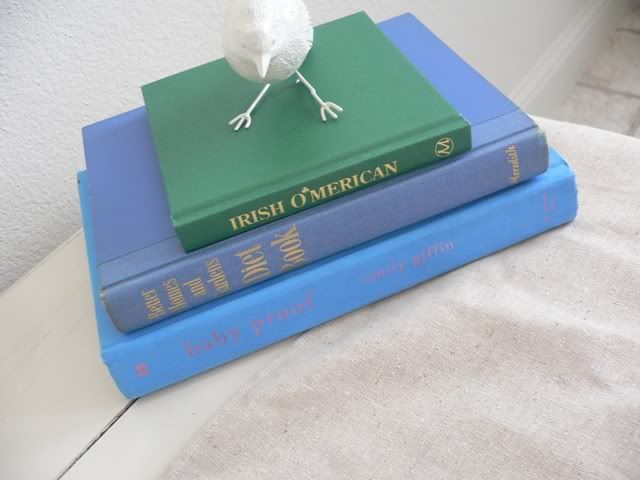
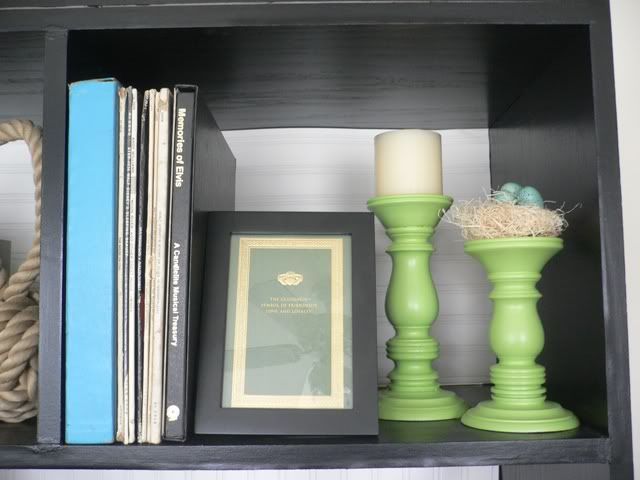
The claddagh picture is actually a Saint Patrick's Day card. I thought it was so pretty I framed it!


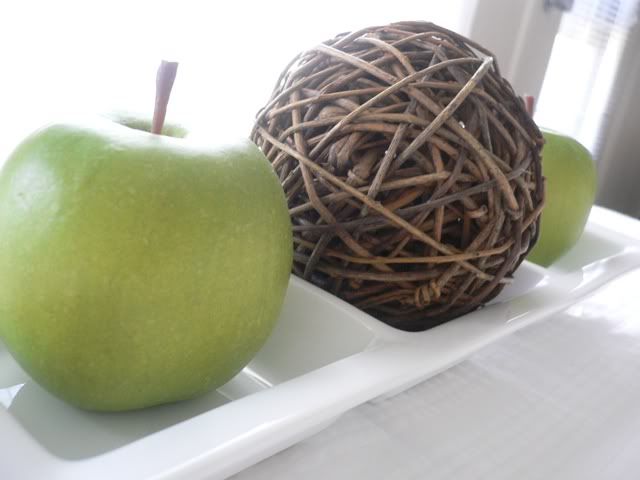
The over sized monkey's fist is from Amazon (and only $15 because it's a pet toy)!


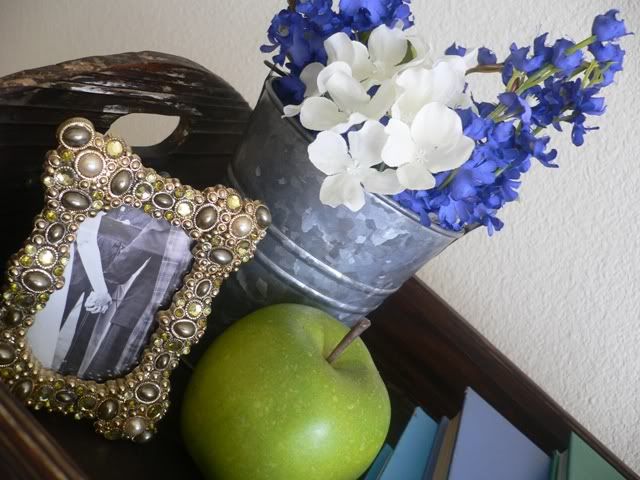
I love this galvanized bucket! I picked it up at Michael's for only $5 on clearance! And for those of you loving Pottery Barn's galvanized tin collection, Michael's is carrying some exact replicas for only a fraction of the price!


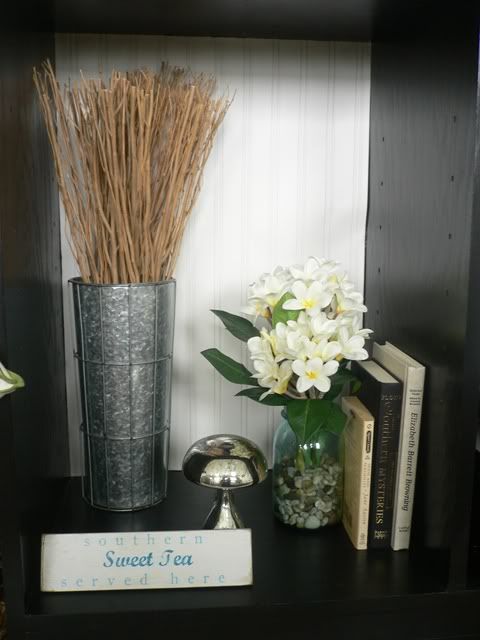
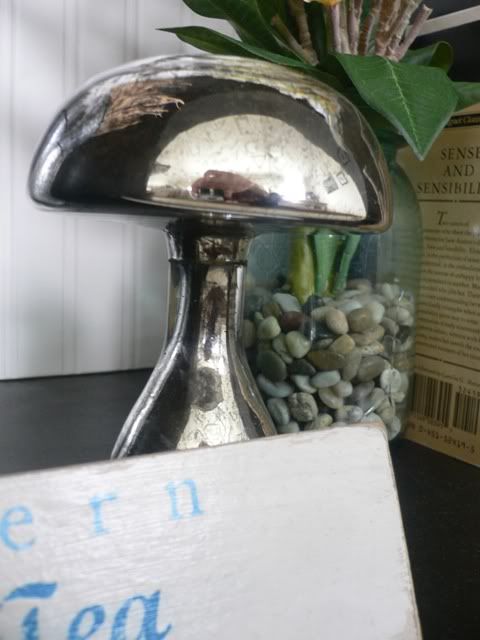
The mercury glass mushroom is from my sweet cousin Amy in Oregon.


I love the way it all turned out. The whole room feels more sumptuous, chic, and adult-like. I no longer feel like we're living with hand-me-down furniture (which we still are, for now) or that I'm confined to a single decor scheme because our budget and resources are limited. Sure the drop cloth slip covers don't look exactly like Pottery Barn's, but I didn't pay their price tag for them either! Besides, sometime this summer I plan to replace our old couches with the Ektorp line at IKEA, and it would have been a huge waste of money.

Stay tuned for that crafty giveaway! I'll be giving away one of my DIY French grain sack pillows (only yours will be an envelope closure, not a Velcro!), and one of my teeny tiny signs!

I'm linking my not-so-hand-me-down-anymore! living room up:
Trash to Treasure Tuesday @ Reinvented
DIY Project Parade #7 @ The DIY Show-Off
Make Your Monday @ The Twice Remembered Cottage
Saturday Night Special #25 @ Funky Junk Interiors

March 29, 2010

oops!

I know I promised you a living room reveal today, but I just need a liiiittle more time to finish it. Everything is ready, except for the tiny fact that my mother was over yesterday and we started hauling out all sorts of movies to watch. So things got a little chaotic and messy! Today I have a repair man coming over so I know I won't be able to work around him (and he'd better not mess anything up)!

Just hang in there with me one more day! :) I'll hold a special crafty giveaway for your patience!

March 26, 2010

honey-do friday, episode 6


Operation: FINISH THE LIVING ROOM! edition

- Finish curtain rods & hang

- Hang curtains

- Sew and embellish lumbar pillow

- Put furniture back in place

- Swiffer & vacuum floors and rug

- Purchase/find/arrange final accessories

- Photograph!

Mom is coming over sometime this weekend to help me plant some more daisies in our flower bed too, so I'm hoping I can manage to get it all done! Have a great weekend, and hopefully I'll have one more room completed to show you on Monday!

March 23, 2010

my $5 side table

My ambitions got the better of me when trying to create a side table to fill a large empty space between our couches. I knew anything store-bought was going to be ridiculously expensive and most likely be too small. Then I got the brilliant idea to build one myself! HA! Easier said than done, my friends! I met difficulties every step of the way, the biggest of which was the issue of the legs themselves. Home Depot sells table legs in two sizes: 15-inches and 29-inches. I wanted my table to be about 22-24-inches. So either way I was going to be either 7-inches too short, or 7-inches too tall. I made the executive decision to go too tall.


Thankfully, I had the foresight to try it out before I added trim and painted. This just wasn't what I had envisioned. So it's now become my garage work table (I needed one of those anyways!). But now, with basically $0 left for this project I was floating up creek about to lose my paddle. Then, it hit me!


Yeah, those are TV trays! They've been taking up space in our coat closet for months. We hardly ever use them and the little stand that holds them has a broken foot. It sways this way and that anytime the door opens and a slight breeze goes by. Now they get a new shot at life as an end table! All I did was cover them with an old white table cloth I picked up at a flea market in North Carolina, and covered that with some sweet seersucker fabric that I picked up from JoAnn's. I got two and a half yards for $5! I loves me some sales!


Then I added a few accessories...


...and my side table was done! I can't believe the solution was sitting in my closet the whole time! And seeing how we got the trays from Wal-Mart five years ago, I'd say they've more than surpassed their life expectancy!


The gorgeous lead glass lamp is from Bed Bath & Beyond. It's a total match to one they carry at Pottery Barn for almost $180 without the lamp shade (the one from BB&B was $100, and I used a 20% coupon). I can't find the PB lamp online, but they were carrying it in our local store when Mom and I visited last week.


I have two projects left before the big reveal! One is drying in my garage as I type and the other is just waiting to be sewn!

I'm linking up to:
Trash to Treasure Tuesday @ Reinvented
Transformation Thursday @ The Shabby Chic Cottage

March 22, 2010

the (almost) perfect tray

Last week I blogged about my search for a coffee table tray. I knew I needed something to warm up the cool colors I had going on between the white table, the natural cotton runner, and the mercury glass knobs. Plus, I wanted something to play off the brightly colored book covers I'd picked up and accent my white bird "figurine."


By chance while shopping for more fabric to recreate my ruined pillow, I stumbled down a beach themed aisle at JoAnn's. Normally I would have glossed right over this section because our house isn't beachy and it's so easy to be sucked down that line of decorating. But then I ran across a really cute tray--I kept putting it down, but every time I did I picked it right back up--and at only $10 it was almost inevitable that it was going to come home with me.


It was almost perfect, but I really wanted something that was a little more rustic looking with a bit of an aged feel. For some reason, all I could think of was these old railroad ties that my mom used to have in her back yard. They were dark brown, they had tar stains, and the metal had been baked for years in the sun. Plus, the faux-whitewash look was still a little too contrived. So I figured I'd take a gamble and stain it! I was a little nervous because the tray feels more like a dense foam than real wood--I don't know what it's actually made of!


But it worked! It worked really well! I love that a little bit of the white still peaks out, but it's not as stark as it used to be. It's absolutely the shade of those railroad ties I was thinking of! Now, I just wanted to add a little industrial roughage to age it up. So I picked up a rusting kit from Michael's...


...and gathered up some leftover corner brackets from the wall unit makeover...


..and went to town!


They definitely turned out more black than rusted. I don't know if it's because of the metal the brackets are made of, or because I didn't use their metal solution first. But either way, I think I kind of like the black finish. All I did was glue a couple onto each corner and it instantly added that touch of industrial-grunge.


Think I want to replace these very fake looking flowers with either something more real looking, or something that's actually real. And the photo in the frame is a true photo--it's a shot of Jason and I holding hands during our wedding ceremony!


Now, it's the perfect tray! It just goes to show you that you don't have to settle for what you can buy--a little creativity can turn a cookie-cutter-store-bought item into the that's-what-was-missing! one of a kind accessory you've been hunting for.

I'm linking up to:
Trash to Treasure Tuesday @ Reinvented
Transformation Thursday @ The Shabby Chic Cottage
The Best of March @ Beaneath My Heart

March 20, 2010

one day to a better bathroom

My mom came and stayed with me to get me past the first few days of Jason's deployment. Of course, my mother being my mother, she immediately wanted to start "helping" her daughter with her house. This is Mom's term for: my dishes aren't done, my Tupperware isn't sorted, a few rooms still have boxes in them, and so on and so forth. But thankfully, this time she took a break from digging through my cupboards and focused her attention on one of the rooms I've somewhat neglected in my mad overhaul of the first floor: the downstairs bathroom.


Pretty sad, huh? Especially when you figure that this is the bathroom most everyone sees. This is the bathroom that gets used the most. How could I have overlooked such a small room that would have taken no time at all decorate?! In my defense, my mind has not exactly been up to speed lately.

Mom and I went down to the mall and swung into Pottery Barn (where I finally returned over $400 worth of merchandise, eek!) for a little day trip. Off in the clearance corner we found a wreath that was so simple and yet so gorgeous. It was marked down to $12 (from $50) so we each got one. On our way back home Mom randomly says, "I'll bet that wreath would look good in your bathroom." And the next thing I knew, we were planning the entire space around this $12 wreath.


The glass beads on this candle holder (from Cost Plus World Market) mimic the ones in the wreath so well it's almost funny!


The bathroom has zero storage space for downstairs guests who might spend the night on our sleeper sofa. This $60 étagère from Bed Bath & Beyond is almost a dead ringer for this one from Pottery Barn which goes for $280--but mine has bead board on the sides which makes it that much cuter.


I love the mix of the bright citrus green with the twiggy brown towels (also from BB&B).


The bath mat ties all the colors together and hides some of our lovely linoleum flooring. A box of four shelves ($30 from BB&B) gave me two smaller ones to use down here and two larger ones to use in our full guest bathroom upstairs. Their small scale works perfectly for this room (kind of hard to see--above the toilette). I still need to accessorize them and the top of the tank.


One day of shopping and putting together and what a difference! Is it odd that I absolutely love walking by the room now? I just wish all my revamps were this easy!

I'm linking up to:
Transformation Thursday @ The Shabby Chic Cottage