Showing posts with label DIY. Show all posts

September 24, 2010

Preparing for Jason

Talk about having a laundry list of items to do! Between a few last minute things for the house (I've come to accept that no, the room will not be 100% finished when he gets back, but it will be dang close!), grocery shopping, Jake's fiancée Stacey coming in from Minnesota--and oh yeah!--my day job, I'm going to be crazy busy!! I have a ton of stuff I also want to post about before the clock strikes midnight and I turn into a pumpkin I go into hibernation with my hubby, including the winning homecoming dress.

So guess what time it is? Honey-Do time. For shizz. Only this isn't just a weekender's list--this is a serious it's-time-to-git-'er-done list!


- Grocery Shopping
Among other things, tiramisu from Olive Garden is on my "need to buy" list!
- Have duvet dry cleaned
I had an unsuccessful attempt at washing it at home.
- Make chocolate covered strawberries
Seriously? These things are like $5 at a candy store! If I can DIY furniture, I can DIY these!
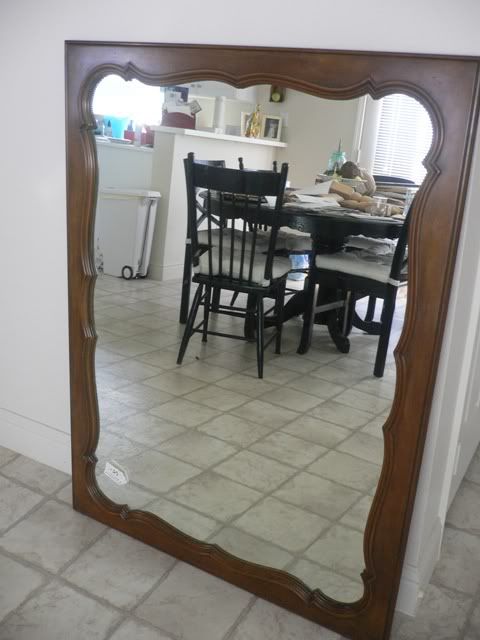
-Purchase mirror for bedroom
- Mop, sweep, & vacuum like crazy
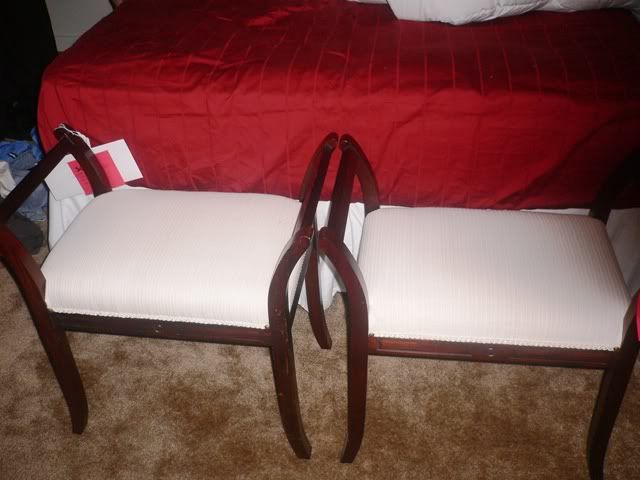
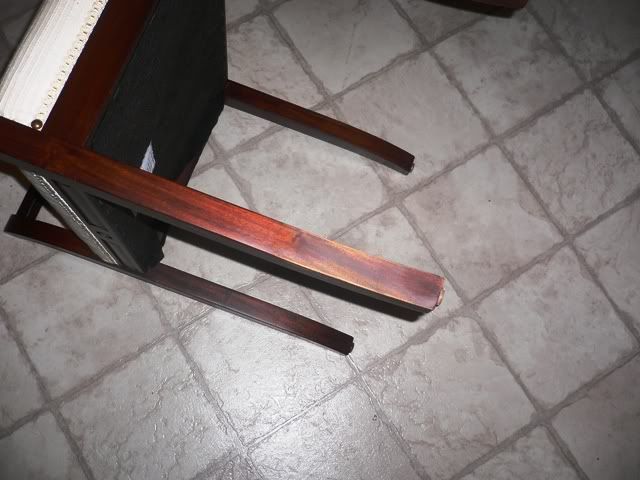
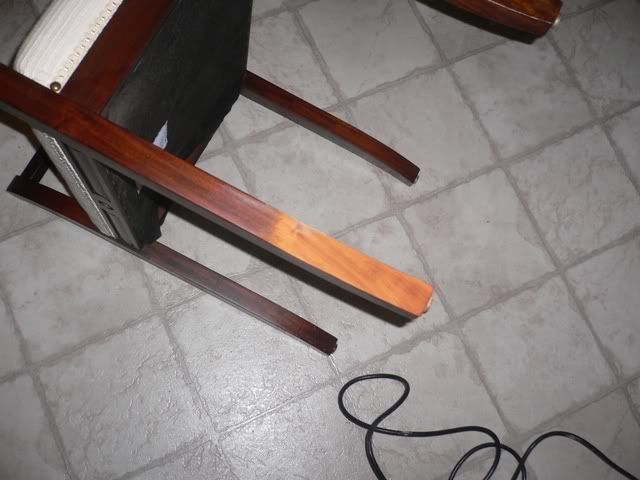
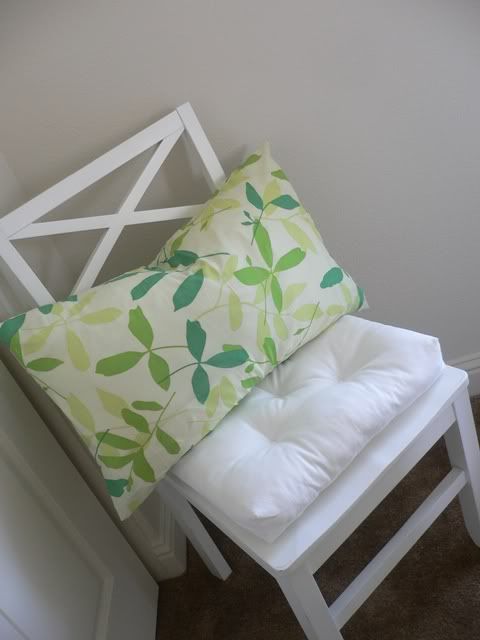
- Paint other foot stool

They won't be reupholstered before Jason gets home, but they can at least match.
- Find cold weather alternative for homecoming outfit
After all that work, I'm going to have to prepare for the likelihood of grey, drizzly, or smack dab in the middle of the night for Jason's arrival!
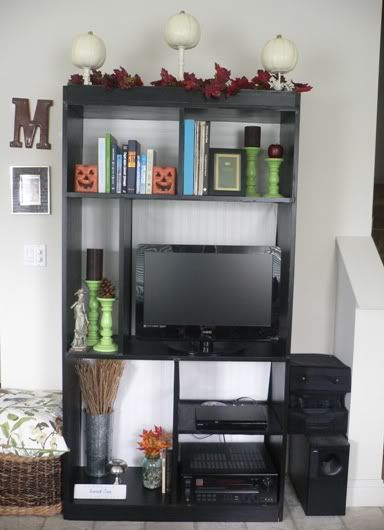
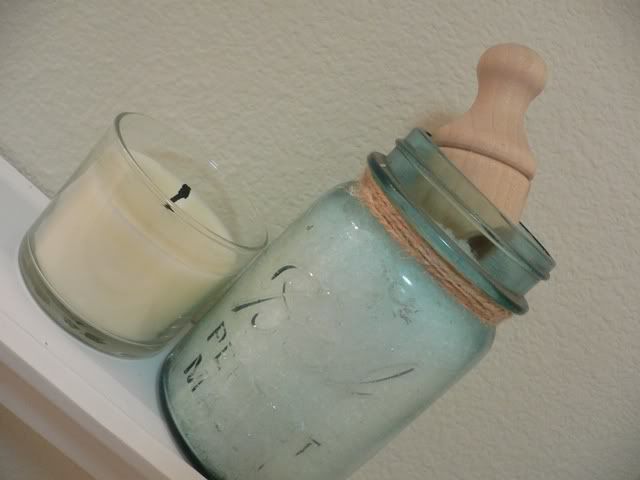
- Hit up Tuesday Morning & Dollar Tree for some cheap fall decor
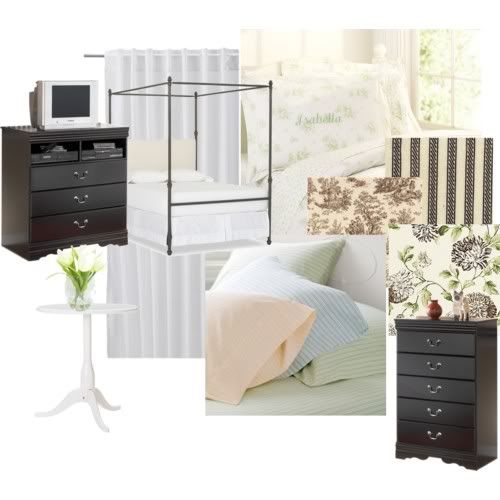
I just need a few more things to finish my decorating extravaganza (see parts one and two here).

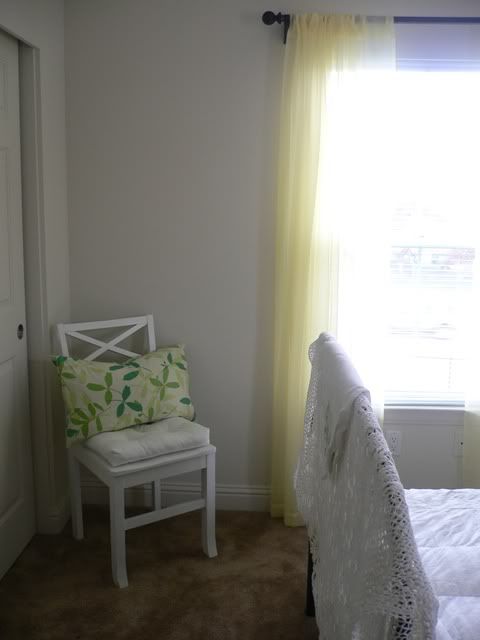
By Sunday, I'm hoping to have a shot of the room in its no-it's-not-actually-finished-but-it's-pretty-dang-close stage, and a shot of the winning dress, plus its cold weather look. So here we go!

It's the final countdown!

September 21, 2010

Time capsule

I was updating my FB page with some pictures of the shelves I just hung in our bedroom, when I came across this photo of me and my BFF Stephanie from back in 2004 (that's pre-Jason folks!). We're all dressed up and on our way to my company Christmas party (we were both sans any permanent man in our lives at the time, so we were each other's dates that year). Note the odd angle my body is turned at--I'm showing off my then-brand-new clover tattoo! But check out what's in the background!


YES! That's the wall unit in its original home (a.k.a., my parents' house). I told you this thing was old! One year later it would be sitting in mine and Jason's first apartment, and six years later, it would look like this.


Isn't that insane?! I'm so glad I kept this big hulking peice of furniture! It still has so much life left in it. I wonder if someday our kids will be DIY-ing it and making their own too?

and if you want to see how i managed to revamp this giant, check out it out here.

September 14, 2010

How did we do?

I'm really trying to get back in the habit of referring to myself as a we instead of a me. It's amazing how quickly you get back into the "I, me, my" mindset when your loved one is gone for a while. So, if you've seen me referring to our house as my house, or our room as my room, please forgive the slip of the tongue. Fingers? Anyhoo.


- Re-hang curtains in bedroom
- Finish & hang shelves and brackets
- Home Depot for primer & black paint
- Finish painting pottery
- Tidy living room
- Purchase printer ink
- Make fall sign for cubby
- Make Halloween sign for cubby
- Print pictures for frames
- Put away dishes
- Clean off & set dinning room table
- Return fan
- Decorate guest bedroom and bathroom for fall


I hadn't planned on making a Halloween sign, or decorating two of my upstairs rooms, but I did them anyways! ;) The shelves are all painted and assembled, but I wanted to give the liquid nails a little longer to cure before I go hanging them on the walls (I used liquid nails and screws to attach the brackets to the shelves). And I'm still hoping to return my fan sometime this week! Overall it looks like I was very productive this weekend, but I also feel like I should have (and could have) done much more. Mom's coming over for another weekend stay, so hopefully we'll have this place all stitched up by Sunday night!

If you missed my multitude of posts over the weekend--I'm making up for lost time I tells ya!--here's what you missed (click on the descriptions to go to the posts):

See my hair-raising impression of Roseanne Rosannadanna


UPDATED: My Pottery Barn Knock-Off Lamp


See part two of my fall decorating bonanza: the guest bedroom & bathroom


Now, if you'll excuse me, I have to go make some moolah so I can continue funding the remaining projects I have! Is it bad that I already have more compiling inside my little brain? :)

June 28, 2010

Just another minisode

The series is called, "Amber Can't Keep Her Mind Focused On Just One Project These Days." Okay, so it's a bit of a mouth full. But, hey, I'm getting other things done in the meantime. I think the real issue is I have virtually no DIY funds right now (housing issues--trying to sell the house back in NC, which means no renters and no rental income!) so I'm having to tackle smaller projects that don't use any of our precious resources! This is why I like bathrooms! They're small, they're simple, and few things can make a huge impact!

I stuck to shades of blue and green in this bathroom. Jason picked out the Matine toile shower curtain before he left back in March--I swear I had no input on this one! The man just has good taste! ;)


Finally hung the shelves I bought for the last bathroom mini-make-over. I think I might want to get some sturdier ones down the road though...


The starfish used to reside in the office, but I like it better in here. Kind of like he jumped out of one of the photos.


The mason jar (which also used to reside in the office) is holding eucalyptus bath salts. I love this idea so much I think I'm going to do it in our bathroom with some large clear ones! Move over apothecary jars! Mason jars are the new bathroom accessory (you heard it here)!


The little bath sign was a DIY project using a paper bag for some texture, and I just stenciled and hand painted the letters (hence the less than perfect edges).


And last but not least, a little greenery. I had two ferns that I was trying out elsewhere in the house, but they looked too dental. So I gave them a hair cut and moved 'em! Supposedly, ferns do well in bathrooms since they need to stay out of direct sunlight. I guess we'll see! Since I didn't have any pots, I just spray painted the plastic container in Rust-Oleum's Heirloom White and set it on an old teacup saucer.


I still have a few more things I need to get when budget allows. A trash can, some towels, and maybe a few counter top accessories are in order, but for now, at least it looks pleasant and usable! ;)

June 25, 2010

An outdoor pub

I'm so excited! During one of our recent e-mail marathons, Jason and I started talking about ideas for the backyard. I had been considering more of a beach theme. But when he brought up the fact that the house was getting plenty of "feminine touches" in his absence, he asked me to design a more masculine outdoor area; more specifically, an Irish pub. I love the idea because it requires very little making-over of the furniture. They're going to stay in their original conditions to give it more of a time-worn-collected-over-the-years feel like all good old fashioned pubs have. Only one piece (a white wicker chair) will be getting a little face-lift with a new coat of paint. White wicker doesn't exactly scream "pub."

Of course excitement like this can't be contained, so I had to start working on an idea board right away! ;) Here's the current plan.


The color scheme is going to be black and tan (a nod to Guinness beer) with touches of greens and red-oranges. Other textures will include a chalkboard with pub "specialties" written on them, and some lanterns to keep everything well lit when the sun goes down. Of course we'll have playing cards and some cigars stashed in a side table for when they boys want to kick back and gamble a little, and I also plan on getting a few beer steins with our last name on them (Jason received two from my step-mom one year for Christmas, so I think I need to add to his collection).

I'm looking forward to working on this in conjunction with the bedroom (which truthfully has seen very little action lately). My attention span seems to be on a short leash these days, so I'm breaking my rule and working on several projects at once. First things first, it's time to talk my mom and step-dad into making a day trip over here to buy and set up the canopy! Then I can start building our pub!

June 23, 2010

Bench this, baby!

I could have sworn that I shared these with you, but after searching through my post archives, it looks like maybe I didn't! Back in November, I purchased these art deco bed benches from The Estate Sale Warehouse that I'm constantly endorsing (and, for the record, not being paid to do so).

Now, this is a class-A how-to-take-a-bad-picture example, but the bad flash highlights the many scuffs that these otherwise worldly beauties have on them.


I want to upholster them I'm going to pay a professional to upholster them in this gorgeous fabric that Ballard Designs is carrying (but I have found much cheaper elsewhere!). They call their style "Cantana."


But I have been debating back and forth over what to do about their finish. Did I want to paint them? That was my plan for a while, until I remembered this curvy cutie still sitting downstairs in our dinning room (again, please forgive the huge mess on the dinning room table).


At the time I purchased it, I also faced the same dilemma with this mirror. To paint or not to paint? The wood doesn't have a single flaw in it, and I hate the idea of covering up the warm color. So I had the idea to mix wood tones. It's working surprisingly well downstairs in the few areas I've started on, so I thought why not?

But first I had to make sure my what-looks-to-be-a-cherry-wood-finish-on-them benches would strip down to a natural wood color. So using what little Citristrip I had left, I went ahead and gave 'er a test run!


Hmm... I was very surprised to come back and find that the Citristrip made almost no difference in the finish. So I busted out my handheld power sander and gave it whirl.


Wow! That is some orange wood! I guess the faux-cherry finish isn't so faux after all! Too bad this looks nothing like the warm honey-wood color of the mirror. Okay, so paint it is! I'll find other ways to bring in some more "woodier" tones to match the mirror--maybe some baskets and some faux-wood wrapped candles will do the trick! ;)

June 15, 2010

Wall art: what do you think?

I love using vintage prints as artwork. For one, they're unique. For two, they're free! I have these three prints that I'm thinking of using in the master bedroom. Two of them are ferns, the other is purple Scottish thistle. I want to bring a bit of purple into the room for a little luxe-ness (this is the order they would hang in as well).


Do you think these prints/images will work, or should I try to find something a little more--ahem!--sensual and less clinical? What could I use if I wanted to add some more "spice" to our bedroom artwork?

May 20, 2010

Nothing "master" about it

Our poor neglected master bedroom. When we first moved in together, we ran out and bought a huge (huge) Asian-inspired bedroom set. A ginormous sleigh bed, a dresser, an armoire, and a night stand. Matchy-matchy-matchy-matchy! It stayed with us until we moved to 29 Palms last year and we were able to sell it to a local military couple. Then our room looked like this.


Oh. So. Sad. No dressers, no night stands, not even a bed frame! Our TV was sitting on the coffee table that is now in our living room! (My sister is quoted as having said, "Wow, Amber. That looks like an HGTV before room!" Ouch.) We finally purchased new dressers, but on a much smaller scale. We learned the hard way (courtesy of our Titanic-proportioned former bedroom set) that when it comes to military housing smaller furniture is better!


(Don't mind my childhood baby doll on the chair!)


Then we moved to our current house, added a couple of white night stands from IKEA, some black "curtains" (actually made out of sheets from BB&B), and that was pretty much it. Our "master" bedroom has remained like this for the past six months.


I hope to remedy that shortly! Here's my inspiration board.


As you can see lots of light airy colors, greens, browns, whites, and the touches of black from our furniture (our nightstands are getting a makeover). Jason and I have decided we want something very relaxing and very un-matchy-matchy. We're going for a flea-market-farmhouse-vintage-spa-resort feel.

PLANNED BUDGET
  • Bed/headboard (DIY) - $100
  • Fabric (various) - $150
  • Hardware (Home Depot) - $50
  • Window treatments (Home Depot & IKEA) - $60
  • Paint (Home Depot) - $10
  • Bedding (Pottery Barn) - $200
  • Décor/misc. - $75
    TOTAL: $645

    The budget is a liiiiittle higher than I was hoping for, but I'm hoping I can still get close to that $500 mark when all is said and done. It's going to require lots of thrifting, eBay-ing, Overstock.com-ing, lots of furniture refinishing, and a lot of thinking outside the box. I'm off to Home Depot to spend one of my birthday gifts (yes, that's right, I asked for Home Depot gift cards!) and I plan to start working this very afternoon!!
  • May 18, 2010

    The guest bedroom

    Jason and I had no guest room to speak of before this project. We've been married for four years, lived away from our family for about three of those years, and everyone always had to sleep on our pull out sofa. But not any more! May I introduce you to the newest addition to The Nut Shell.


    Quite different than what I had planned, huh?! A lot of thought went into the variation of the original idea I had for this room. And most of it had to do with the budget.


    That's almost a $600 difference! I think I just freed up enough money for another whole room revamp! By buying a traditional full sized bed versus the daybed, I cut a large chunk from the expense. Not only on the bed, but on the cost of two mattresses for the bed and the trundle. And I'm very glad with my decision. I love the vintage feel of the iron bed so much more than the daybed. The lace "quilt" helps to soften all the metal (and is actually a vintage table cloth passed down to me from my grandmother and my mother).

    I am so pleased with how the room turned out, and it has actually inspired me to try and complete the remaining room make-over (the master bedroom) under $500 as well. Is it going to be a challenge? You bet! But am I up for it? You know it!

    You can find my tutorial on how I made my Pottery Barn-inspired mercury glass lamp here, and stay tuned for a tutorial on PVC-pipe curtain rods!

    May 16, 2010

    Knock-off Pottery Barn lamp

    Ever since I saw this lamp from Pottery Barn, I couldn't shake the image from my mind. The curvy mercury glass was so pretty and the light bulb visible through the unlined lamp shade gave it a somewhat playful appearance. I loved the effect!


    What I didn't love (as usual) was the price they were demanding.


    No matter how much I loved it, I knew I couldn't get on board with that astronomical dollar amount. So I sort of put the idea of owning it out of my head. Fast forward to last week when I was at the ESW looking for Mother's Day gifts and a lamp for the guest room. I found a real cutie--the perfect size for the top story of the night stand--for a whopping $4. It was very brassy and tarnished as you can see.


    A coat of primer made a huge difference, but from here I was at a loss for what to do.


    Then I remembered the oh-so-coveted mercury glass lamp. But how could I achieve that look?! Roeshel had great success with her mercury glass pumpkins by just using silver and brown paint, but I wasn't sure if I could recreate that look on the lamp. Then, out of the far corner of my mind came this idea.


    No, that's not spray paint and it's not silver leafing. It's a product called "Rub & Buff." I'd seen it used by Gina at The Shabby Chic Cottage, but she'd used their "Patina" formula. I used their "Silver Leaf." I had no idea what the heck I was doing, but at only $4 it was was cheaper than silver leafing and a whole lot easier (I had no idea what leafing actually entailed)! But before I started, I painted the lamp espresso, that way any color peeking through would be dark, just like regular mercury glass.


    (Erm, sorry for my--ahem!--slightly crooked picture)

    Then all it took was rubbing it on. I used my finger (which was very silver by the time I was done) and just sort of went at it! A little goes a ridiculously long way. I couldn't believe how little of the tube I used. Once it's dry (and it dries with in minutes, if not seconds) all it takes is a little rubbing with a rag. Any areas that rubbed off in a way I wasn't happy with, I just added more of the cream. I love the way it works! I'm going to go crazy with this stuff (after all, I still need lamps for our master bedroom).


    It's not a dead ringer for mercury glass, but I have no doubts that this was a better choice than spray paint.

    Now all I needed was a lamp shade. I tried to make my own frame and cover it with burlap. The frame making went fine, but the whole covering it with fabric was a little more difficult than I had anticipated. I started searching for just a simple burlap lamp shade, even though I really wanted the see through effect (which can only be achieved with an unlined shade). On a whim (read: out of sheer desperation) I happened to check Pottery Barn's website, which is where I found this.


    It's much more sheer than the burlap, but the concept is the same! I love the softness is gives the metal of the lamp in their photo. But the best part was the $19.99 clearance price tag! Well, that and I paid for it with a gift card so technically, technically there was no out of pocket cost. =)


    All in all, my new lamp cost me $28 total, but only $8 out of pocket! If you're better at covering your own lamp shade, this is a wonderful way to add a little sparkle to your room without shelling out a lot of paper.


    I'm linking up to:
    DIY Project Parade @ The DIY Show-Off
    Trash to Treasure Tuesday @ Reinvented
    Power of Paint Party @ Domestically Speaking