Showing posts with label Bathrooms. Show all posts

September 13, 2010

$0 fall decorating part two: the guest room & bathroom

Last time, I shared how I did our downstairs for one of my favorite seasons. I made the decision (as I was dragging everything out of their boxes) that this would be the year that I actually extend my holiday decor into the other rooms of our house. I've always hated having the downstairs so warm and cozy and full of the seasonal colors, and then the upstairs is blaaaaaaah. Insert the sad trombone sound here.

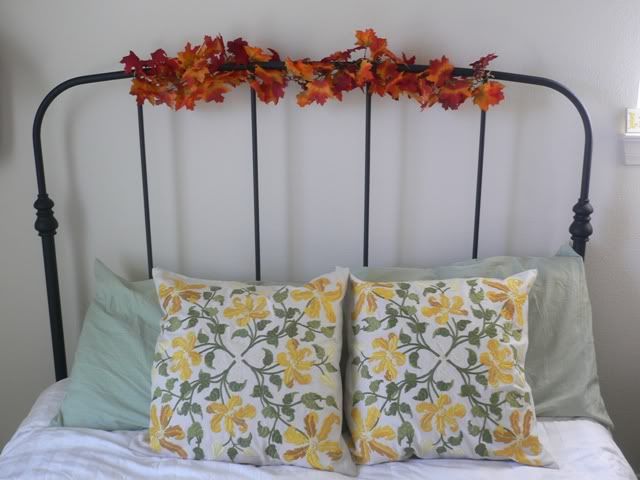
So I decided, in small doses, I would bring the seasons throughout the entire house. I started with our guest bedroom. I'm so happy to chose to go with yellow in this room. Granted, I have no idea how it's going to look come Christmas, but throughout spring, summer, and fall this hue has been perfect.


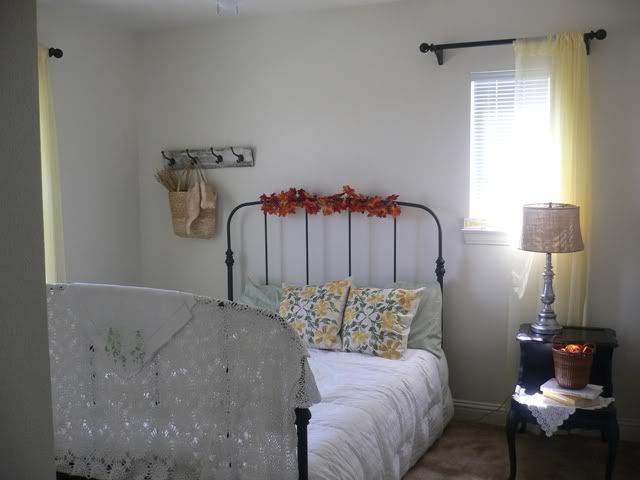
I used jute twine to tie some fall foliage to the frame. Not too much, but just a little crown at the head of the bed.


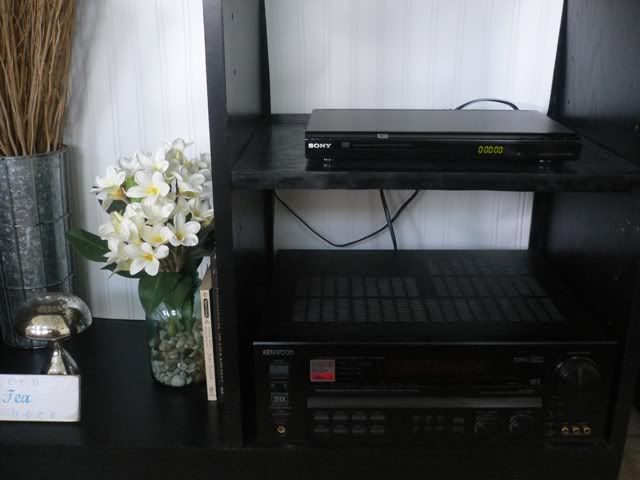
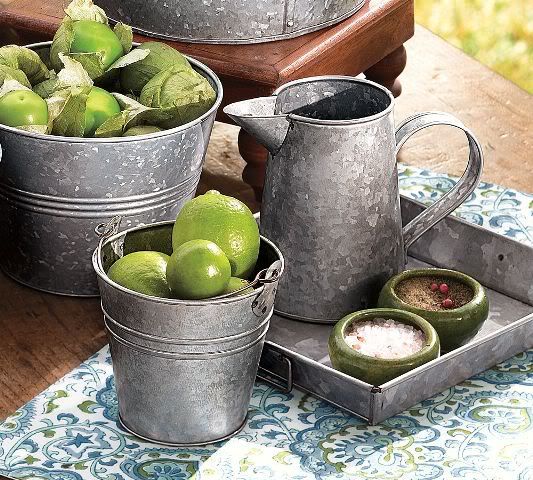
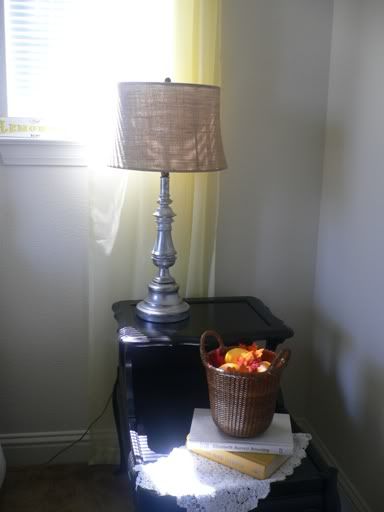
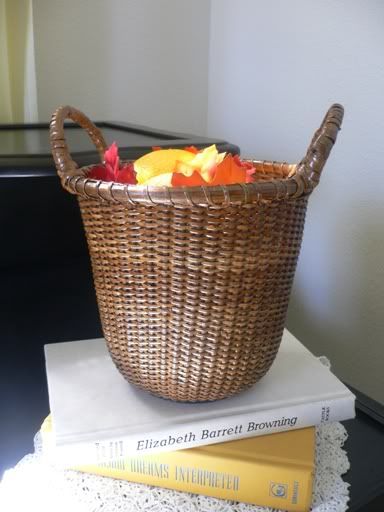
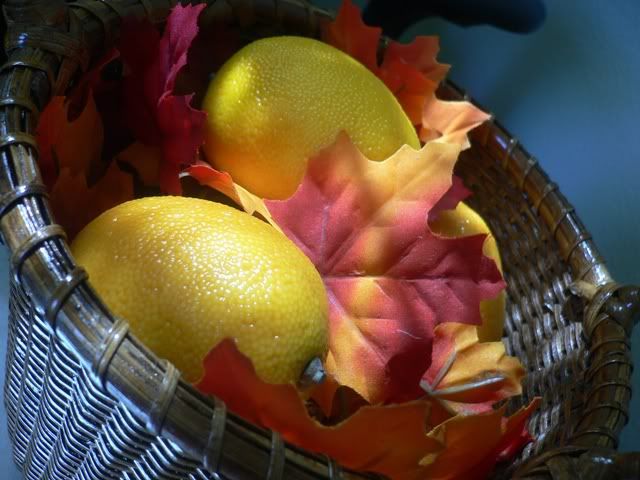
The side table also got a little autumn warmth injected into it. The lamp was remade with the addition of a burlap shade from Pottery Barn, and I switched out the (non-working) copper clock for the basket that used to be on our dinning room table. With a small bunch of the leaf garland and a few lemons added, not only does it feel more fall-like, but it still plays into the lemon theme this room ended up with.


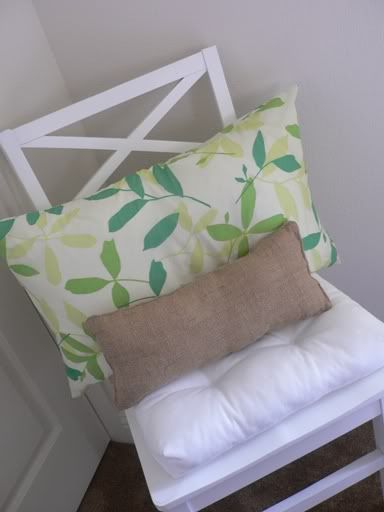
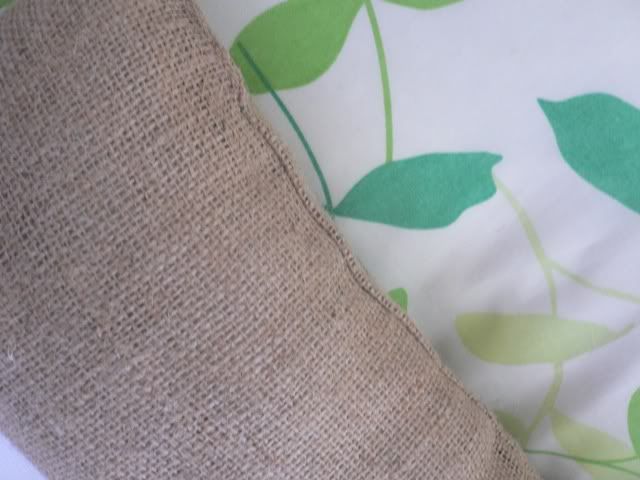
Next year I might consider making a new cover for the pillow, but I'm trying to do this on as close to a $0 budget as I can. So I just pulled out this itty bitty burlap pillow I had laying around in a box. Layers and texture: isn't that what it's all about?


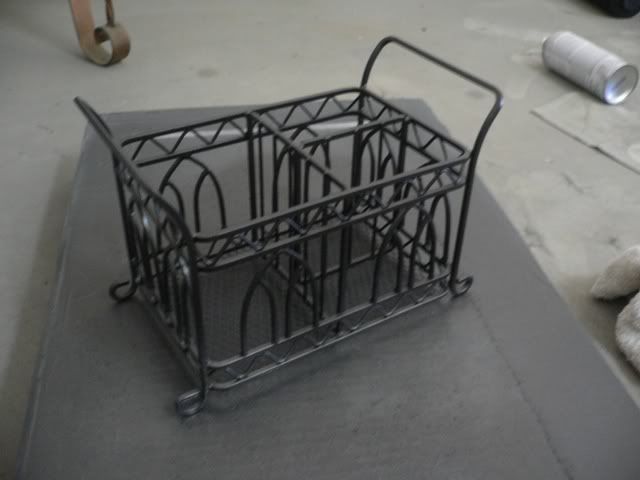
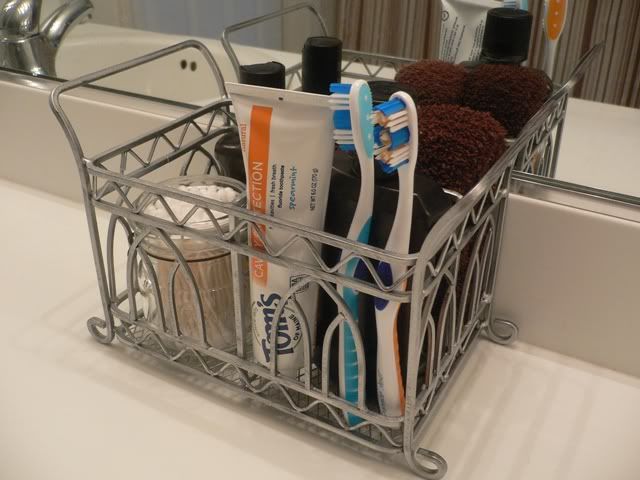
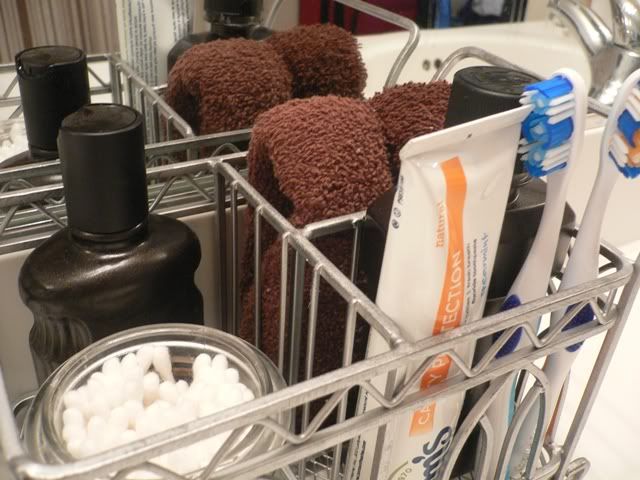
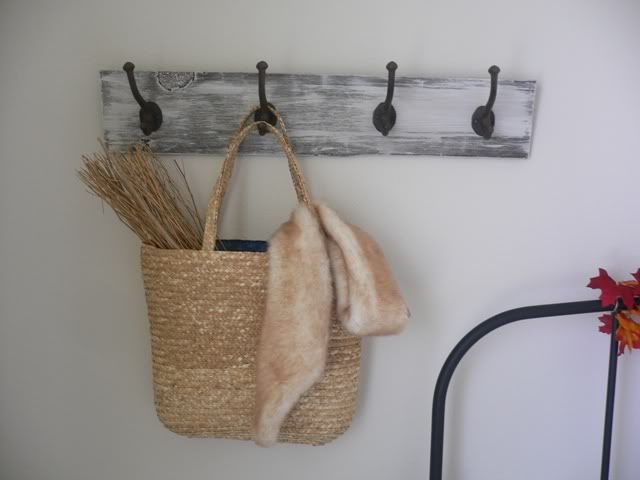
Last but not least, my DIY-etsy-knock-off rack also got a few new accessories. The straw bag is actually a beach bag that I picked up at Target's $1 Spot over the summer. I threw in some decorative twigs I had and draped a faux-fur scarf in it. I don't know how set I am on this look, but for now I think it will do! I really like that all three pieces are varying shades of light brown.


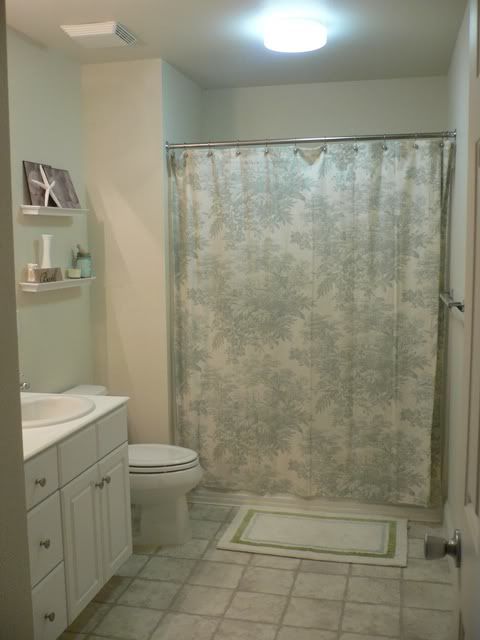
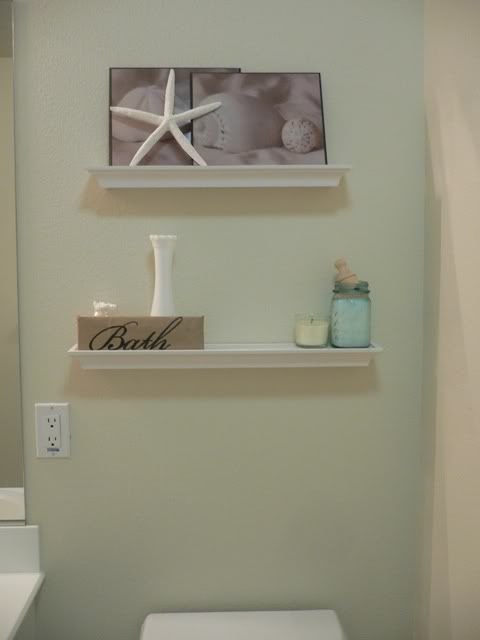
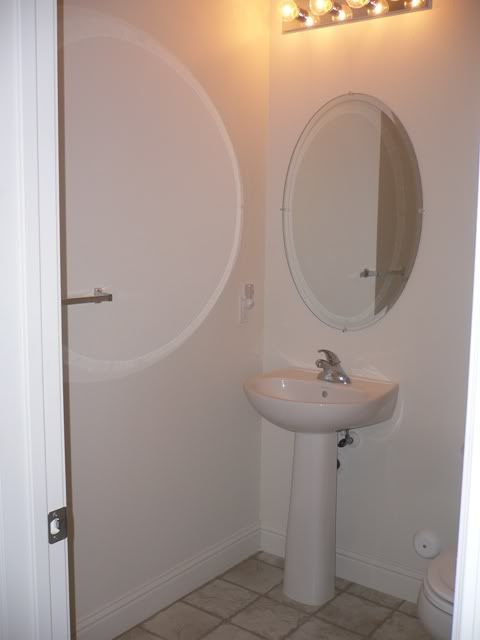
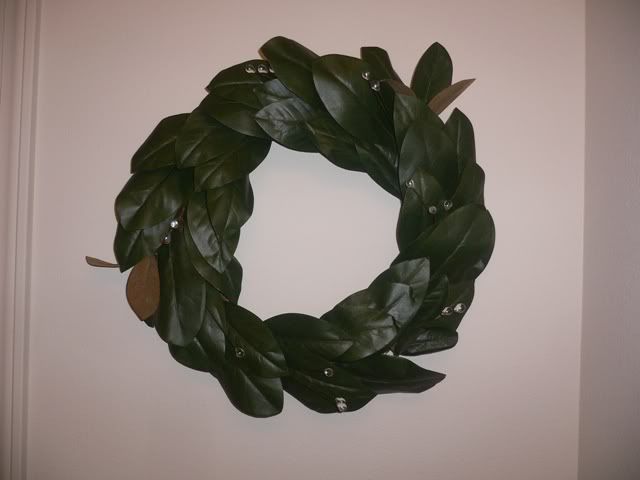
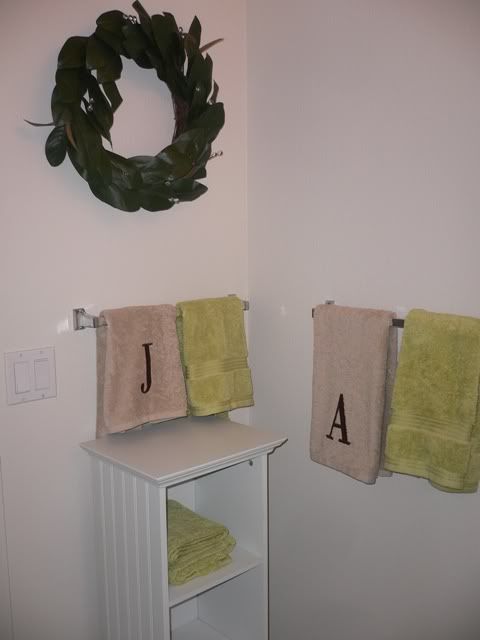
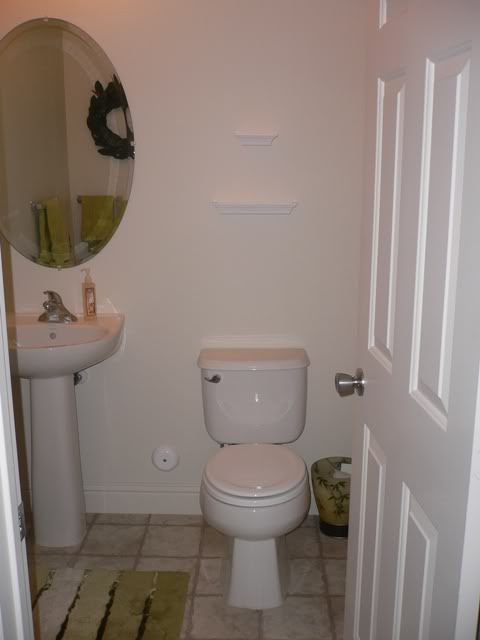
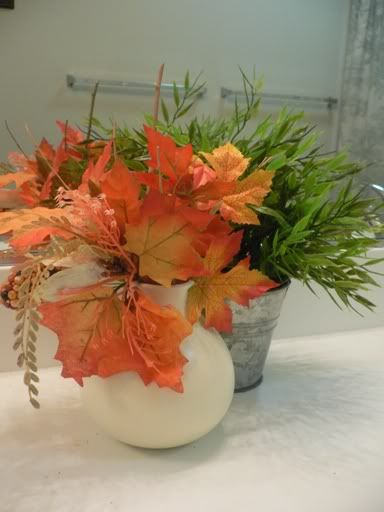
I knew the guest bathroom was going to be a little bit harder since it's done in shades of blue and white, and it has more of a coastal feel to it. But, being inspired by my white on white pumpkins from the living room, I figured hauntingly ethereal was the way to go...with just a pop of color.


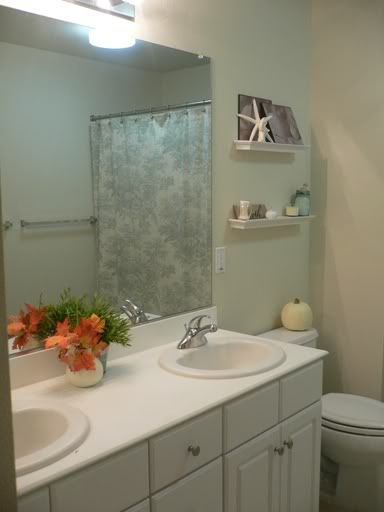
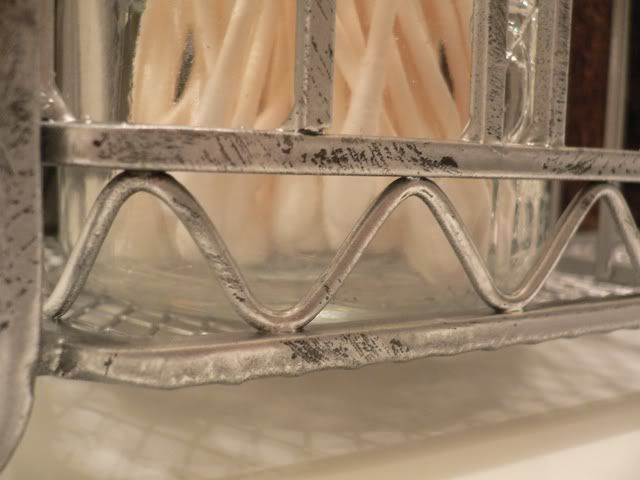
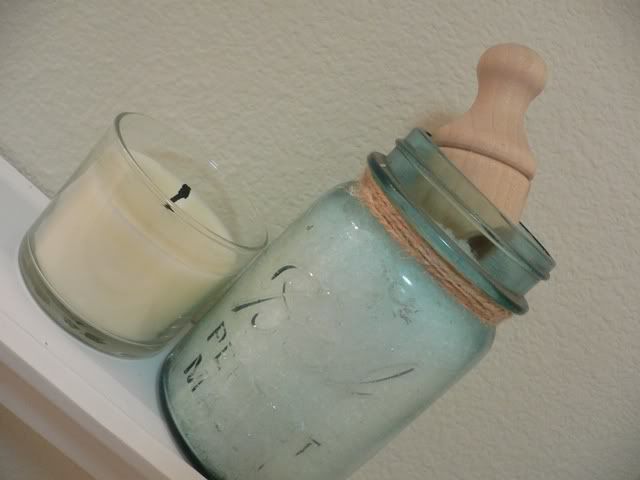
I love the round shape of this vase. It reminds me of a pumpkin.


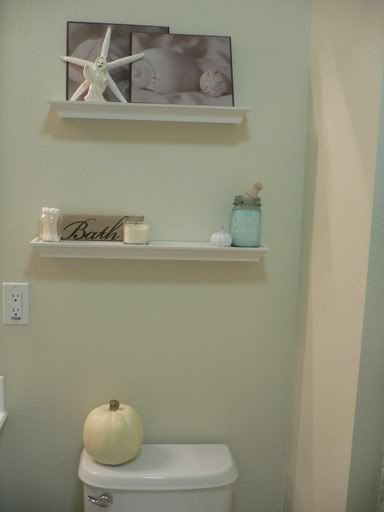
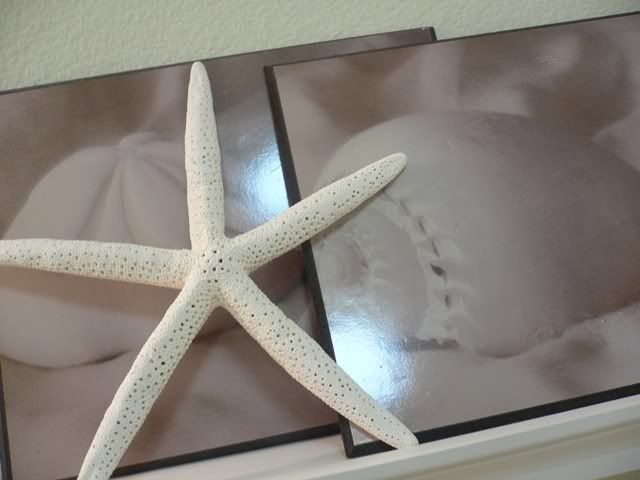
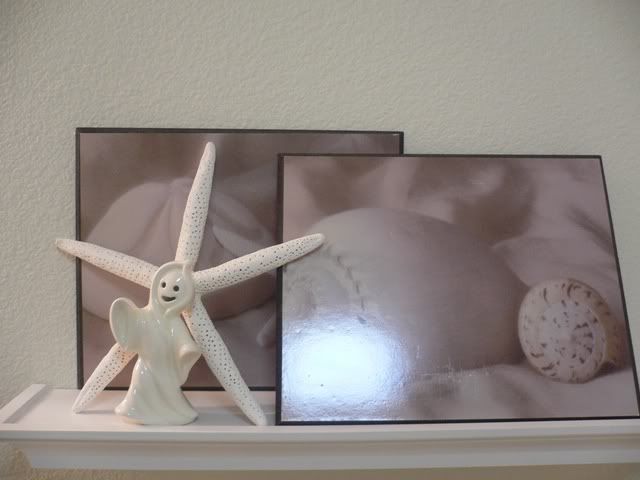
Although it's a little early to whip out the ghosts and goblins, I love this old white figurine my grandmother gave me years ago. I found him hiding out in a little box.


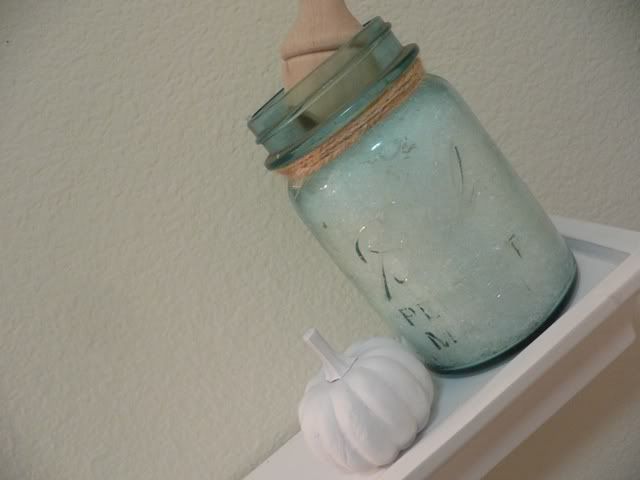
The little white pumpkin actually came off a floral pick. I just gave him a shot of primer. I didn't even bother to paint him another color--I liked the dull flat look of the primer.


And there you have it! Two more rooms completed and $0 to do it! It's amazing how far a few springs of leaves can go and what a little spray paint can do. I'm definitely inspired to try and keep these updates as free as possible. Of course, I have three more rooms to go and I'm running out of decor! Guess a trip to the Dollar Tree is in my future! ;)

I'm linking up to:
Domestically Speaking
The DIY Show Off

August 19, 2010

Little projects that make a big different

I recently had one of those great DIY days where you get a ton of little projects done that end up making a huge difference. At the end of it all your feet and hands are covered in spray paint, but those itty bitty accessories can make an entire room--or just a vignette--complete.

The first project I completed was a shelf for the wall unit in our living room. I had a make shift skinny piece of wood down, but I hated how puny it looked. The original shelf would work, but since I flipped the unit around, the shelf had to get the same treatment. Of course, this left a lot of raw edges. Thankfully, I still had some leftover wood trim so I ironed some on!


For some odd reason, when I flipped the shelf it didn't fit in the cubby the way it did before. It slid back and forth. So while a little on the ghetto MacGuyver side, I trimed off some cardboard and applied it using Liquid Nails. The thickness was perfect and the shelf fit nice and snug.


A couple coats of Rust-Oleum later, and this was one project I could cross off my "I-didn't-quite-finish-it" list.


Next, my grandma gave me this little utensil holder about a month ago. It was too cute to pass up, even though I didn't know what I was going to do with it. I decided that it would make a perfect bathroom caddy with a little reimagining and a coat of paint.


However, once the paint was one, I decided that I didn't really want to silver to be so "perfect." I wanted it to look a little more tarnished. So while the silver was still wet I grabbed a rag started blotting.


The results were perfect--er not so perfect and little tarnished looking.


I loaded it up with a mini-mason jar full of q-tips, lotion, wash cloths, and our toothbrushes and accessories.


I took a cue from House of Hepworths, and used a little spray paint on the bottles to spruce them up, make 'em match, and make 'em pop. The lotion bottle is an old Bath & Body Works bottle that I just refill with whatever lotion I'm using at the time. The other is a Listerine bottle that I refill with mouth wash whenever it gets empty.


So, there we go! Just a couple little projects that help polish off the big picture. Have any of my dear readers finished a few little projects that made a big difference? =D Share share!

August 12, 2010

Lucy made me do it

The other morning I was getting ready for yet another job interview, and I was "sweatin' like a whore in church" (to use a phrase from Joy Darville). I ran to open our bedroom windows, but thanks to the narrow hallway that leads to our bathroom, very little of the breeze was getting to me. "I needs me a fan!" I said to my sweating reflection (yes, just like that). So the next day I started my hunt.

I wanted something that was at least retro looking, even if it wasn't really authentic vintage. I luvred this one that the Petersiks got for baby Clara's nursery. It's by Deco Breeze.


Photo courtesy of Young House Love

But after perusing Amazon and Google, I couldn't quite find this model, and I wasn't too keen on their others. So I started hunting on etsy, knowing that I would find at least one fan I would like. Little did I know, I found one that made my heart skip a beat.


Not only did I pink puffy heart the color--it's the perfect shade of brown to break up all the chocolates going on between the bedroom and bathroom--but the brand, "Westinghouse," struck a little cord in me.

While recently watching one of my "I Love Lucy" discs, there was a special featurette that Desi and Lucy had recorded for one of their sponsors: Westinghouse! The featurette is way too long to find on YouTube and post here, but I wanted you to see one of their old commercials.


Check out that advanced "wireless remote director!"

There were several other fans on etsy that I liked just as much, but I'd be totally lying if I said that the Westinghouse brand wasn't a selling point. ;) I can't wait to see how it looks in our bathroom--and I can't wait for my next hot shower so I can use this little baby!

July 29, 2010

And so ends the $400 Pottery Barn card

Remember when I had to take back aaaaallllll that merchandise I'd stocked up on? Originally, I thought it was around $300 but in the end it was well over four (ah, back when we had money). No, I didn't get my money back (which would have been nice) but I did get every dime back on a gift card. And hey, that's just as good!

It took me almost five months to spend all that merchandise credit, and I think I did a damn good job of it. I stretched that card for all it was worth! I could have easily blown it all on one big purchase, but I was much happier to spend it on accessories that were on clearance, or use it when I didn't have any real money to spend (ahem! like now!). Among other things, I purchased all sorts of pillow covers, table top accessories, a lantern for the pub, dishes, and last week I bought my final items--and came down to having a ¢97 balance on my card (and don't think I won't still use that on my next buy)!

I bought two more of the tiny galvanized tin buckets, like the one in our living room tray. I plan on using these as planters in the bathrooms. They make the best planters!


Then I purchased one each of their his and her enamel signs for our master bathroom. These are new in their catalogue and the minute I saw them I fell in love. I plan to replace our current hooks with something cuter and hang these above them.


And since I was in a bathroom state of mind, I whipped up this super cute "welcome" sign for the guest bathroom. I totally cannot take credit for how smart alecky it is. I got most everything (except the Marine Corps bits) from Polly at Make Mine Beautiful. So, prop prop Polly! I'm giving credit where credit is most definitely due.


As soon as I can replace our printer ink and find a cute frame I'll print it out. Of course, I'll also have to grab some little travel sized toiletries from Wal-Mart too! ;) Oh, and just for the record, it actually says "Our-Last-Name Bed & Breakfast," not just our initial.

I think I'm proud it took me so long to respend that money. Because the first time I racked up the bill in was in one fell swoop. Oh how the mighty have fallen. But, I think it's also taught me a valuable lesson: don't spend it all in one place!

June 28, 2010

Just another minisode

The series is called, "Amber Can't Keep Her Mind Focused On Just One Project These Days." Okay, so it's a bit of a mouth full. But, hey, I'm getting other things done in the meantime. I think the real issue is I have virtually no DIY funds right now (housing issues--trying to sell the house back in NC, which means no renters and no rental income!) so I'm having to tackle smaller projects that don't use any of our precious resources! This is why I like bathrooms! They're small, they're simple, and few things can make a huge impact!

I stuck to shades of blue and green in this bathroom. Jason picked out the Matine toile shower curtain before he left back in March--I swear I had no input on this one! The man just has good taste! ;)


Finally hung the shelves I bought for the last bathroom mini-make-over. I think I might want to get some sturdier ones down the road though...


The starfish used to reside in the office, but I like it better in here. Kind of like he jumped out of one of the photos.


The mason jar (which also used to reside in the office) is holding eucalyptus bath salts. I love this idea so much I think I'm going to do it in our bathroom with some large clear ones! Move over apothecary jars! Mason jars are the new bathroom accessory (you heard it here)!


The little bath sign was a DIY project using a paper bag for some texture, and I just stenciled and hand painted the letters (hence the less than perfect edges).


And last but not least, a little greenery. I had two ferns that I was trying out elsewhere in the house, but they looked too dental. So I gave them a hair cut and moved 'em! Supposedly, ferns do well in bathrooms since they need to stay out of direct sunlight. I guess we'll see! Since I didn't have any pots, I just spray painted the plastic container in Rust-Oleum's Heirloom White and set it on an old teacup saucer.


I still have a few more things I need to get when budget allows. A trash can, some towels, and maybe a few counter top accessories are in order, but for now, at least it looks pleasant and usable! ;)

March 20, 2010

one day to a better bathroom

My mom came and stayed with me to get me past the first few days of Jason's deployment. Of course, my mother being my mother, she immediately wanted to start "helping" her daughter with her house. This is Mom's term for: my dishes aren't done, my Tupperware isn't sorted, a few rooms still have boxes in them, and so on and so forth. But thankfully, this time she took a break from digging through my cupboards and focused her attention on one of the rooms I've somewhat neglected in my mad overhaul of the first floor: the downstairs bathroom.


Pretty sad, huh? Especially when you figure that this is the bathroom most everyone sees. This is the bathroom that gets used the most. How could I have overlooked such a small room that would have taken no time at all decorate?! In my defense, my mind has not exactly been up to speed lately.

Mom and I went down to the mall and swung into Pottery Barn (where I finally returned over $400 worth of merchandise, eek!) for a little day trip. Off in the clearance corner we found a wreath that was so simple and yet so gorgeous. It was marked down to $12 (from $50) so we each got one. On our way back home Mom randomly says, "I'll bet that wreath would look good in your bathroom." And the next thing I knew, we were planning the entire space around this $12 wreath.


The glass beads on this candle holder (from Cost Plus World Market) mimic the ones in the wreath so well it's almost funny!


The bathroom has zero storage space for downstairs guests who might spend the night on our sleeper sofa. This $60 étagère from Bed Bath & Beyond is almost a dead ringer for this one from Pottery Barn which goes for $280--but mine has bead board on the sides which makes it that much cuter.


I love the mix of the bright citrus green with the twiggy brown towels (also from BB&B).


The bath mat ties all the colors together and hides some of our lovely linoleum flooring. A box of four shelves ($30 from BB&B) gave me two smaller ones to use down here and two larger ones to use in our full guest bathroom upstairs. Their small scale works perfectly for this room (kind of hard to see--above the toilette). I still need to accessorize them and the top of the tank.


One day of shopping and putting together and what a difference! Is it odd that I absolutely love walking by the room now? I just wish all my revamps were this easy!

I'm linking up to:
Transformation Thursday @ The Shabby Chic Cottage