Showing posts with label Crafts. Show all posts

September 14, 2010

How did we do?

I'm really trying to get back in the habit of referring to myself as a we instead of a me. It's amazing how quickly you get back into the "I, me, my" mindset when your loved one is gone for a while. So, if you've seen me referring to our house as my house, or our room as my room, please forgive the slip of the tongue. Fingers? Anyhoo.


- Re-hang curtains in bedroom
- Finish & hang shelves and brackets
- Home Depot for primer & black paint
- Finish painting pottery
- Tidy living room
- Purchase printer ink
- Make fall sign for cubby
- Make Halloween sign for cubby
- Print pictures for frames
- Put away dishes
- Clean off & set dinning room table
- Return fan
- Decorate guest bedroom and bathroom for fall


I hadn't planned on making a Halloween sign, or decorating two of my upstairs rooms, but I did them anyways! ;) The shelves are all painted and assembled, but I wanted to give the liquid nails a little longer to cure before I go hanging them on the walls (I used liquid nails and screws to attach the brackets to the shelves). And I'm still hoping to return my fan sometime this week! Overall it looks like I was very productive this weekend, but I also feel like I should have (and could have) done much more. Mom's coming over for another weekend stay, so hopefully we'll have this place all stitched up by Sunday night!

If you missed my multitude of posts over the weekend--I'm making up for lost time I tells ya!--here's what you missed (click on the descriptions to go to the posts):

See my hair-raising impression of Roseanne Rosannadanna



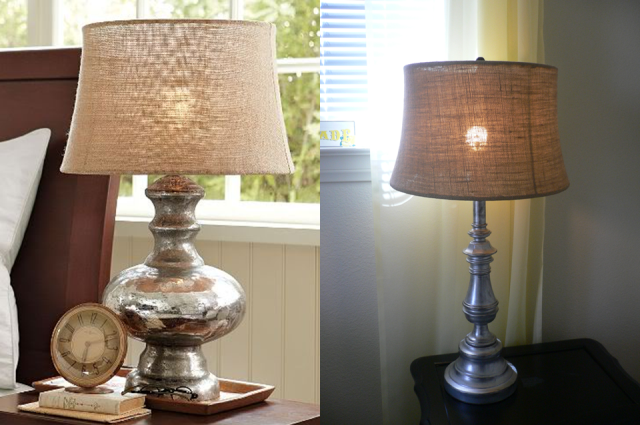
UPDATED: My Pottery Barn Knock-Off Lamp


See part two of my fall decorating bonanza: the guest bedroom & bathroom


Now, if you'll excuse me, I have to go make some moolah so I can continue funding the remaining projects I have! Is it bad that I already have more compiling inside my little brain? :)

September 13, 2010

$0 fall decorating part two: the guest room & bathroom

Last time, I shared how I did our downstairs for one of my favorite seasons. I made the decision (as I was dragging everything out of their boxes) that this would be the year that I actually extend my holiday decor into the other rooms of our house. I've always hated having the downstairs so warm and cozy and full of the seasonal colors, and then the upstairs is blaaaaaaah. Insert the sad trombone sound here.

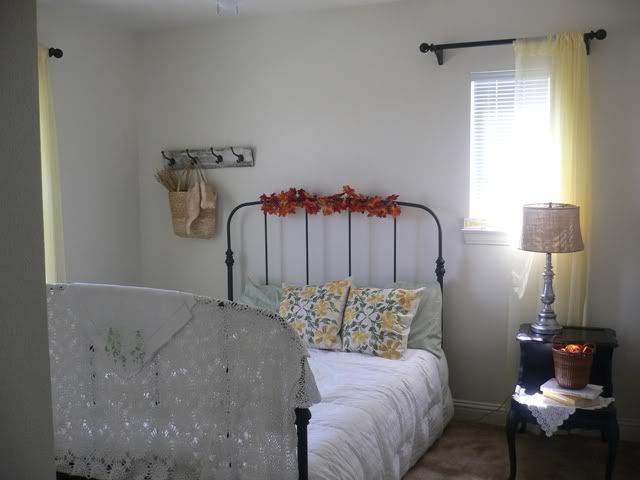
So I decided, in small doses, I would bring the seasons throughout the entire house. I started with our guest bedroom. I'm so happy to chose to go with yellow in this room. Granted, I have no idea how it's going to look come Christmas, but throughout spring, summer, and fall this hue has been perfect.


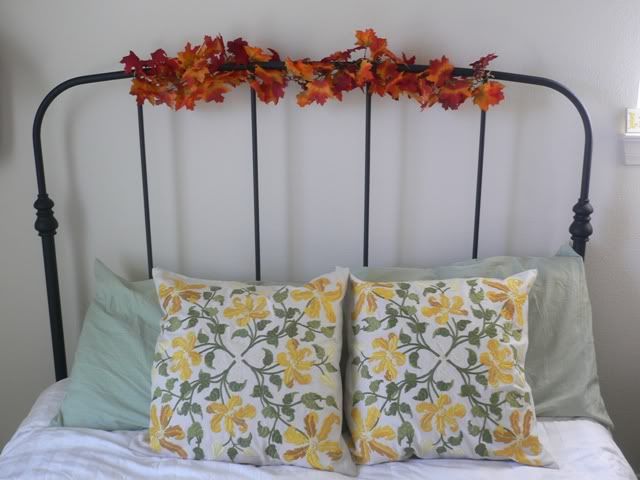
I used jute twine to tie some fall foliage to the frame. Not too much, but just a little crown at the head of the bed.


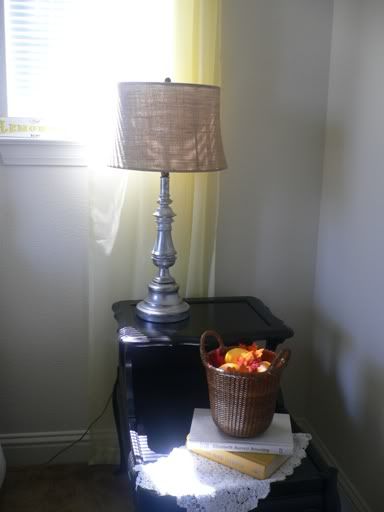
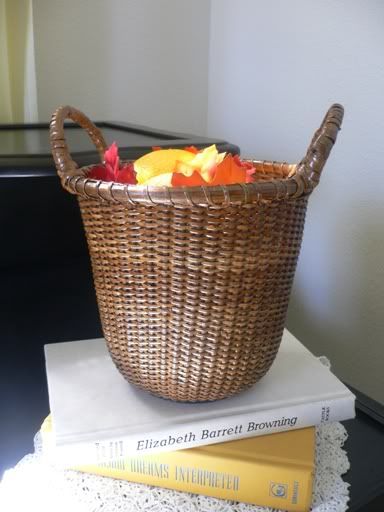
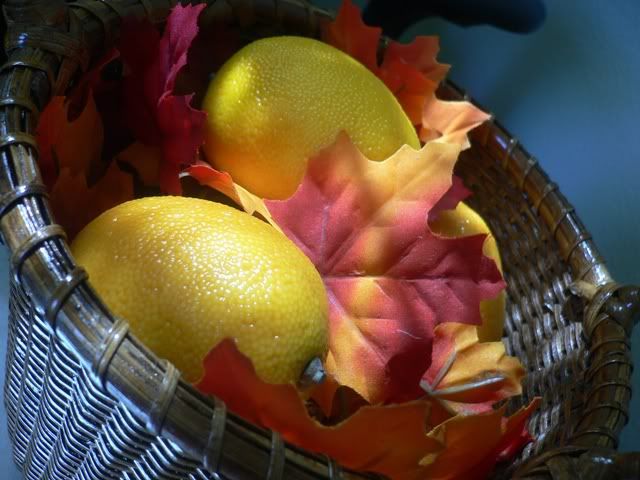
The side table also got a little autumn warmth injected into it. The lamp was remade with the addition of a burlap shade from Pottery Barn, and I switched out the (non-working) copper clock for the basket that used to be on our dinning room table. With a small bunch of the leaf garland and a few lemons added, not only does it feel more fall-like, but it still plays into the lemon theme this room ended up with.


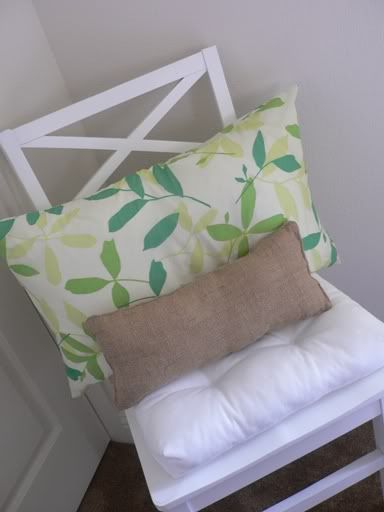
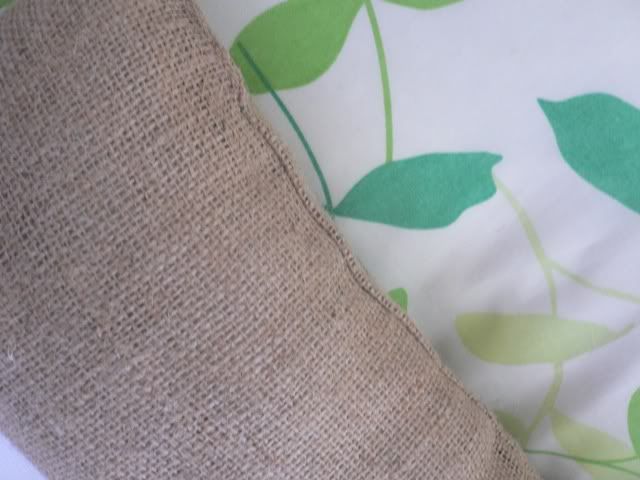
Next year I might consider making a new cover for the pillow, but I'm trying to do this on as close to a $0 budget as I can. So I just pulled out this itty bitty burlap pillow I had laying around in a box. Layers and texture: isn't that what it's all about?


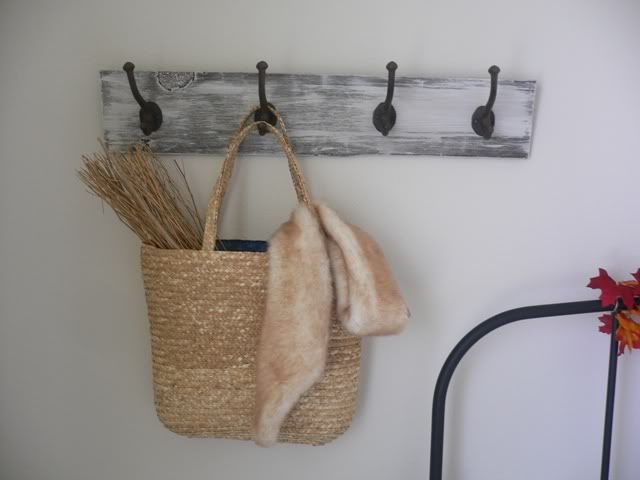
Last but not least, my DIY-etsy-knock-off rack also got a few new accessories. The straw bag is actually a beach bag that I picked up at Target's $1 Spot over the summer. I threw in some decorative twigs I had and draped a faux-fur scarf in it. I don't know how set I am on this look, but for now I think it will do! I really like that all three pieces are varying shades of light brown.


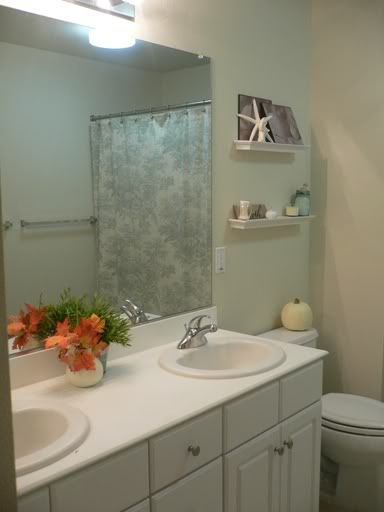
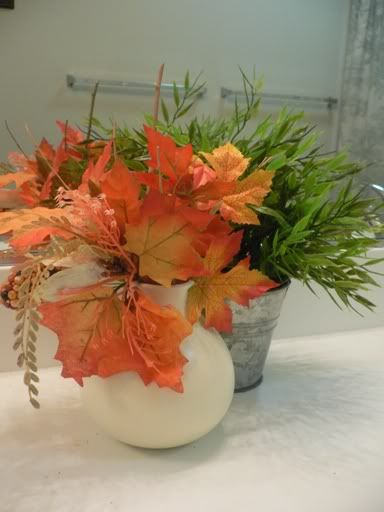
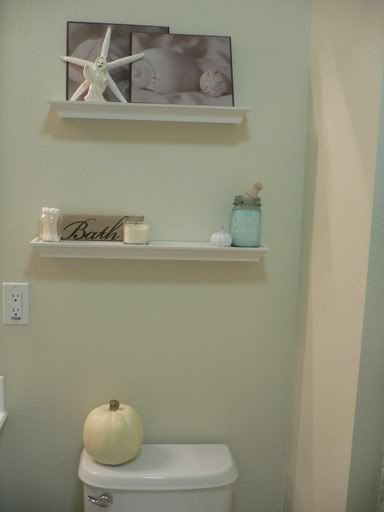
I knew the guest bathroom was going to be a little bit harder since it's done in shades of blue and white, and it has more of a coastal feel to it. But, being inspired by my white on white pumpkins from the living room, I figured hauntingly ethereal was the way to go...with just a pop of color.


I love the round shape of this vase. It reminds me of a pumpkin.


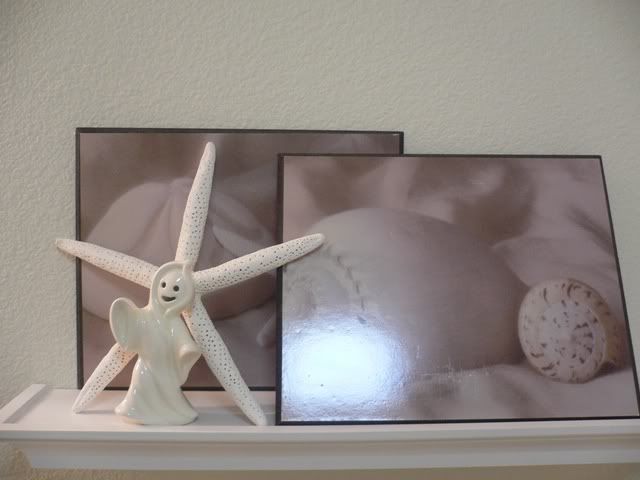
Although it's a little early to whip out the ghosts and goblins, I love this old white figurine my grandmother gave me years ago. I found him hiding out in a little box.


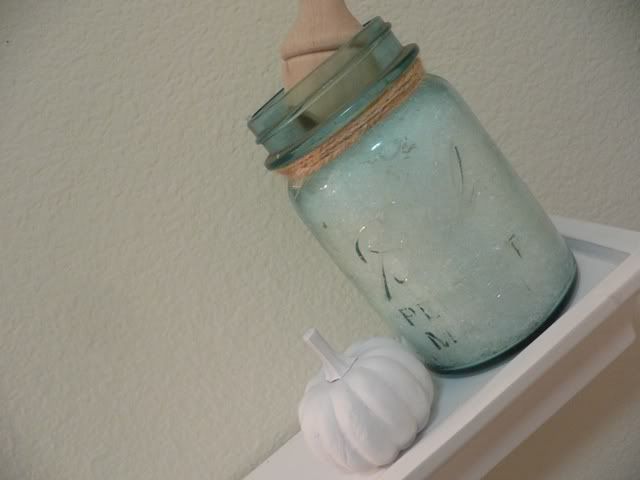
The little white pumpkin actually came off a floral pick. I just gave him a shot of primer. I didn't even bother to paint him another color--I liked the dull flat look of the primer.


And there you have it! Two more rooms completed and $0 to do it! It's amazing how far a few springs of leaves can go and what a little spray paint can do. I'm definitely inspired to try and keep these updates as free as possible. Of course, I have three more rooms to go and I'm running out of decor! Guess a trip to the Dollar Tree is in my future! ;)

I'm linking up to:
Domestically Speaking
The DIY Show Off

August 20, 2010

Cookies in bed

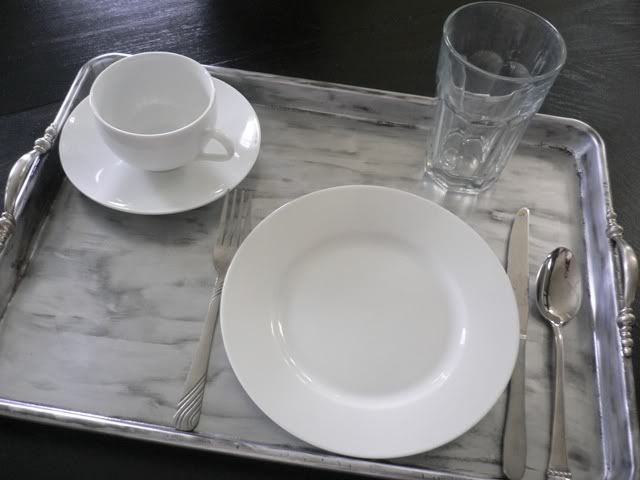
Jason and I love to eat upstairs. Actually, we love to eat anywhere but our kitchen table (ironic, isn't it since I put in so much work on it?)! The only thing about this habit is we tend to let the dishes pile up. When it's time to wash them, I grab a box and load them in to be carried downstairs. Well, the other morning while making breakfast (to be eaten upstairs) I thought, I wish I had a breakfast tray. I happened to see an old, extra large cookie sheet that my mom had just given me since it didn't fit in her oven. I grabbed it, planning to use it just as a make shift, but then I thought Why can't this be a breakfast tray?! And I set off to Home Depot. After breakfast that is.

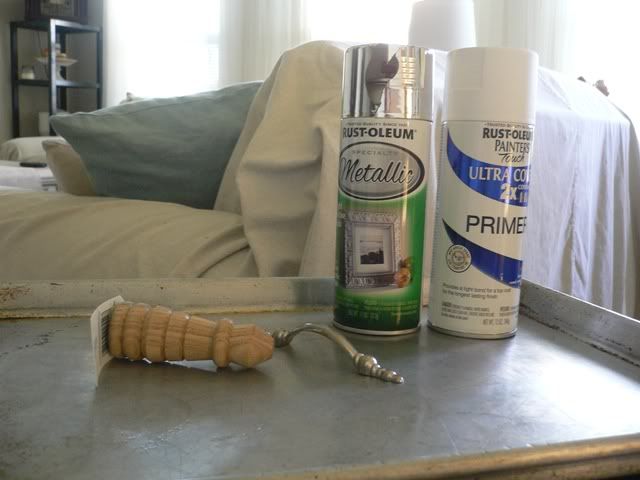
I picked up four little American Country-style wooden legs, Rust-Oleum primer, Rust-Oleum metallic spray paint, and two little silver handles.


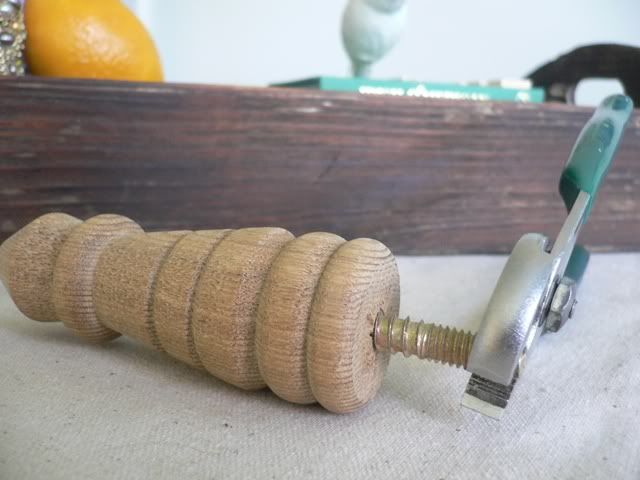
I removed the screws from the little legs (this can probably be done with almost any of the decorative wooden legs that Home Depot and Lowe's carry--just takes a good pair of pliers and some serious twisting).


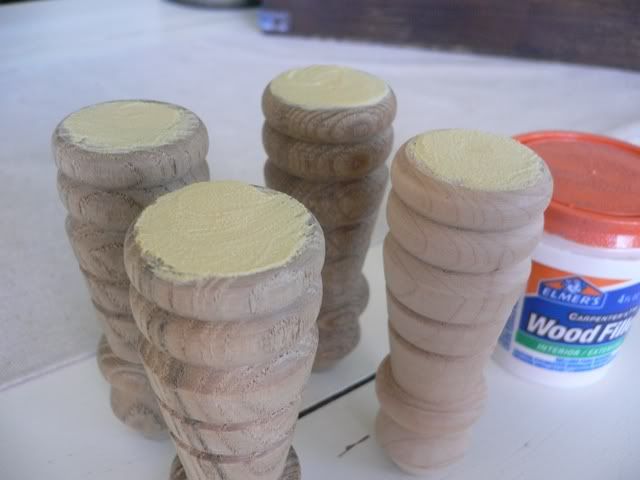
Next I filled in the tops with some wood putty and once they were semi-dry, I gave them a quick sanding. I find it's easier to sand wood putty when it's still a little moist.


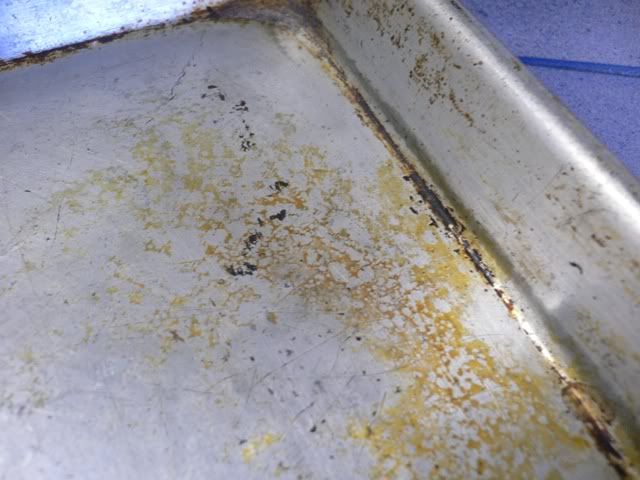
While the legs were drying, I took the cookie sheet out to my work table to give a good coat of primer. I was a little nervous since (like all cookie sheets) there was some built up grease that just would not come off.


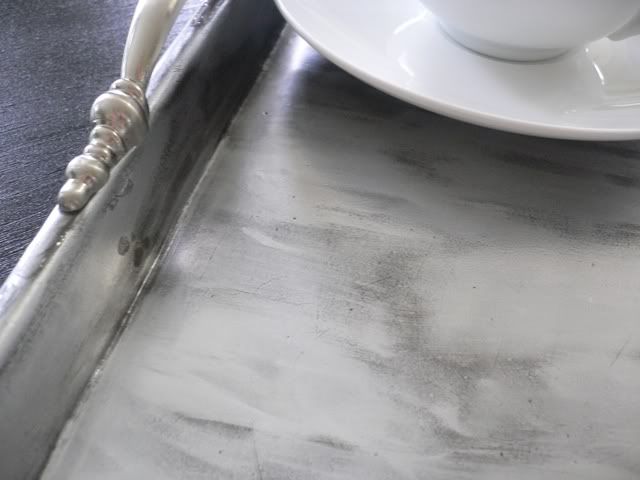
But, good old Rust-Oleum didn't fail to deliver! The primer covered all of the grease stains with no problem whatsoever. As the primer was drying I started looking at the handles I'd picked out. Originally, they were purchased because of their shape and easy epoxability (ease and ability to to be epoxy'd--it's totally a word, I don't care what Blogger spell check says). I didn't care what color they were, since I was thinking of painting them either oil rubbed bronze or a flat black/wrought iron color. But the more I looked at them, the more I really started to like them.


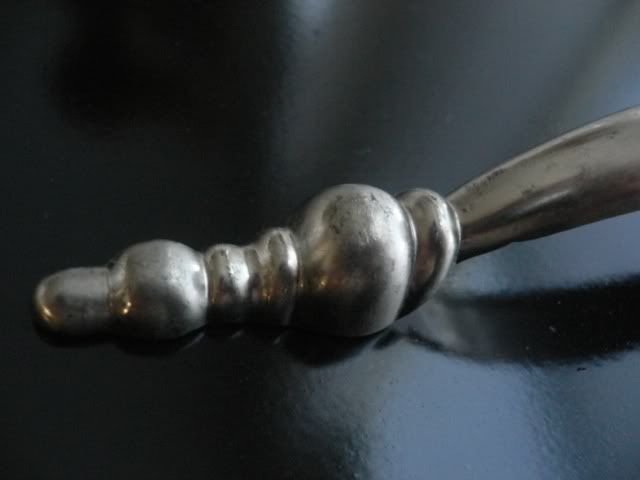
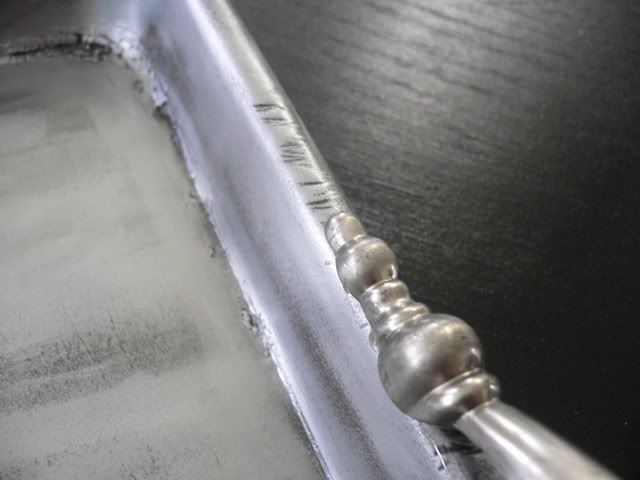
It's a little hard to see, but they have this liiiiiittle hint of tarnish on them. And suddenly painting the tray to a perfect silvery mirror-like finish seemed all wrong. And you know how much I like tarnish these days. So I decided to top my primer with some Rust-Oleum espresso paint and give 'er the old Rub 'n Buff treatment.


I applied the handles using Gorilla Glue Epoxy. I probably won't carry the tray by them when it's full of dishes, but they add a certain charm!


I decided against using the wooden legs because it just looked awful once they were on! Like, ridiculously. I tore them off with the plan to saw them down, but for one: unless I wanted to saw for over an hour with my hand saw or, two: chop off a finger with my jigsaw since the legs aren't exactly stable, I decided against it.


And since it's going to be sitting mostly on chairs, beds, and perching on desk corners...perhaps it's best to let it stand alone--er--leave it as is! ;)


So there you have it! My new $6 breakfast tray! I can't wait to get it on our bed when the room is complete.

August 19, 2010

Little projects that make a big different

I recently had one of those great DIY days where you get a ton of little projects done that end up making a huge difference. At the end of it all your feet and hands are covered in spray paint, but those itty bitty accessories can make an entire room--or just a vignette--complete.

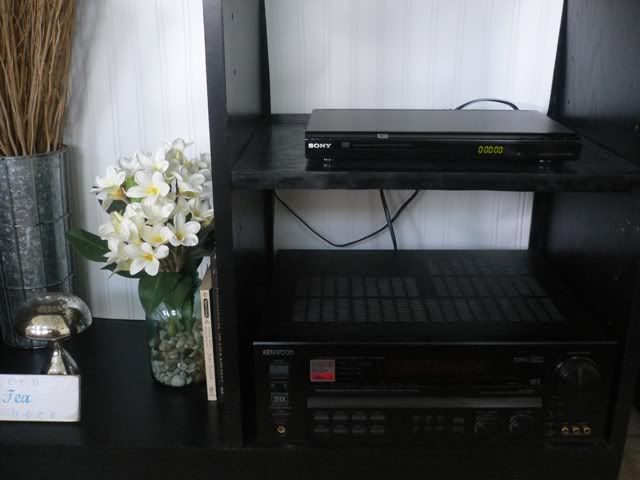
The first project I completed was a shelf for the wall unit in our living room. I had a make shift skinny piece of wood down, but I hated how puny it looked. The original shelf would work, but since I flipped the unit around, the shelf had to get the same treatment. Of course, this left a lot of raw edges. Thankfully, I still had some leftover wood trim so I ironed some on!


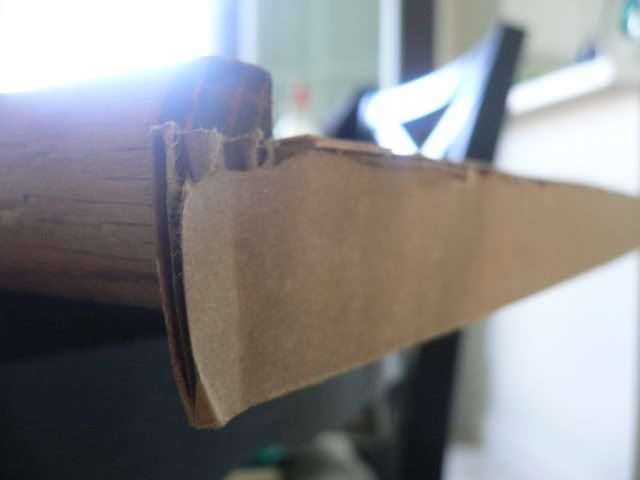
For some odd reason, when I flipped the shelf it didn't fit in the cubby the way it did before. It slid back and forth. So while a little on the ghetto MacGuyver side, I trimed off some cardboard and applied it using Liquid Nails. The thickness was perfect and the shelf fit nice and snug.


A couple coats of Rust-Oleum later, and this was one project I could cross off my "I-didn't-quite-finish-it" list.


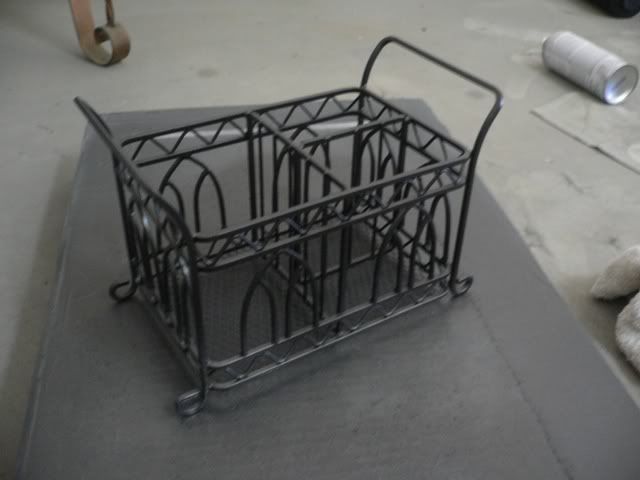
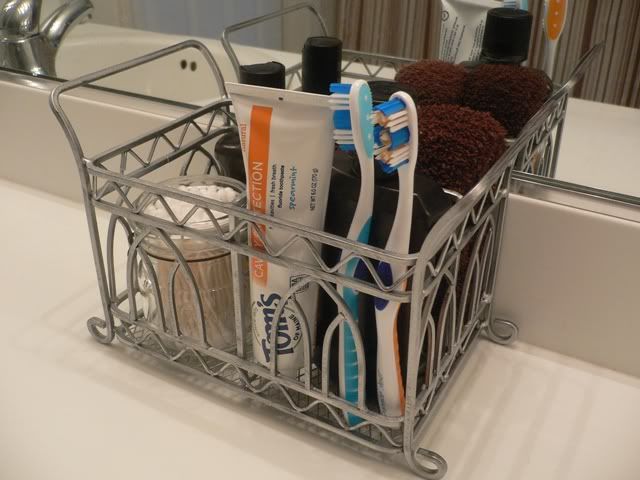
Next, my grandma gave me this little utensil holder about a month ago. It was too cute to pass up, even though I didn't know what I was going to do with it. I decided that it would make a perfect bathroom caddy with a little reimagining and a coat of paint.


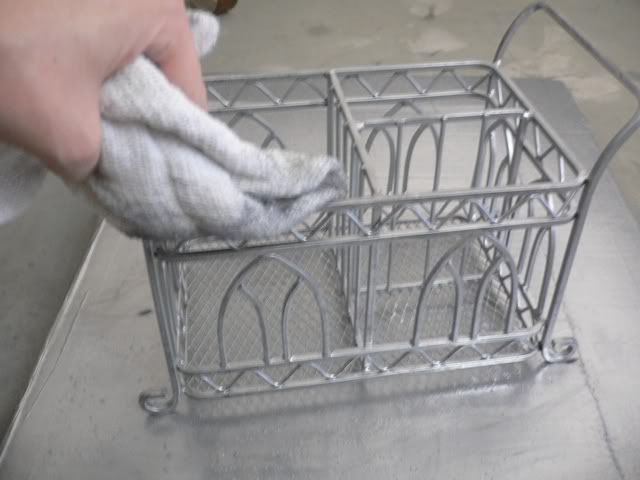
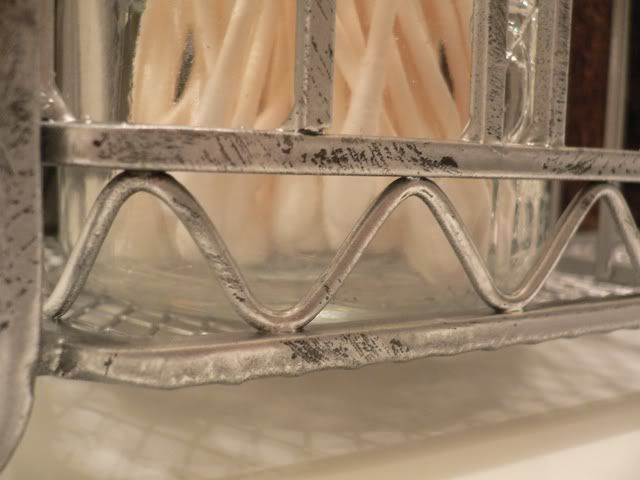
However, once the paint was one, I decided that I didn't really want to silver to be so "perfect." I wanted it to look a little more tarnished. So while the silver was still wet I grabbed a rag started blotting.


The results were perfect--er not so perfect and little tarnished looking.


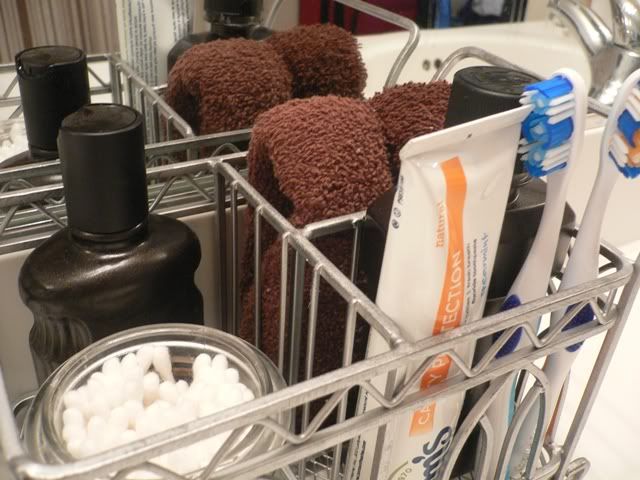
I loaded it up with a mini-mason jar full of q-tips, lotion, wash cloths, and our toothbrushes and accessories.


I took a cue from House of Hepworths, and used a little spray paint on the bottles to spruce them up, make 'em match, and make 'em pop. The lotion bottle is an old Bath & Body Works bottle that I just refill with whatever lotion I'm using at the time. The other is a Listerine bottle that I refill with mouth wash whenever it gets empty.


So, there we go! Just a couple little projects that help polish off the big picture. Have any of my dear readers finished a few little projects that made a big difference? =D Share share!

July 29, 2010

And so ends the $400 Pottery Barn card

Remember when I had to take back aaaaallllll that merchandise I'd stocked up on? Originally, I thought it was around $300 but in the end it was well over four (ah, back when we had money). No, I didn't get my money back (which would have been nice) but I did get every dime back on a gift card. And hey, that's just as good!

It took me almost five months to spend all that merchandise credit, and I think I did a damn good job of it. I stretched that card for all it was worth! I could have easily blown it all on one big purchase, but I was much happier to spend it on accessories that were on clearance, or use it when I didn't have any real money to spend (ahem! like now!). Among other things, I purchased all sorts of pillow covers, table top accessories, a lantern for the pub, dishes, and last week I bought my final items--and came down to having a ¢97 balance on my card (and don't think I won't still use that on my next buy)!

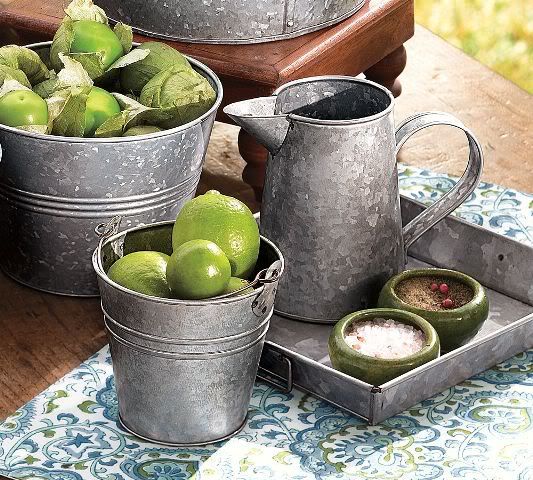
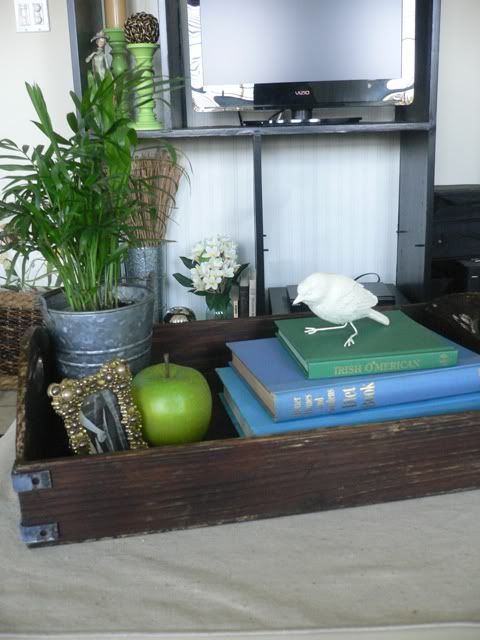
I bought two more of the tiny galvanized tin buckets, like the one in our living room tray. I plan on using these as planters in the bathrooms. They make the best planters!


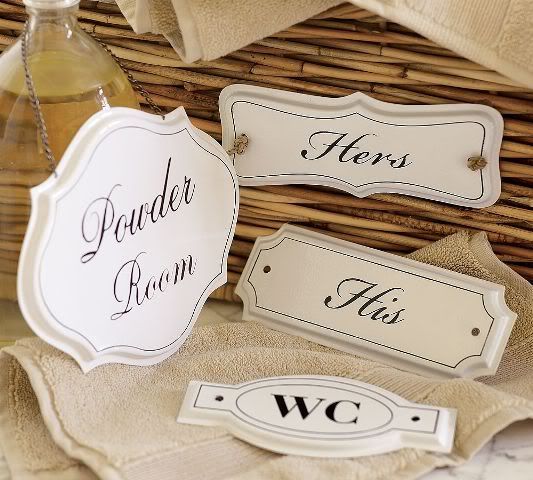
Then I purchased one each of their his and her enamel signs for our master bathroom. These are new in their catalogue and the minute I saw them I fell in love. I plan to replace our current hooks with something cuter and hang these above them.


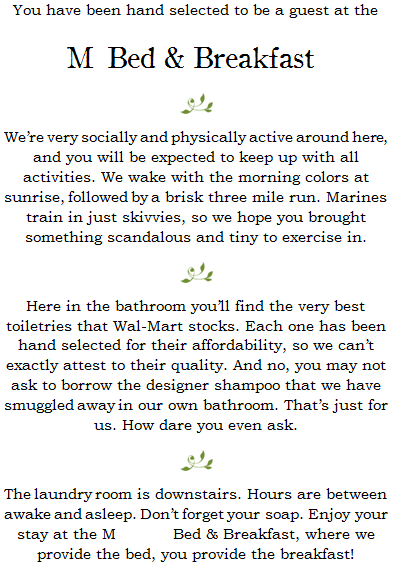
And since I was in a bathroom state of mind, I whipped up this super cute "welcome" sign for the guest bathroom. I totally cannot take credit for how smart alecky it is. I got most everything (except the Marine Corps bits) from Polly at Make Mine Beautiful. So, prop prop Polly! I'm giving credit where credit is most definitely due.


As soon as I can replace our printer ink and find a cute frame I'll print it out. Of course, I'll also have to grab some little travel sized toiletries from Wal-Mart too! ;) Oh, and just for the record, it actually says "Our-Last-Name Bed & Breakfast," not just our initial.

I think I'm proud it took me so long to respend that money. Because the first time I racked up the bill in was in one fell swoop. Oh how the mighty have fallen. But, I think it's also taught me a valuable lesson: don't spend it all in one place!

July 26, 2010

It's time now for another episode of ACKHMFOJOPTD

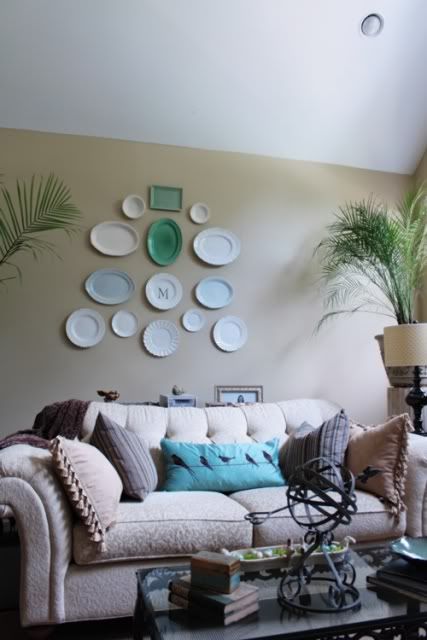
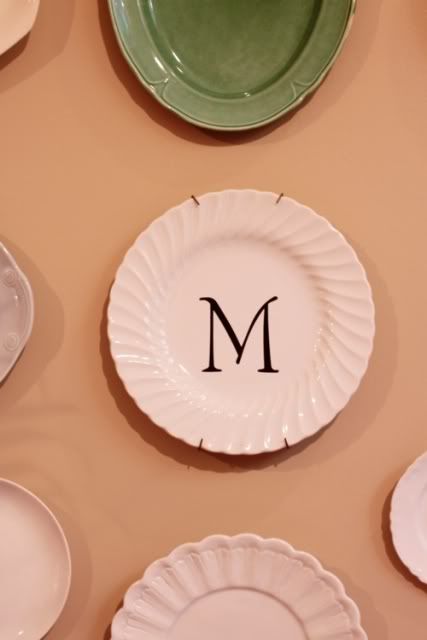
That's "Amber Can't Keep Her Mind Focused On Just One Project These Days." I was catching up on my blog reading, as I'm wont to do these days since I can't read them as regularly as I used to. I was drooling over Rhoda's new plate wall, especially loving her little M plate.


image from Southern Hospitality


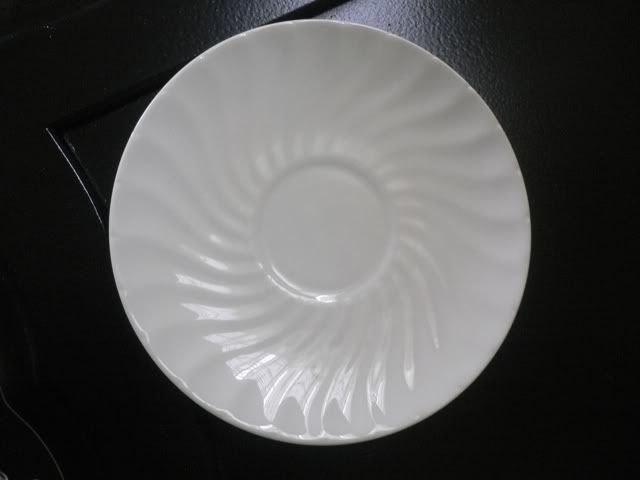
image from Southern Hospitality

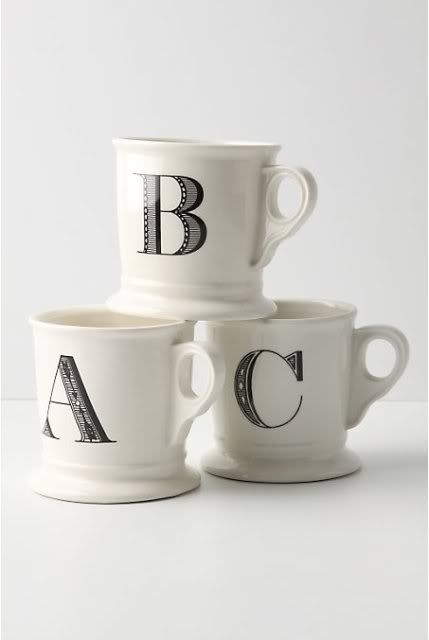
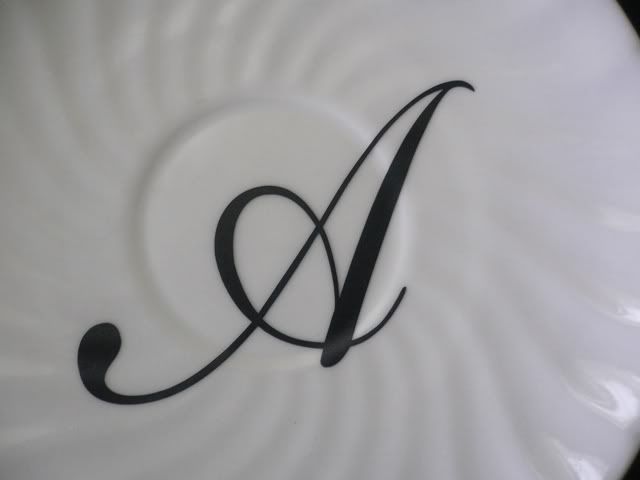
I've always loved vinyl letters on white dishes, and it's a project I've been wanting to do for a while. Then I remembered: I had both things downstairs in my kitchen, just waiting to be used!


I picked up these little white saucers for only ¢10 each at a Knights of Columbus flea market back in North Carolina. Of course I picked up the tea cups that went with them, but over the years the saucers held up better than their mates. I never had the heart to toss them out and now I'm glad I didn't!

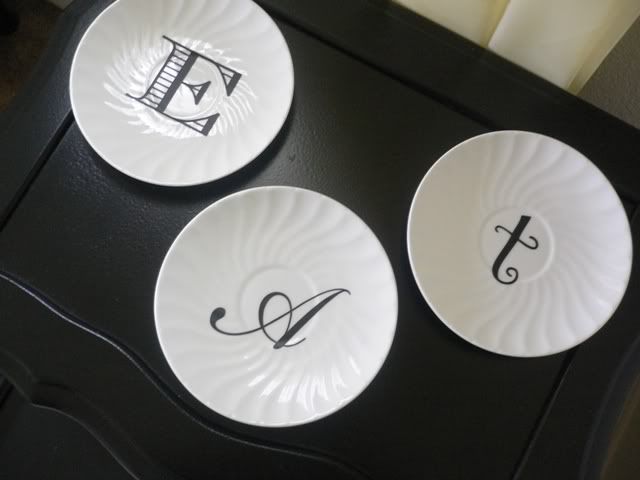
I'd ordered three little letters spelling out E-A-T from Leen the Graphics Queen probably over a month ago. My plan had been to make some Anthropologie inspired cups to hold some silverware.


The thought didn't exactly come through as planned, so I've been hanging onto the little letters, hoping that I could find another way to use them. Well...I think you know where I'm going with all of this...


I wasn't sure if having identical plates was going to look right, since most plate walls are done with a mixed assortment. But since each one of the fonts is different, I think by using matching plates it helps keep it somewhat in line. Different plates and different fonts might have looked too haphazard. I have some Disc Hangers on their way, so now all I have to do is decide where to hang them at! I might have a spot all picked out, but we'll see. When your entire downstairs is an open floor plan, hanging cute little crafts like this becomes a test of your skills.

Stay tuned!

June 28, 2010

Just another minisode

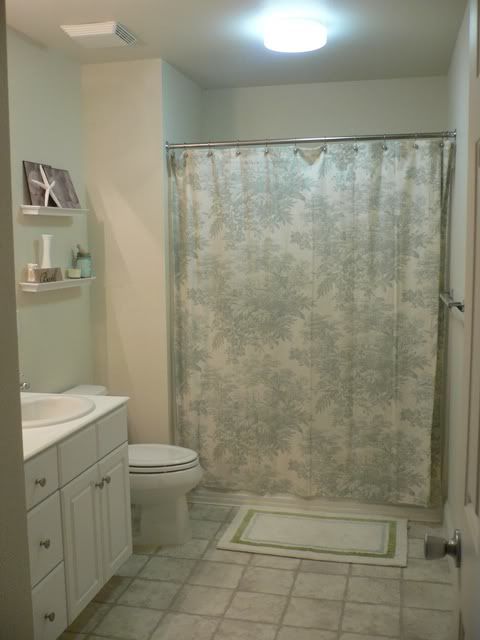
The series is called, "Amber Can't Keep Her Mind Focused On Just One Project These Days." Okay, so it's a bit of a mouth full. But, hey, I'm getting other things done in the meantime. I think the real issue is I have virtually no DIY funds right now (housing issues--trying to sell the house back in NC, which means no renters and no rental income!) so I'm having to tackle smaller projects that don't use any of our precious resources! This is why I like bathrooms! They're small, they're simple, and few things can make a huge impact!

I stuck to shades of blue and green in this bathroom. Jason picked out the Matine toile shower curtain before he left back in March--I swear I had no input on this one! The man just has good taste! ;)


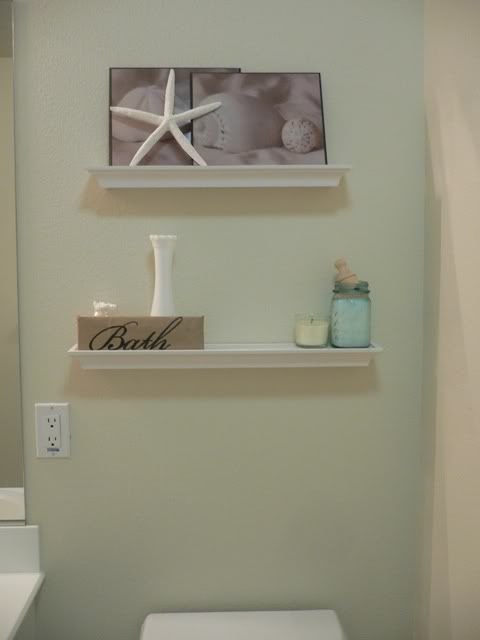
Finally hung the shelves I bought for the last bathroom mini-make-over. I think I might want to get some sturdier ones down the road though...


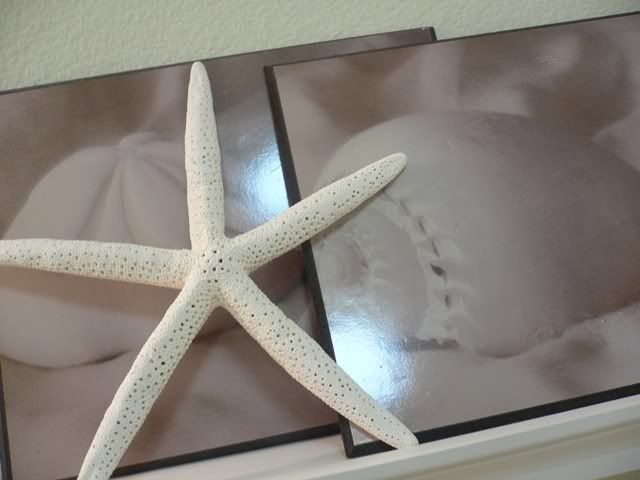
The starfish used to reside in the office, but I like it better in here. Kind of like he jumped out of one of the photos.


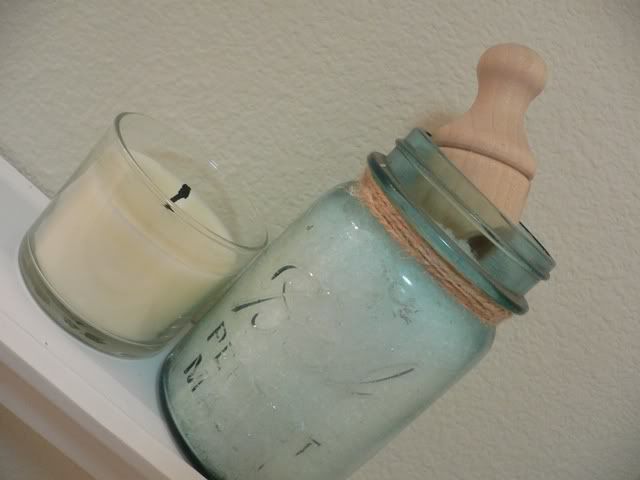
The mason jar (which also used to reside in the office) is holding eucalyptus bath salts. I love this idea so much I think I'm going to do it in our bathroom with some large clear ones! Move over apothecary jars! Mason jars are the new bathroom accessory (you heard it here)!


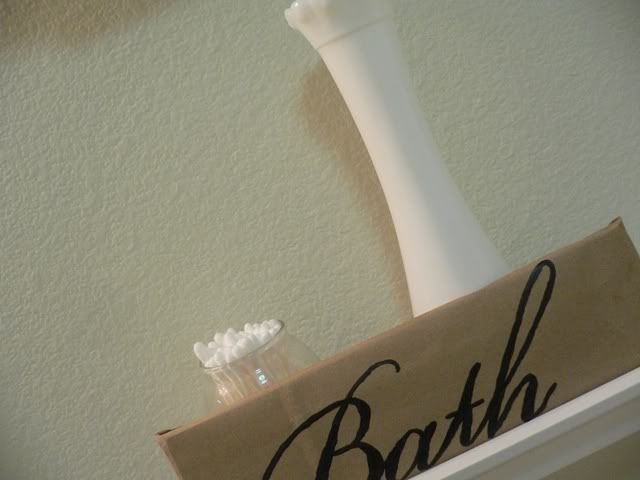
The little bath sign was a DIY project using a paper bag for some texture, and I just stenciled and hand painted the letters (hence the less than perfect edges).


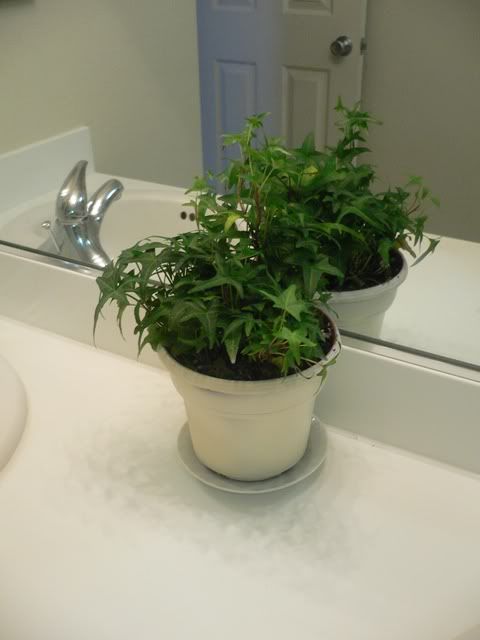
And last but not least, a little greenery. I had two ferns that I was trying out elsewhere in the house, but they looked too dental. So I gave them a hair cut and moved 'em! Supposedly, ferns do well in bathrooms since they need to stay out of direct sunlight. I guess we'll see! Since I didn't have any pots, I just spray painted the plastic container in Rust-Oleum's Heirloom White and set it on an old teacup saucer.


I still have a few more things I need to get when budget allows. A trash can, some towels, and maybe a few counter top accessories are in order, but for now, at least it looks pleasant and usable! ;)