


I'm loving my newest accessory for the guest bedroom! I really don't know what to call it. It's not a coat rack, but simply calling it a rack sounds so much like my husband and his Marines on a Friday night wrong as well. So if anyone can come up with a good name, I'm all ears!
Before I get into the tutorial, I'd like to take a moment and give a shout-out to eBay seller Texas Home Decor, which is where I bought my hooks from. They were an amazing price--at about $3.50 a piece with shipping included, you can't even find plastic look-a-likes at Target for that price, and these are actual cast iron. But the cherry on top was that after ordering them on Friday afternoon they were already in my (California) mailbox by Monday! You better believe that at 11:30 Monday night I was running to my mailbox after checking the tracking info and seeing that DELIVERED message. (Yes, I checked my mail at 11:30 at night. Jason and I have always been bad about checking our mailbox everyday and it's not uncommon for our mail to pile up for three or four days before we retrieve it.)
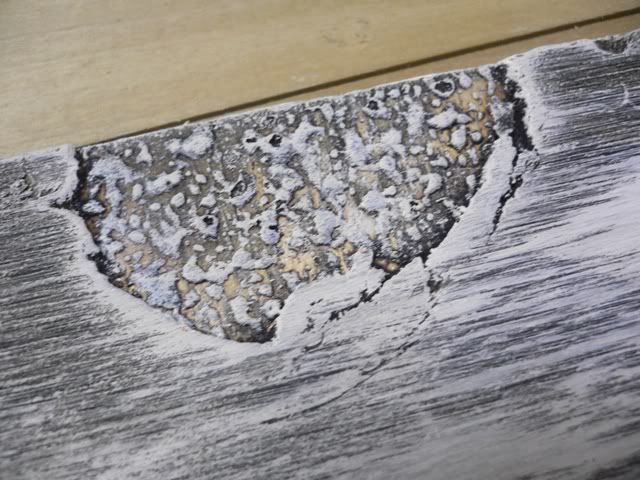
Okay, moving on...first things first I measured my wall and used my inspiration as a guide for the size. I chose to do 27" x 5". I used a piece of my $0.51 plywood that I had planned on using on the wall unit--just so happened, it was 27" in length exactly! But as you can see, my jigsaw skills still aren't the greatest. They're getting better though! Since I'm going for the whole imperfect-reclaimed-wood-look I figured it just adds character! ;)
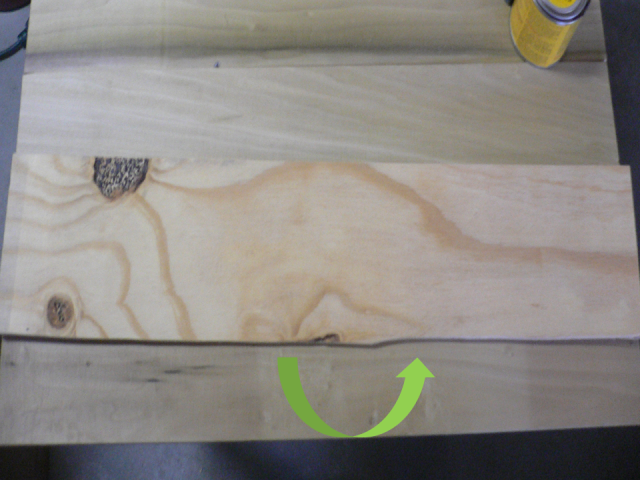
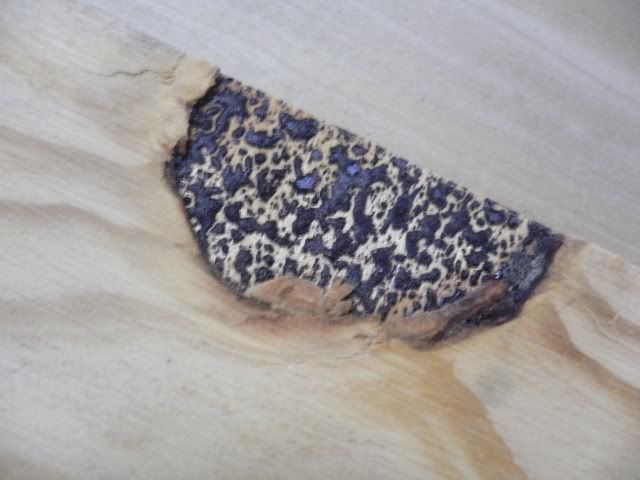
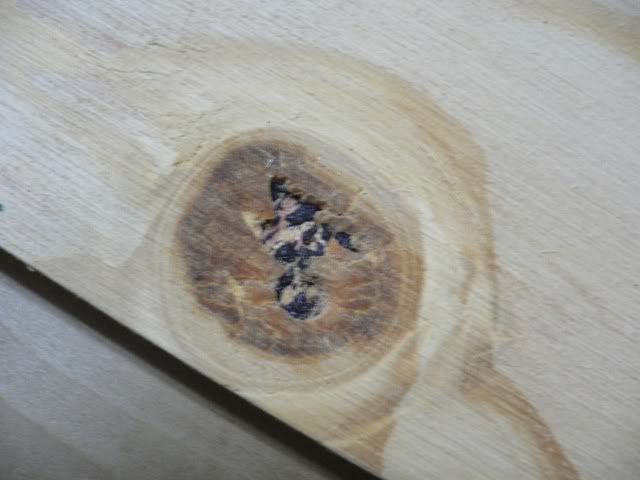
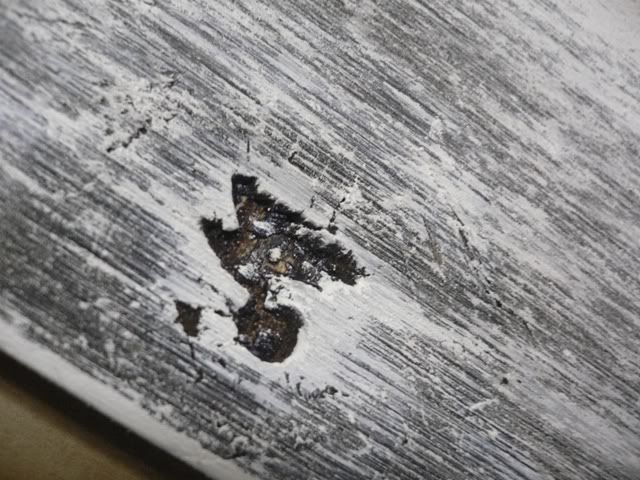
I'm pleasantly surprised at the knot holes this plywood has in it.
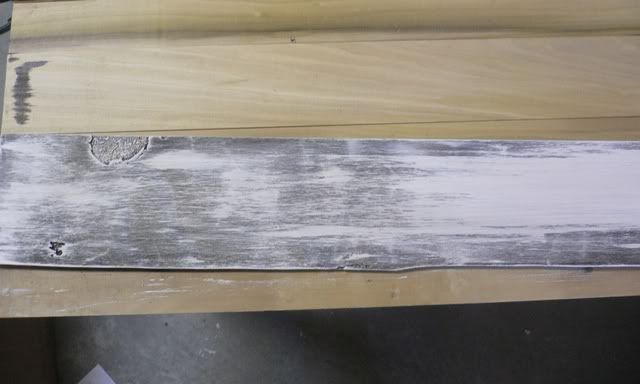
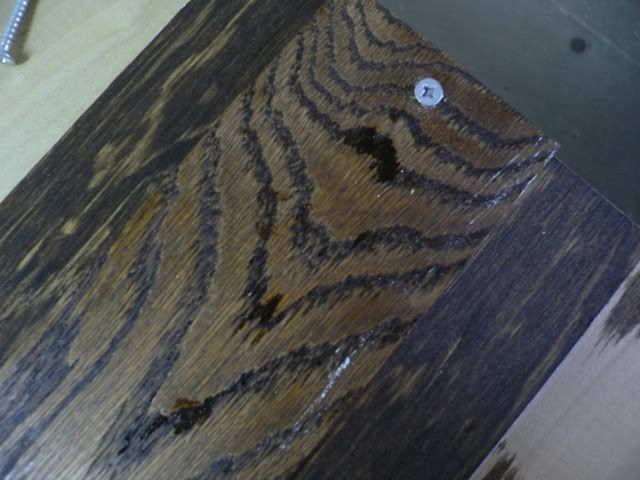
Next I used some of my favorite Minwax stain in "Dark Walnut." I originally purchased a little container of it to makeover my JoAnn tray and it's still got a lot of life in it. SIDE NOTE: If you happen to see Minwax stain at Michaels, do not buy it! It's so overpriced. Our Michaels sells it for about $9, but Home Depot only charges $4 or $5.

I only used one coat and didn't stress about getting it into the knot holes perfectly. Once it was dry, I used a sample pint of Behr's Artist Canvas in flat. For all you Rust-Oleum Heirloom White lovers, Artist Canvas is a very close match for a roll-on paint (if your Home Depot is like mine and doesn't carry Heirloom White in anything but a spray paint). I applied the paint in a dry brush style using both a foam brush and a regular paint brush (I cannot even begin to describe how panicked I was when I accidentally flicked paint onto the car of one of Jason's Marines--we're storing it for him while they're overseas).

Then I attached a single strip of plywood to the back to give the screws something to go into. I used short screws to begin with, but I wanted to try and prevent any chance of the screw tips scratching up our rented walls.
I hung it using d-rings and Velcro! ;) I'd like to try and find something a little better because it tips just ever so slightly away from the wall. But for now this system is working just fine!
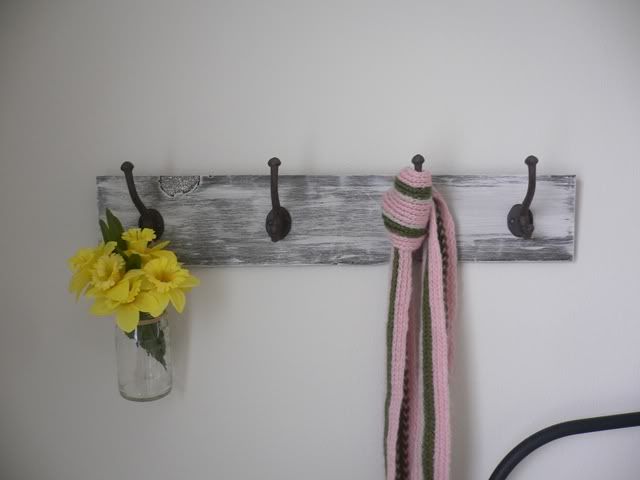
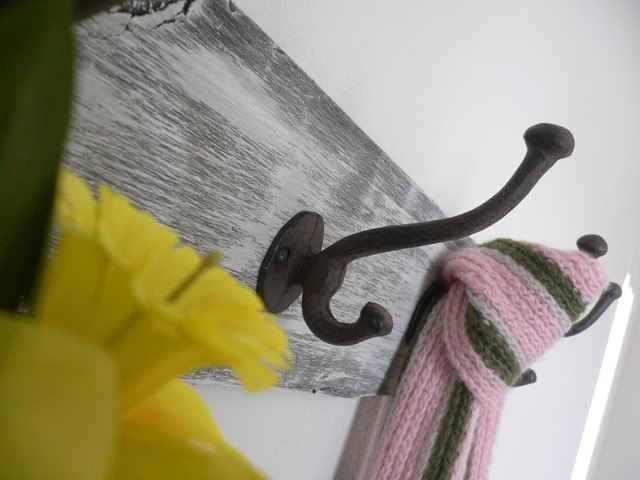

(The hooks didn't come with hardware. So I just took some regular silver screws and used my rusting kit on them to make them match!)
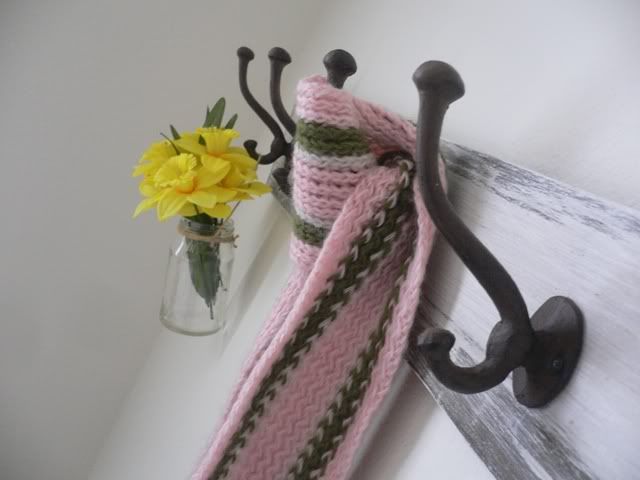
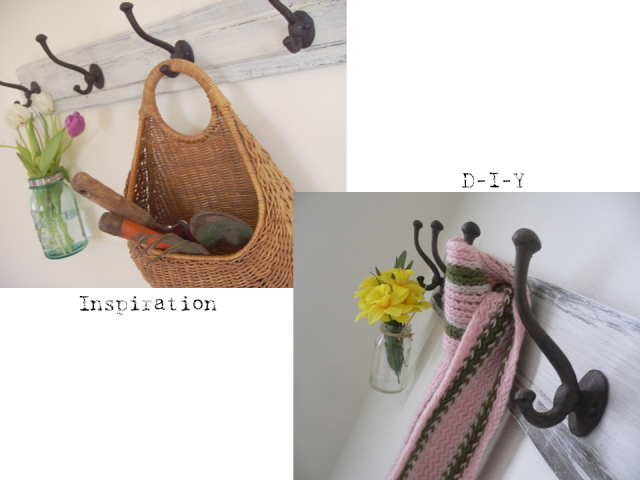
The little hanging jar is actually made from a leftover Smucker's Strawberry preserves jar. I just jimmied a twine hanging system for it and it worked out perfectly (I even tested the strength by filling the jar with water). The faux-daffodils won't stay there for long. I plan on getting some fresh daisies at the farmer's market this week. I'm still on the hunt for the perfect basket like my inspiration photo, but my pink scarf looks kind of cute there too (and is still appropriate since we're having some unseasonably cold weather right now).
The total cost was $15.25 if you include the $0.51 for the plywood. I had everything else on hand. I loved my inspiration, but at almost $60 it was way out of my budget. My little knock-off was a whopping $45 less! GO BUDGET!
I'm linking up to:
Trash to Treasure Tuesday @ Reinvented
DIY Day @ A Soft Place to Land
Power of Paint Party @ Domestically Speaking
Transformation Thursday @ The Shabby Chic Cottage
Hooking Up With HOH @ House of Hepworths
Best DIY Projects of April @ Beneath My Heart
Before I get into the tutorial, I'd like to take a moment and give a shout-out to eBay seller Texas Home Decor, which is where I bought my hooks from. They were an amazing price--at about $3.50 a piece with shipping included, you can't even find plastic look-a-likes at Target for that price, and these are actual cast iron. But the cherry on top was that after ordering them on Friday afternoon they were already in my (California) mailbox by Monday! You better believe that at 11:30 Monday night I was running to my mailbox after checking the tracking info and seeing that DELIVERED message. (Yes, I checked my mail at 11:30 at night. Jason and I have always been bad about checking our mailbox everyday and it's not uncommon for our mail to pile up for three or four days before we retrieve it.)
Okay, moving on...first things first I measured my wall and used my inspiration as a guide for the size. I chose to do 27" x 5". I used a piece of my $0.51 plywood that I had planned on using on the wall unit--just so happened, it was 27" in length exactly! But as you can see, my jigsaw skills still aren't the greatest. They're getting better though! Since I'm going for the whole imperfect-reclaimed-wood-look I figured it just adds character! ;)
I'm pleasantly surprised at the knot holes this plywood has in it.
Next I used some of my favorite Minwax stain in "Dark Walnut." I originally purchased a little container of it to makeover my JoAnn tray and it's still got a lot of life in it. SIDE NOTE: If you happen to see Minwax stain at Michaels, do not buy it! It's so overpriced. Our Michaels sells it for about $9, but Home Depot only charges $4 or $5.
I only used one coat and didn't stress about getting it into the knot holes perfectly. Once it was dry, I used a sample pint of Behr's Artist Canvas in flat. For all you Rust-Oleum Heirloom White lovers, Artist Canvas is a very close match for a roll-on paint (if your Home Depot is like mine and doesn't carry Heirloom White in anything but a spray paint). I applied the paint in a dry brush style using both a foam brush and a regular paint brush (I cannot even begin to describe how panicked I was when I accidentally flicked paint onto the car of one of Jason's Marines--we're storing it for him while they're overseas).
Then I attached a single strip of plywood to the back to give the screws something to go into. I used short screws to begin with, but I wanted to try and prevent any chance of the screw tips scratching up our rented walls.
I hung it using d-rings and Velcro! ;) I'd like to try and find something a little better because it tips just ever so slightly away from the wall. But for now this system is working just fine!
(The hooks didn't come with hardware. So I just took some regular silver screws and used my rusting kit on them to make them match!)
The little hanging jar is actually made from a leftover Smucker's Strawberry preserves jar. I just jimmied a twine hanging system for it and it worked out perfectly (I even tested the strength by filling the jar with water). The faux-daffodils won't stay there for long. I plan on getting some fresh daisies at the farmer's market this week. I'm still on the hunt for the perfect basket like my inspiration photo, but my pink scarf looks kind of cute there too (and is still appropriate since we're having some unseasonably cold weather right now).
The total cost was $15.25 if you include the $0.51 for the plywood. I had everything else on hand. I loved my inspiration, but at almost $60 it was way out of my budget. My little knock-off was a whopping $45 less! GO BUDGET!
I'm linking up to:
Trash to Treasure Tuesday @ Reinvented
DIY Day @ A Soft Place to Land
Power of Paint Party @ Domestically Speaking
Transformation Thursday @ The Shabby Chic Cottage
Hooking Up With HOH @ House of Hepworths
Best DIY Projects of April @ Beneath My Heart

love yours!
ReplyDeletelove those hooks...gonna run right over and check that ebayer out. the finished project looks great! (hope the paint came off the car easily) ;/
ReplyDeletejudi ;)
Thanks ladies! And Judi--I dropped everything I was doing and immidiately grabbed a towel. It came right off but I did let out an actual shriek when I saw what I'd done!
ReplyDeleteWow, that really turned out gorgeous! Thanks for the tutorial :)
ReplyDeleteAmber,
ReplyDeleteThis project turned out great! It looks so much like your inspiration picture. Thank you for linking up to my party!
Blessings,
Traci
Nice rack! (do I sound like a Marine?)
ReplyDeleteReally, it turned out so cute!
I don't have a clue what to call it, but I sure do love the way it turned out! :)
ReplyDeleteThanks for taking the time to comment on my headboard repurpose! :)
have a great weekend
gail
I love your version even better! SO rustic and cozy & your jar with twine is divine. Thanks for linkin' up to the POPP.
ReplyDeleteThat is so cute! Great work!!!
ReplyDeleteThanks for Hookin' Up with me at my first link party!
Nice coat rack!
ReplyDeleteI looks like it's been holding coats and things for a long time...