

When the fellow in the Home Depot lumber department mentioned "iron-on veneer trim," my curiosity was immediately piqued. Especially since it turns out our Home Depot is the only one that doesn't carry decorative wood trim. But for about $5 I got 25 feet of trim, and unless I'd been digging through the scrap bins, there's no way I'd have found such a deal.
When deciding that I was going to refurbish the hulking monster we call a wall unit, I new I wanted to bring it out of the eighties and give it some more charm. I knew I wanted to apply some sort of backing to it, but that meant I had to turn the unit around, since the front edges curved; I figured their natural overlap would create the perfect foundation to apply a simple plywood back (hopefully to be covered by bead board wallpaper). And oh. my. god. taking the measurements for each of those cubes was suuuuuch a paint in the arse!
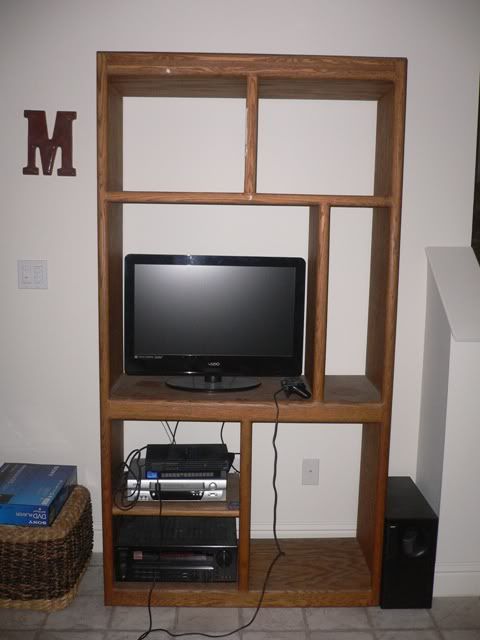
But before I could delve into any of that, I needed to finish off the raw edges at the back-soon-to-be-front of the piece. Enter "Veneer Edging."

Sorry for the empty packaging--I was too excited to try it out and forgot to take a photo of it all wrapped up.
It's pretty straight forward when it comes to using it. You just roll out your desired length, trim, and iron on using an everyday household iron! I know! Weird! You just set your iron to the cotton/linen setting (no steam) and go to town. The glue on the back of the wood melts from the heat, adhering it to your project. I'm sure my neighbors were wondering why the crazy lady across the street was ironing a huge hunk of wood.
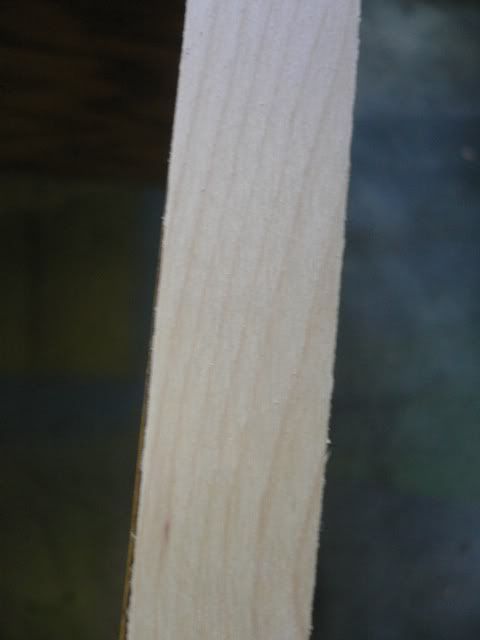
I swear I didn't iron this piece on crooked; it hasn't been attached yet.
It really does look like wood and it can be stained or painted once it's applied. It will need some sanding (it has rough little edges, so watch out for splinters--I've had three so far), and I'll probably use a tiny bit of wood putty to hide the seems from where the separate pieces meet up. I'm pretty sure that it saved me many hours of work (sawing and mitering corners of real wood trim), and probably a pretty penny (or dollar!) since I would have had to buy almost 32-feet of trim to complete this beast.
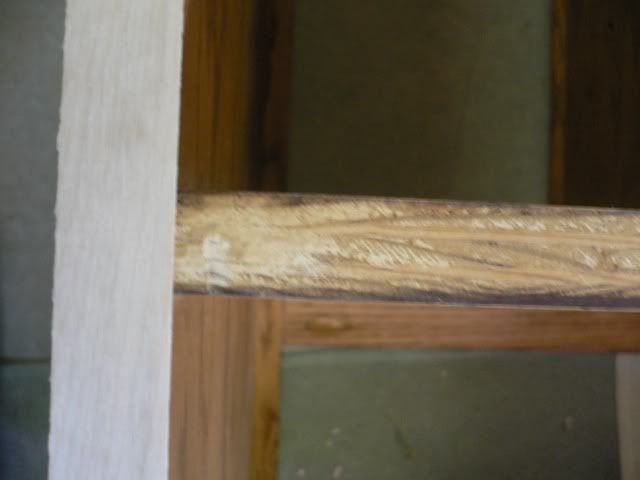
It makes a huge difference in the appearance of the raw edge. I can't wait to see how it looks all primed and painted. I thought our dinning room table and chairs were a huge undertaking in themselves, but I pretty sure this piece is going to be my pièce de résistance. Y'know, if I can get my vision to come to life.
When deciding that I was going to refurbish the hulking monster we call a wall unit, I new I wanted to bring it out of the eighties and give it some more charm. I knew I wanted to apply some sort of backing to it, but that meant I had to turn the unit around, since the front edges curved; I figured their natural overlap would create the perfect foundation to apply a simple plywood back (hopefully to be covered by bead board wallpaper). And oh. my. god. taking the measurements for each of those cubes was suuuuuch a paint in the arse!
But before I could delve into any of that, I needed to finish off the raw edges at the back-soon-to-be-front of the piece. Enter "Veneer Edging."
Sorry for the empty packaging--I was too excited to try it out and forgot to take a photo of it all wrapped up.
It's pretty straight forward when it comes to using it. You just roll out your desired length, trim, and iron on using an everyday household iron! I know! Weird! You just set your iron to the cotton/linen setting (no steam) and go to town. The glue on the back of the wood melts from the heat, adhering it to your project. I'm sure my neighbors were wondering why the crazy lady across the street was ironing a huge hunk of wood.
I swear I didn't iron this piece on crooked; it hasn't been attached yet.
It really does look like wood and it can be stained or painted once it's applied. It will need some sanding (it has rough little edges, so watch out for splinters--I've had three so far), and I'll probably use a tiny bit of wood putty to hide the seems from where the separate pieces meet up. I'm pretty sure that it saved me many hours of work (sawing and mitering corners of real wood trim), and probably a pretty penny (or dollar!) since I would have had to buy almost 32-feet of trim to complete this beast.
It makes a huge difference in the appearance of the raw edge. I can't wait to see how it looks all primed and painted. I thought our dinning room table and chairs were a huge undertaking in themselves, but I pretty sure this piece is going to be my pièce de résistance. Y'know, if I can get my vision to come to life.

that is so funny because i used some last week because my home depot doesnt carry trim! worked pretty well and i watched the today show while doing it.
ReplyDeleteWhy dont you just use one big sheet of really thing wood to cover the entire back in one go?
ReplyDelete@Anonymous--I considered that, but:
ReplyDelete1.) I hate the way the front curves, so I didn't want to keep that as "the front."
2.) The way those curves overlap the edges in the back would look horrible if I didn't cover them individually.
I guess I'll have to take photos showing what I mean because it really is hard to explain. I just feel like that curved front screams 80s!