
There's any number of tutorials out there for how to DIY your own headboard (and yes I realized it just said "do it yourself your own headboard"), but I'm going to throw mine into the mix anyways! I'm also going to let you in on the cost cutting tips I discovered while making ours! ;) Because of this, if you'd like to skip past my narratives, just look for the "»" and you'll know those are actual instructions.
SUPPLIES:
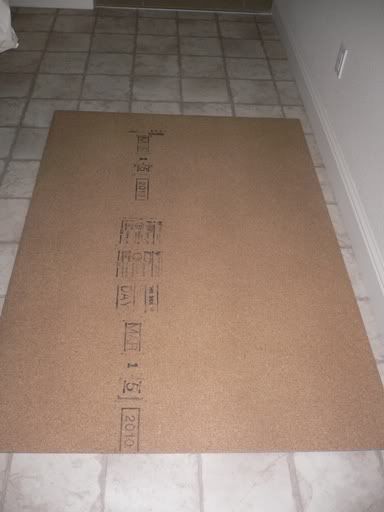
»Step one, decide how big you want your headboard to be.
We have a queen sized bed, which is 60" wide. I knew I didn't want any sort of overhang, so the width of my headboard was going to be exactly 60". I also knew that I wanted something with some height and drama, so originally I chose to do an even 48" tall (or 4'). Unfortunately, after measuring my car's trunk, I had to pare it down to 42" tall. So my final base size was 60" x 42".
I used a 2" thick piece of plywood from Home Depot. Some people would rather work with MDF, but I was on a tight budget and I got a 4' x 8' piece of plywood for less than $20.
»Step two, decide how many buttons you want and how you want them placed.
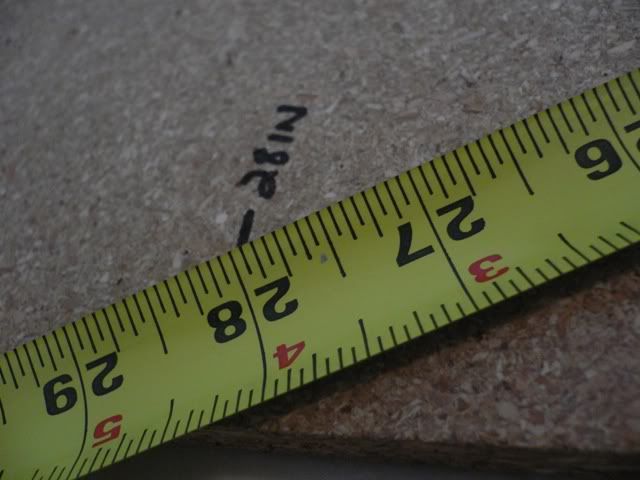
I decided to have a 6" cushion space around my edges. So I started by marking 6" down, and 6" in. From there I made marks every 7" from the top of the headboard, just because it made everything nice and even. Going across I think I made them every 5". I ended up with a total of 25 marks, but I only used 3 rows. So essentially, I had 15 button holes.
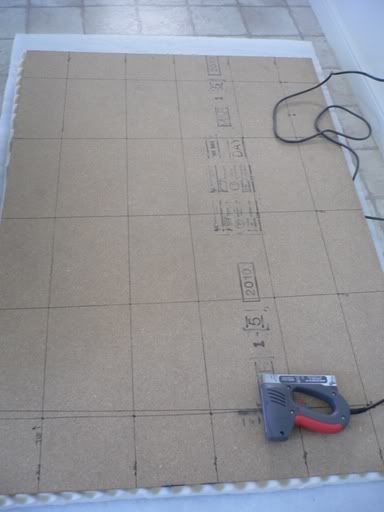
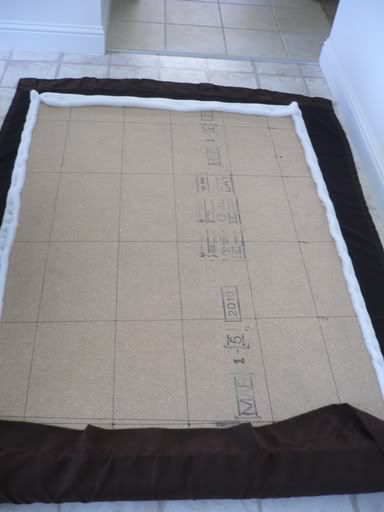
Step three, make a grid.
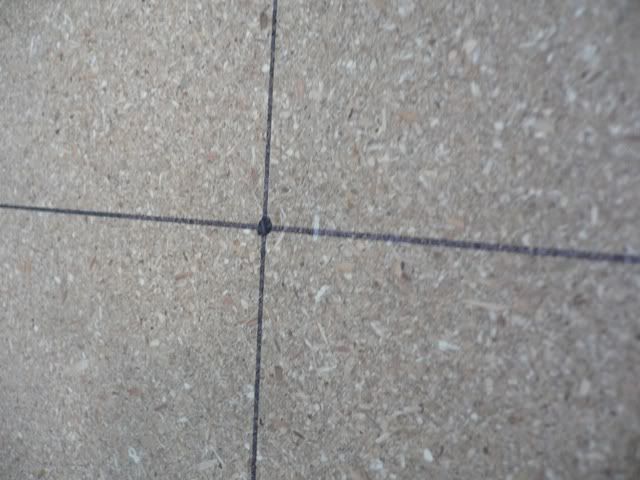
»Using a tape measure (and probably an extra set of hands if you need them--I did!), start drawing lines from each of your measurement hash marks. Wherever the lines cross, that's where a button goes.

You can see where I messed up on the final grid. Perfection is highly overrated.
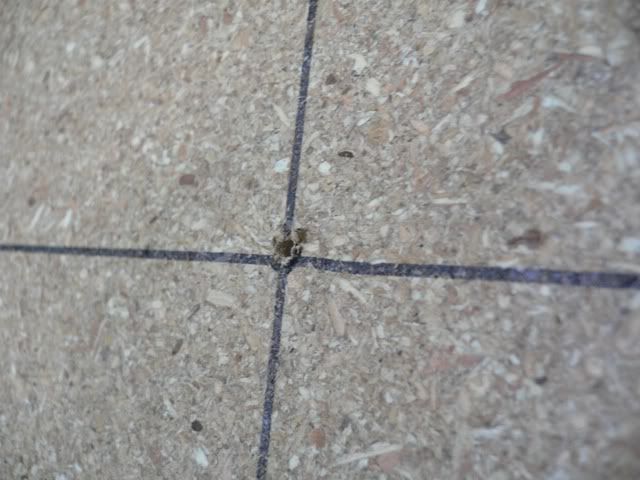
»Step four, drill your button hole.
If it helps, you can draw a little bulls-eye dot on your overlapping lines. I found it a little easier so I knew exactly where to put my drill bit.
(By the way? My final holes ended up being muuuuch bigger.)
Step five, apply your foam and batting.
Here's where I started running into the big bucks budget-wise. Because of my odd(er) shape, I was going to have to buy 2 yards of foam to fit my 60" in length, but JoAnn's only sold it in 24" wide pieces. Which meant I now had to buy 4 yards. Their foam is priced at something like $24/yard for the two inch thick stuff (the minimum thickness I wanted to foam to be). Did you do that math? We're talking almost $100 for foam!
I went back to the drawing board and decided instead to use a foam mattress topper, or what we called in my grandma's day, an egg crate. A full-size 3" thick mattress topper on Overstock.com was only $50, and its dimensions were more than ample at 51" x 72." So that just saved me an additional $50!
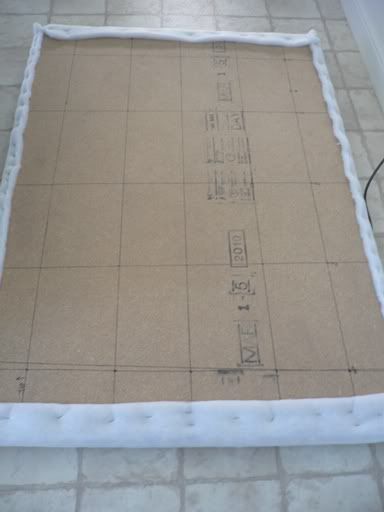
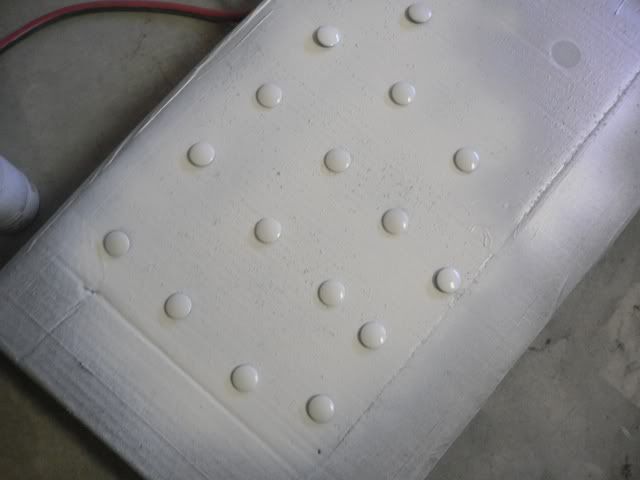
»Once the foam was cut down to size, I flipped the actual egg crate side over so that the smooth side was facing (what would eventually be) the front of the headboard. I didn't use any sort of adhesive, I just laid everything down on top of one another. Apply batting using a staple gun. Trim any excess.
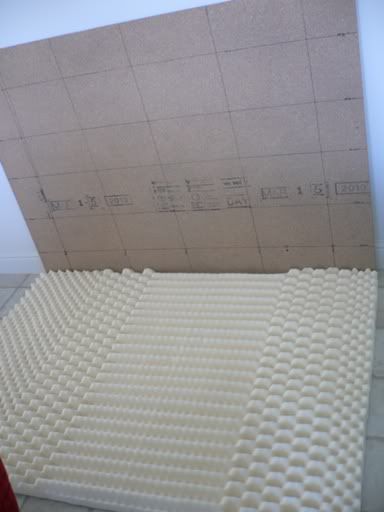
(see? egg crate side towards the plywood.)
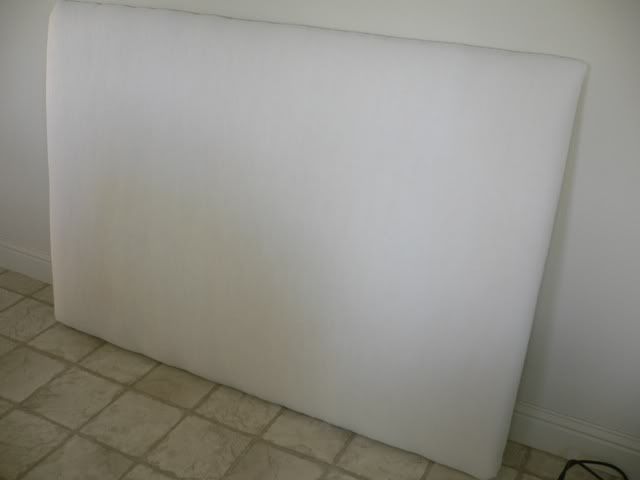
Step six, apply your fabric.
This is another area I ran into challenges budget-wise. In my head, my ideal headboard was an ultra rich suede fabric. This ran for about $35/yard at JoAnn's, and even with a 40% off coupon, I was still looking at almost $21/yard or $42 total for my fabric (not including shipping--my JoAnn's didn't carry it in-store). $40+ was not copacetic for me (or my budget).
Then I realized, Hey, window panels are typically 54" wide, and 80-something-inches long. And they only run around $20. My good friend Overstock.com beat out even Wal-Mart's prices, and I landed a great 56" x 84" chocolate colored suede panel for only $18. Cha-ching! That $24 saved just paid for my button kits!
»Using the same method as you did when applying your batting, apply your fabric. If you're using a print, make sure it's centered and lined up right. Pull everything nice and tight. Trim any excess.
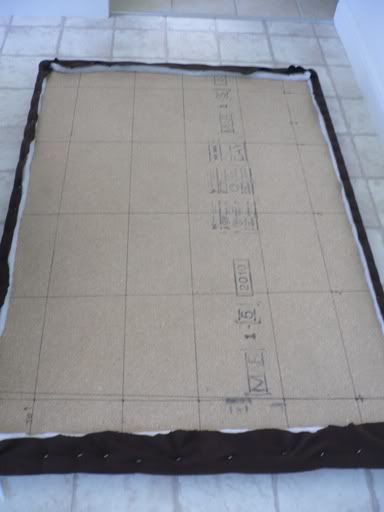
I pulled mine a little too tight and wound up with little ripples. Meh.
»Step six, deal with your buttons.
If you're using a button kit to cover them in fabric, this is where you do that. If you run into snags and want to throw the whole thing out the window like I did, read on...
I purchased button kits, with the inention of covering them with my (plenty of) leftover fabric from the curtain. For one, I went cheap when buying the kit, which made covering them in fabric difficult.
For two, when I was laying out my buttons, I realized I was short! They only came in packs of 3, and I thought I only needed 20. Guess who ended up being short 4 buttons? (Hint: ME!) So now, I didn't have enough buttons and after 20 minutes of trying I hadn't been able to cover a single one with fabric. >>palm. forehead.<<
I really didn't want to just hang a brown square above our bed (although I won't lie--it was totally an option after those couple of fails). I couldn't return the buttons because I had opened every. single. package., and I felt just rotten at the idea of wasting any sort of money.
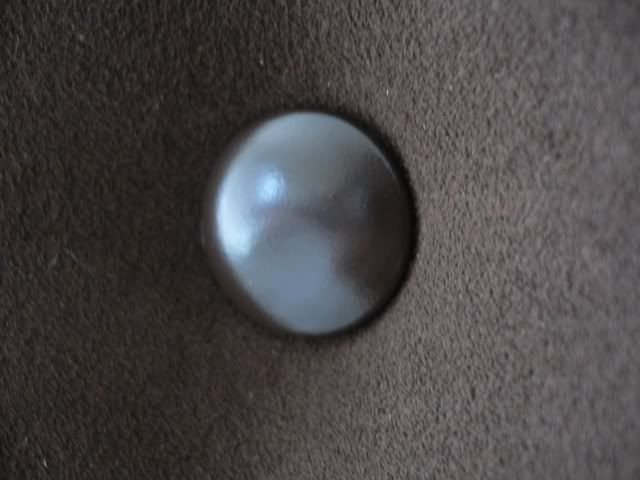
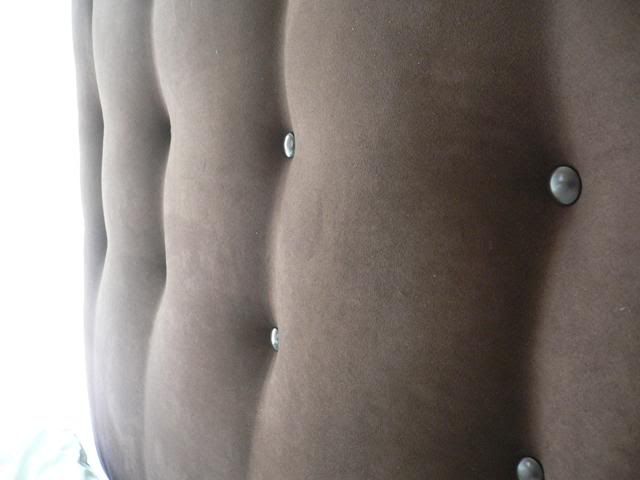
But then, the light bulb went off. I thought, Has anyone ever painted their buttons? Why not? I had plenty of brown/oil rubbed bronze/espresso spray paint! And what did I have to lose?
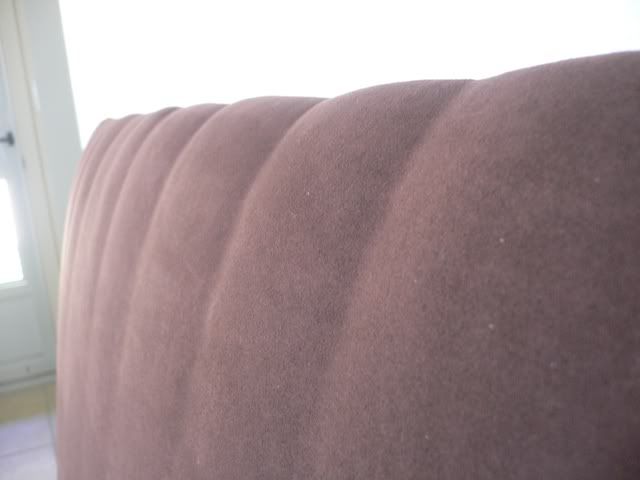
Step seven, start tufting!
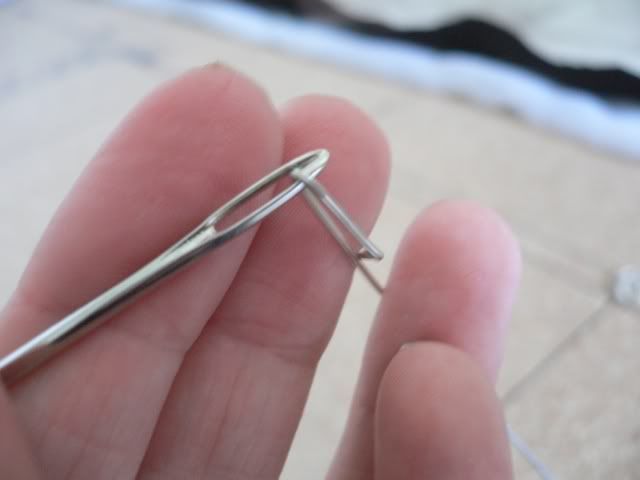
I used a 20-gauge wire since my layers were so thick. Believe me when I say floss and embroidery thread do not work! They snap like twigs. I already had wire cutters on hand, and the wire ran for $3 at Michael's in the jewelry making section.
Using a large needle, loop the wire through and pinch to secure.
Push through the back of the headboard (towards the front), loop needle and wire through the back of the button, and thread back through the hole (sorry, didn't get a pic of this part).
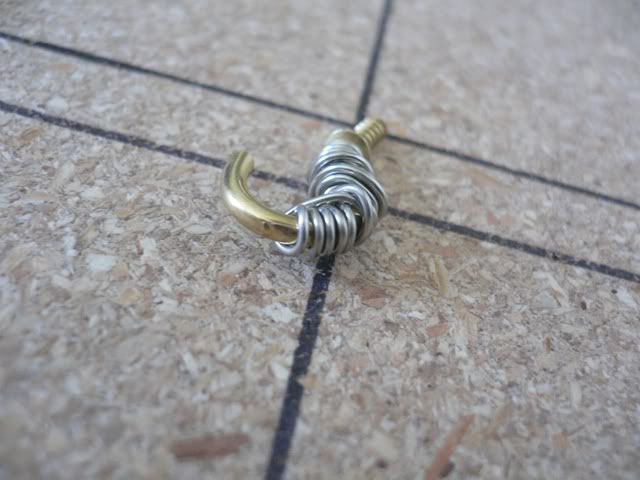
To secure the button, I pushed on it with my knee to get a tight tuft, and used a "?" hook to wrap the wire around. I used pliers to make sure everything was wrapped as tight as it could be.
Repeat until it feels like your fingers are going to fall off and you're sweating like a farm animal!
»Step eight, mount your hanging hardware.
A French-cleat hanging system is said to be one of the best ways to hang heavy objects. If you don't happen to own a fancy cutting machine to make your own, Home Depot sells them in their hardware department with their picture hanging supplies. OOK is the brand name, and they run about $10 for a system that holds 100 pounds (which is what I got--this thing is hanging above our sleeping heads after all!).
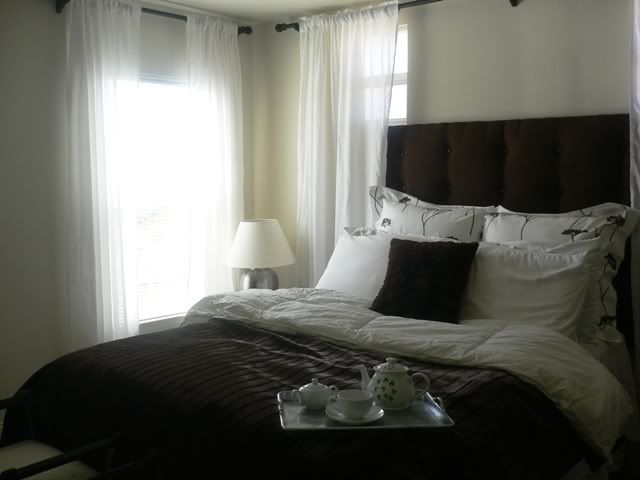
Just make sure you center everything so your bed and headboard pair together like two peas in a pod (or two nuts in a shell--hehe!).
»Step nine, hang your head board.
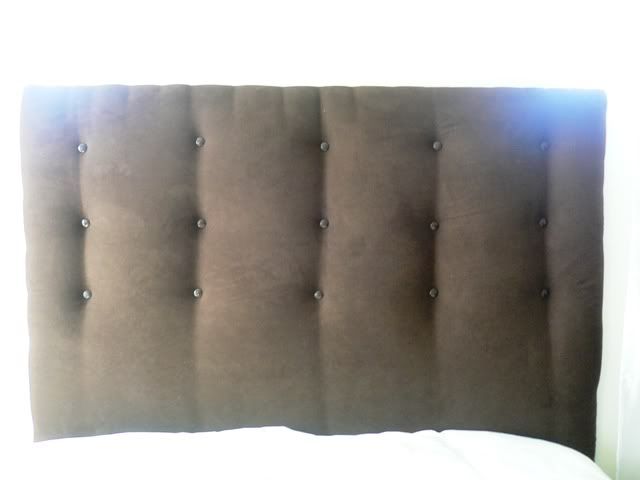
(okay, so my rows aren't perfect! as I said before, perfection is highly overrated!)
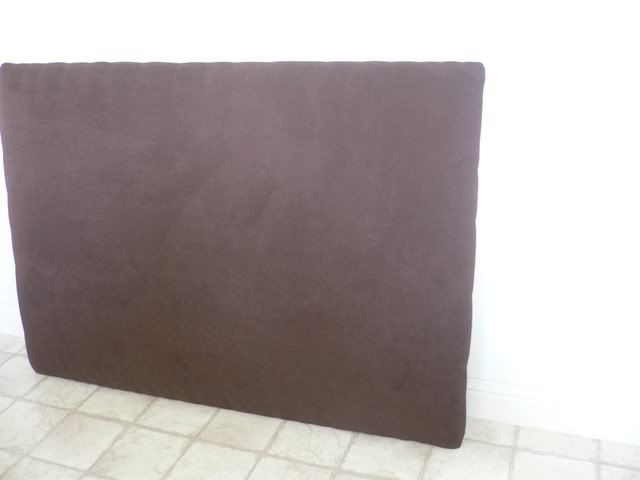
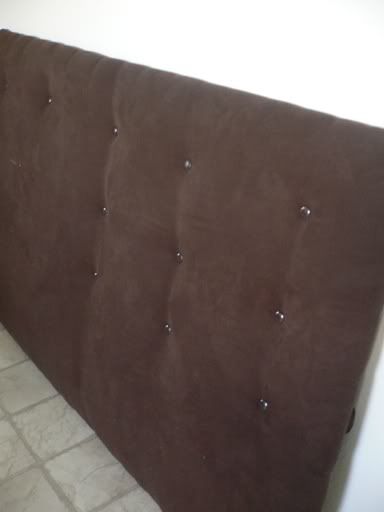
»Step ten, admire, swoon, and take lots of pictures.
You can see now why I wasn't worried about only doing three rows of buttons: the bottom two rows would have been covered by our pillows anyways!

And there you have it! 10 steps to a DIY tufted headboard!
BREAKDOWN:
GRAND TOTAL: $127
I actually only paid $99 for our headboard, because the plywood and hanging hardware were purchased with a gift card I got for my birthday! Now that's what I call budget friendly! Yes, for $127 you can buy pre-made headboards from Wal-Mart, Target, and even places like Costco. But for this price you can't beat a headboard that towers over your bed at nearly four feet tall! And people are a lot more impressed when you say "Oh that little thing? That was just something I did one weekend when I was bored!" ;)

I just found your blog--it's so cute!! This was a great post--I am bookmarking it and plan on making a headboard for my spare bedroom soon! Just gotta find the extra few hours..
ReplyDeletehow long did this project take you?
I'd say overall it took maybe around 4-5 hours? The longest parts was tufting. And I did it in segments since I had to paint my buttons before I tufted them. I did this over the span of about 3 days which didn't make it seem like I was doing too much at once.
ReplyDelete