This is a great way to do a holiday make-over on little or no budget! You can use this on glass, plastic, and metal ornaments.
SUPPLIES:
Grab your drop cloths, boxes, and dowels and set up shop. I ended up using garden stakes in the place of dowels because I wasn't smart enough to buy more than one.
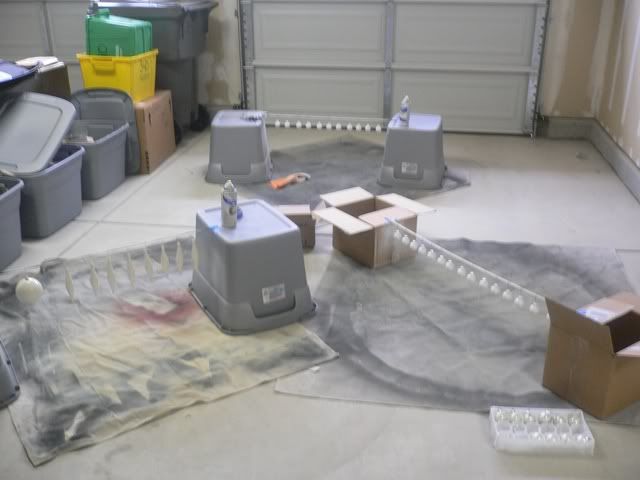
Hang your ornaments off the dowels at each station.
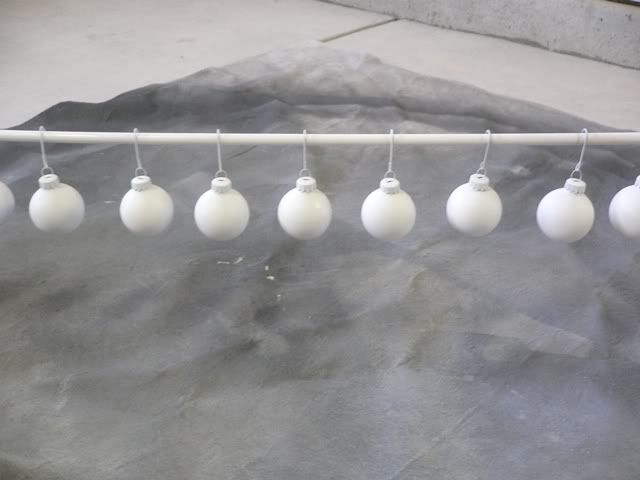
Give each ornament a light spraying of primer--don't get too heavy, or else you'll end up with massive drip marks on your ornaments (and yes, I have a few like that on my tree). It's easiest if you have the space to move around the work station to hit all the angles. Note: Don't worry about getting the underside at this point. We'll do that in a later step.
Let dry thoroughly.
Once the primer has set, slip on your gloves, grab the top of the ornament and swing the bottom end up. Spray lightly with primer. Note: this is why you want gloves. Otherwise, your fingers will be six inches thick with paint by the time you finish!
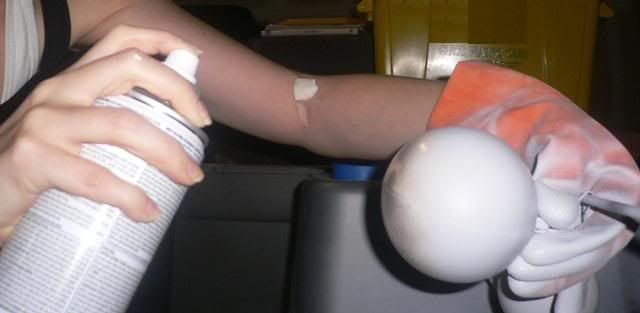
(Forgive the lovely cotton ball on the arm. I'd just had blood drawn.)
Again, let dry thoroughly.
If needed, you can do another coat of primer. All my ornaments were either a light shade of gold or some shade of silver so one coat was enough. I've noticed green ornaments seem to need more than one coat of primer.
Repeat this process with your chosen paint color (I used Rust-Oleum Heirloom White). I cannot stress the importance of letting everything dry all the way through. Yes, it makes the process much longer, but you'll be happy when your ornaments come out looking all pretty and flawless.
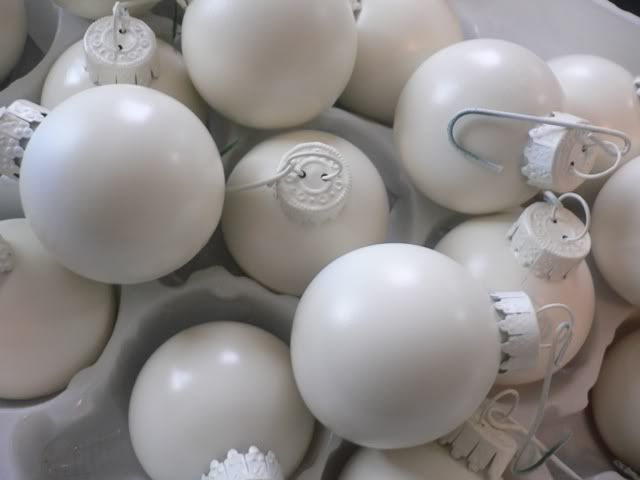
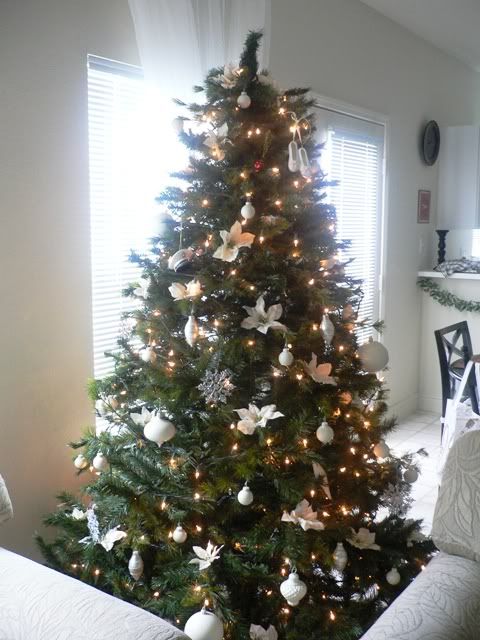
Now, hang on your tree and enjoy!


No comments:
Post a Comment
Thanks for dropping by! I love comments and I read each and every one of them. You can also contact me by e-mail if you want to chat!
"Never miss an opportunity to make others happy, even if you have to leave them alone in order to do it."
~ Author Unknown
In other words: Be nice or I will delete you!