

These steps can be used for any type of furniture that can be stripped.
SUPPLIES:
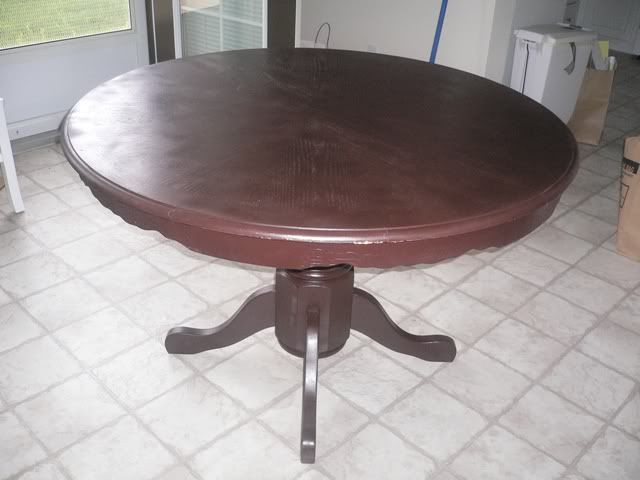
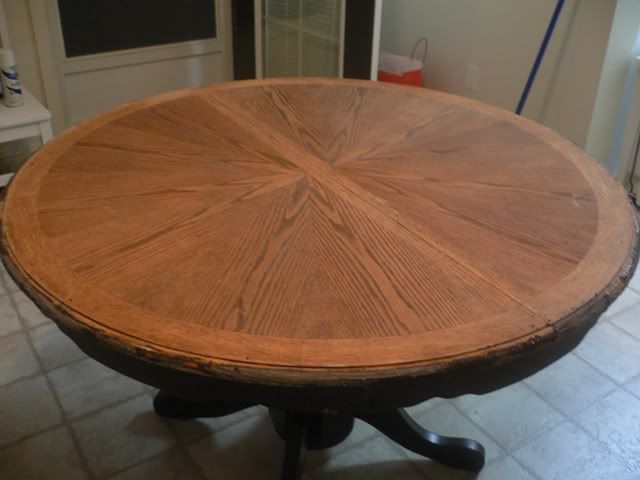
Start with your furniture. In this case, a table (Note: I'm doing this project indoors, but all my doors and windows are open).
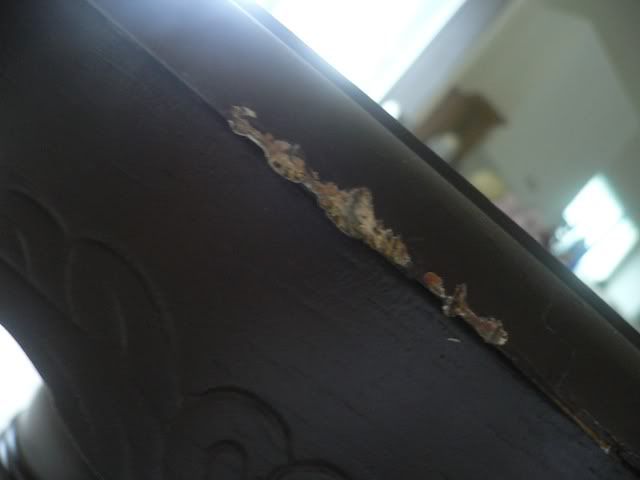
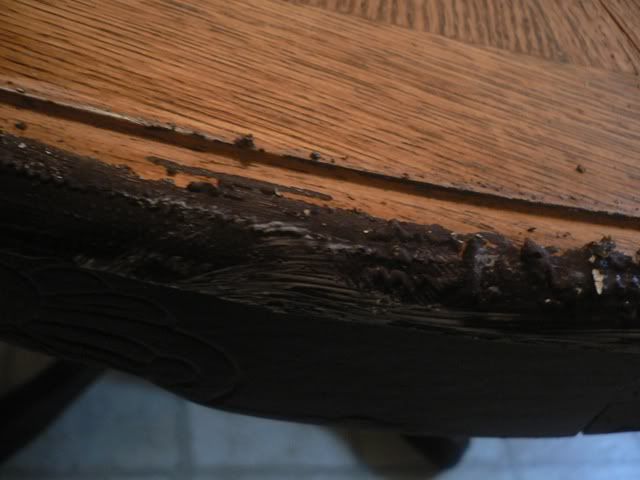
Fill in any chips or cosmetic flaws with wood putty. Let it dry and sand it smooth.
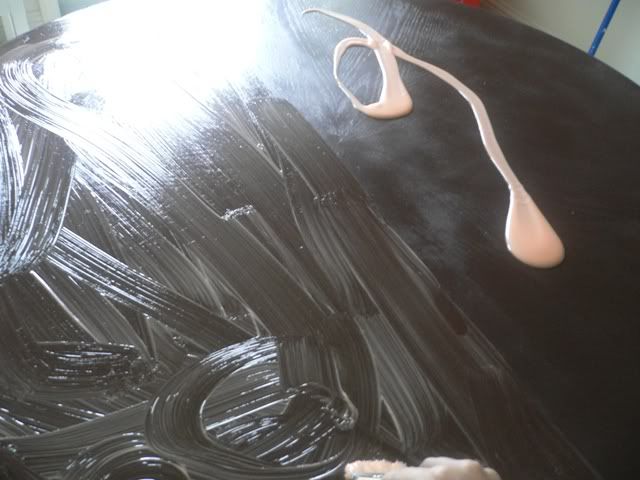
With your rubber gloves on, pour the CitriStrip from its container onto the table top. Don't be afraid to glob it on there. It needs be thick for it to work its best. Spread the stripping gel across surface using paint brush. Add more CitriStrip as needed.
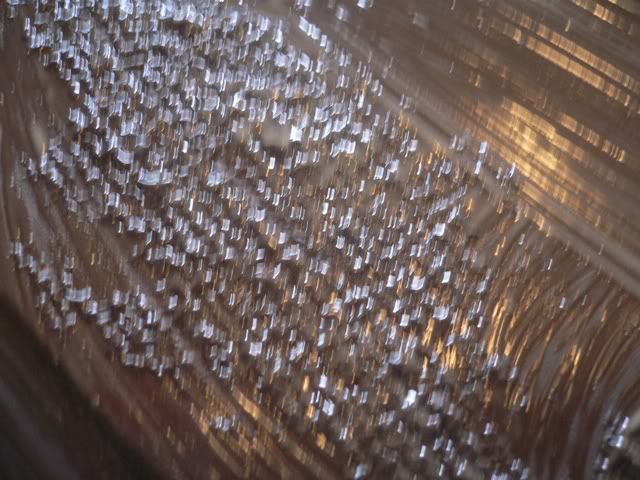
Let the CitriStrip sit for about 10-15 minutes, depending on how thick you applied the gel and how many layers you have to work through. The surface will start to bubble. This is a good thing! When most of the surface has puffed up, start scraping with your plastic scraper.
Work your way around the table, scraping and tossing the surface rejects into your trash receptacle. If you have multiple layers to get through, apply another coat after you've finished your first round of scraping. Note: do not let the gel dry on your surface. It gets hard and it's just a pain to try and chip off. You can tell it's drying because it turns white.
Using your wire brush, get into the small cracks, crevices, or curves of the table.
Once you've stripped all your layers off, take your old rag and apply mineral spirits to it. Rub down the surface of the table with the mineral spirits, making sure to remove all the CitriStrip. Once the mineral spirits have dried, you can do a light sanding to remove any excess CitriStrip (they usually appear as white streaks). I usually go over it once more with mineral spirits after I sand.
Now you can continue stripping the rest of your piece, or give it a light sand (like I did), prime, and paint it all.
Check out the finished product here.
Disclaimer: Be sure to read all instructions and take all safety precautions necessary when doing this or any DIY project. I am not a professional, just a blogger passing on my knowledge and experience.

No comments:
Post a Comment
Thanks for dropping by! I love comments and I read each and every one of them. You can also contact me by e-mail if you want to chat!
"Never miss an opportunity to make others happy, even if you have to leave them alone in order to do it."
~ Author Unknown
In other words: Be nice or I will delete you!