

My uncle just got married on New Year's Day. He and his girlfriend wife had already been living together, so I figured I'd make them a simple, but always cute, gift: coasters! I'm no stranger to DIY coasters which are about the easiest gifts you can make--and the possibilities are endless! But this was the first time I'd ever used Mod Podge to decorate them, and I'm quite pleased with the results!
SUPPLIES:
Mod Podge (you can find this at most craft stores; I bought mine at Michael's)
Tiles (I paid 16¢ for simple white tiles at Home Depot)
Chosen phrase, letter, etc cut out to size for your tiles
Foam, felt, or cork sheets for backing
Jute twine
Glue gun
Xacto knife
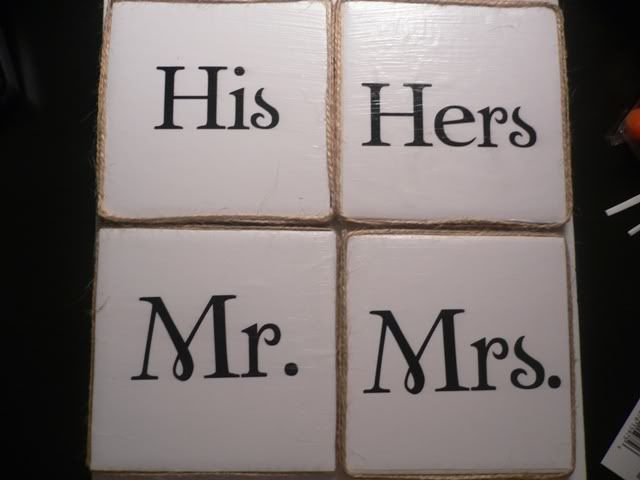
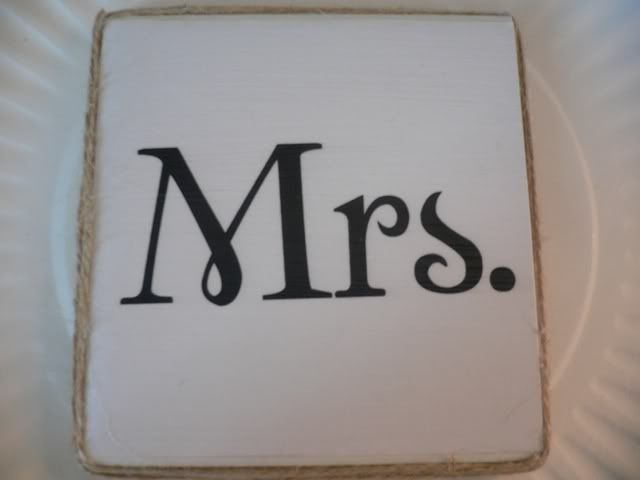
First choose what design you're going to use on your tiles. I choose four different ones for each tile: Mr., Mrs., His, Hers (in keeping with the newlywed theme). It may take a few tries, but figure out your font and size in correlation to your tiles. I actually used a 125 point "Twilight" font for these! ;)
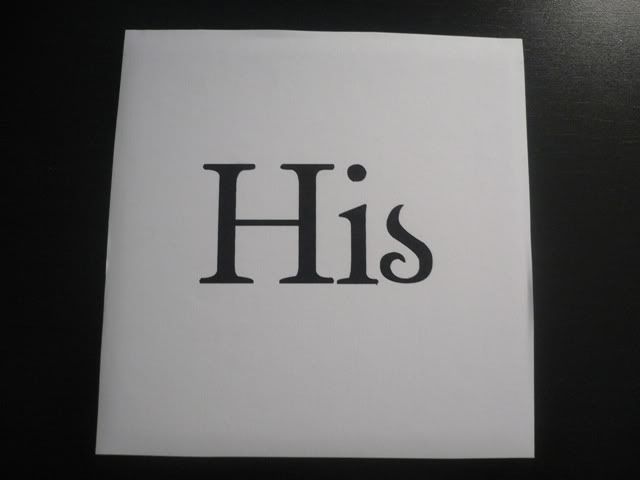
Using your tile, trace the outline over your picture/phrase. Cut out and check to see if it fits the surface space. A little over hang is okay!
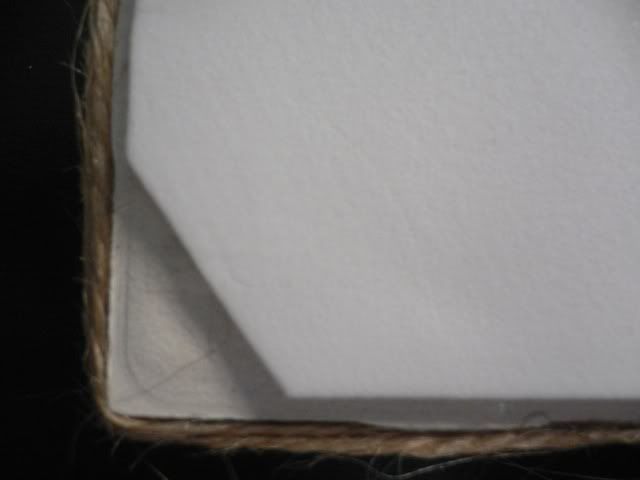
While we're tracing, go ahead and repeat this process for your backing. I use "foamies" sheets because they're light weight and come in almost any color. I chose to cut off the corners. I don't know why, but I just liked the way it looked. Using your hot glue gun, attach your backing to the tile. If you find any over hang, use an Xacto knife to trim it to fit. Turn off your glue gun for now!
Make sure your tiles are clean and dry. Using a paint brush or foam brush, spread an even layer of Mod Podge on your tile. You don't need to lay it on too thick, but don't skimp either.
Center your image over the tile and press down. Smooth out towards the edges to get rid of any air bubbles.
Let dry thoroughly--seriously. For one, your ink is still wet from the printer; streaks are not pretty! For two, if you try to add another layer of Mod Podge, you could end up tearing your paper or wrinkling it.
Repeat for other coasters.
Once your tiles are dry, add another layer of Mod Podge. Again, you don't have to glop it on there, but don't be stingy.
Let dry completely.
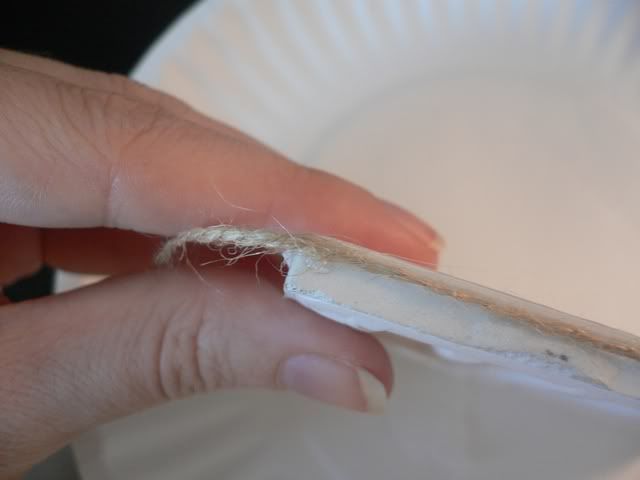
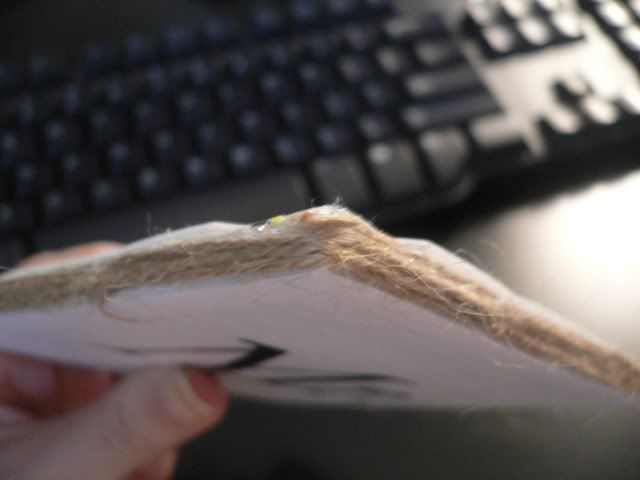
Once your glue gun has reheated, add a dollop of glue to a corner of your coaster. Attach the jute twine and pat to make sure it sticks. Wrap the twine around, gluing and patting at each corner. Once you've wrapped the coaster once or twice, you don't have to keep gluing at each corner. Just be sure to pull the twine tight and glue as needed. Add a few spots of glue to the center of each row for good measure.
Once you have your desired thickness, or have covered the sides well enough, just add another spot of glue and trim. You can also glue the end of the twine down to keep the edge from fraying.
Repeat for each coaster.
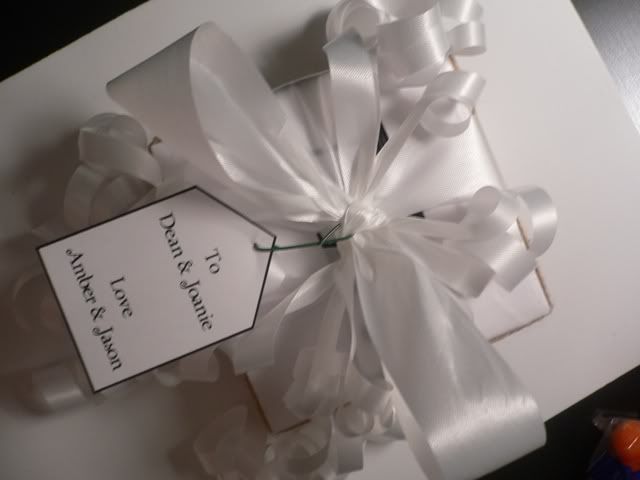
Wrap them up with a simple bow (let everyone see those adorable coasters sitting on the gift table!) and affix a tag.
I'll be linking this up to Shanty 2 Chic's "I Made it Without My Hubby Party."

YOU CAN ALSO FIND THIS IN THE TUTORIALS SECTION!

SUPPLIES:
First choose what design you're going to use on your tiles. I choose four different ones for each tile: Mr., Mrs., His, Hers (in keeping with the newlywed theme). It may take a few tries, but figure out your font and size in correlation to your tiles. I actually used a 125 point "Twilight" font for these! ;)
Using your tile, trace the outline over your picture/phrase. Cut out and check to see if it fits the surface space. A little over hang is okay!
While we're tracing, go ahead and repeat this process for your backing. I use "foamies" sheets because they're light weight and come in almost any color. I chose to cut off the corners. I don't know why, but I just liked the way it looked. Using your hot glue gun, attach your backing to the tile. If you find any over hang, use an Xacto knife to trim it to fit. Turn off your glue gun for now!
Make sure your tiles are clean and dry. Using a paint brush or foam brush, spread an even layer of Mod Podge on your tile. You don't need to lay it on too thick, but don't skimp either.
Center your image over the tile and press down. Smooth out towards the edges to get rid of any air bubbles.
Let dry thoroughly--seriously. For one, your ink is still wet from the printer; streaks are not pretty! For two, if you try to add another layer of Mod Podge, you could end up tearing your paper or wrinkling it.
Repeat for other coasters.
Once your tiles are dry, add another layer of Mod Podge. Again, you don't have to glop it on there, but don't be stingy.
Let dry completely.
Once your glue gun has reheated, add a dollop of glue to a corner of your coaster. Attach the jute twine and pat to make sure it sticks. Wrap the twine around, gluing and patting at each corner. Once you've wrapped the coaster once or twice, you don't have to keep gluing at each corner. Just be sure to pull the twine tight and glue as needed. Add a few spots of glue to the center of each row for good measure.
Once you have your desired thickness, or have covered the sides well enough, just add another spot of glue and trim. You can also glue the end of the twine down to keep the edge from fraying.
Repeat for each coaster.
Wrap them up with a simple bow (let everyone see those adorable coasters sitting on the gift table!) and affix a tag.
I'll be linking this up to Shanty 2 Chic's "I Made it Without My Hubby Party."
YOU CAN ALSO FIND THIS IN THE TUTORIALS SECTION!

What a cute gift!
ReplyDelete