

I figured while I'm busy cleaning and doing the more tedious parts of the living room overhaul, I'd share one of the projects I'd previously worked on for it.
About three months ago, we paid to turn our feather-down couch cushions into foam couch cushions. We went local, got a quote, paid the price, and I started questioning the decision immediately. Not because I didn't love the new cushions. But because we paid over $400 to have just the back cushions re-stuffed. We hadn't even switched out the seat cushions yet. Granted, $400 is still cheaper than buying a new couch, but if the price was going to be similar, we could have easily purchased a new Ektorp sofa system from IKEA. But, these are hand-me-down couches from my mom and I'm attached to them for some silly little reason. Give me a few more years and I may be ready for a full replacement.
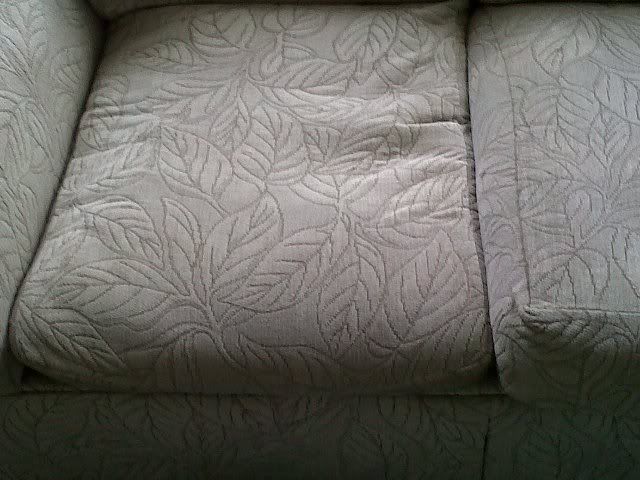
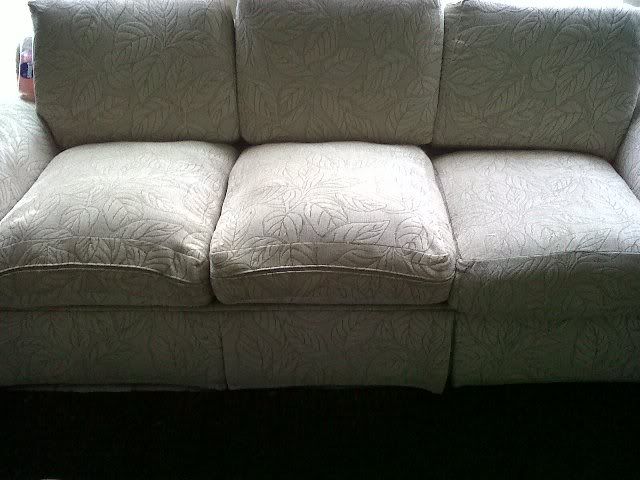
Here you can see how badly the seat cushions were sagging in their covers--they look almost deflated.
But in the meantime, I still had half foam/half feather couches. We've known for a long time that we wanted slipcovers from Surefit. I'd spend hours drooling over how pristine the couches looked in some of those slipcovers. We finally took the plunge and bought a set. It was then I knew we were going to have to find a simple solution for those sagging seat cushions. Little did they know, but Surefit actually gave me my answer: I'd stuff the cushions myself! The best news? So can you!
SUPPLIES:
Sofa, love seat, or chair cushion to be re-stuffed
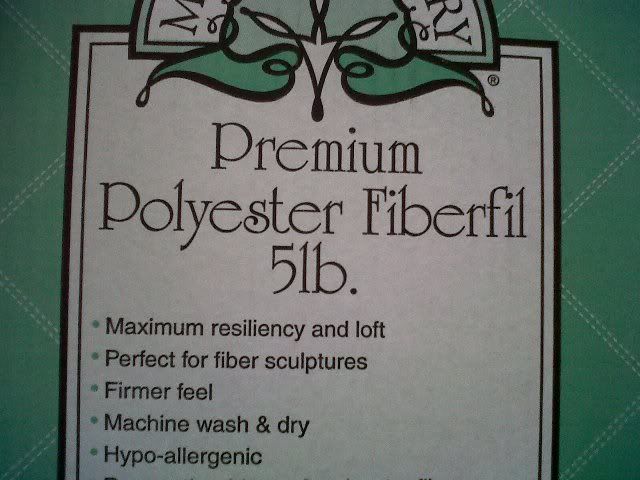
Polyester fiberfil
SIDE NOTE: Do not buy your fiberfil at Michael's if you can help it. They sell 1 pound bags for $5. Wal-Mart sells a 10-pound box for $20.
Slipcover
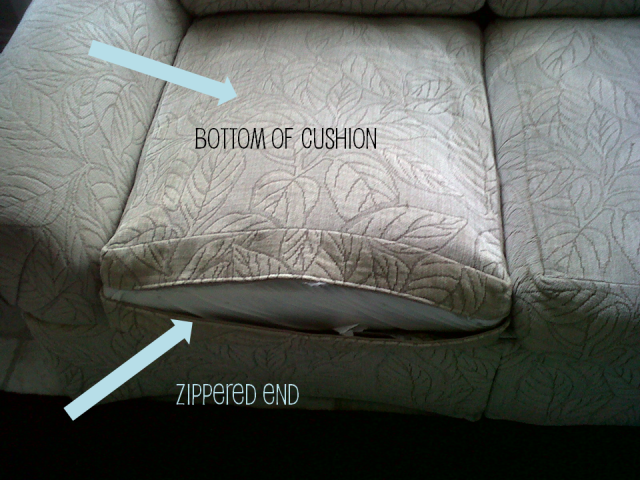
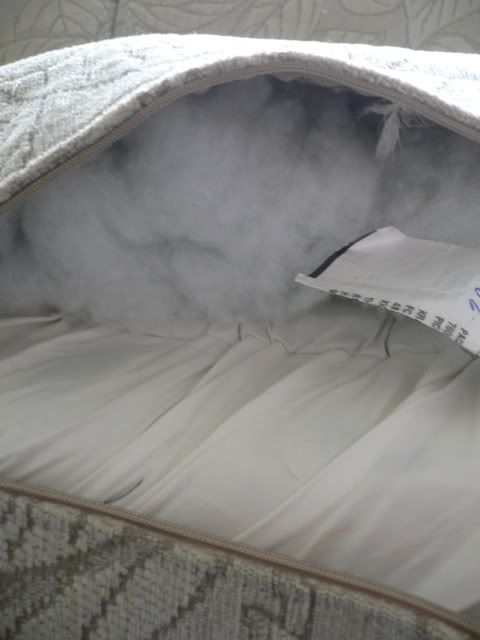
Remove your first cushion. I gave my couch a good vacuuming as I removed each one. Flip it around so that the bottom is now facing up, and the zipper is now facing out. Unzip your cushion cover.
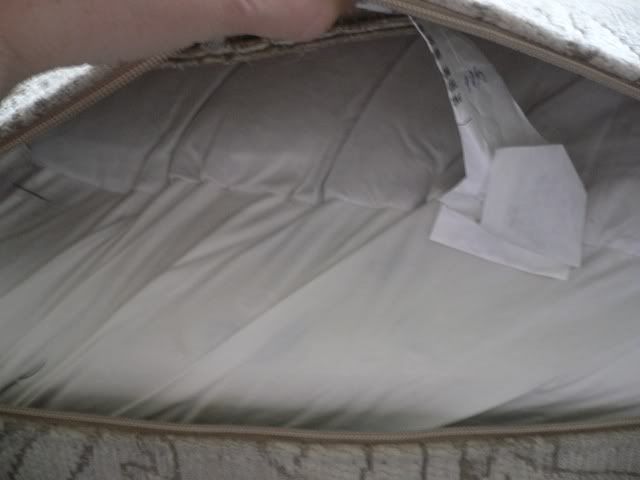
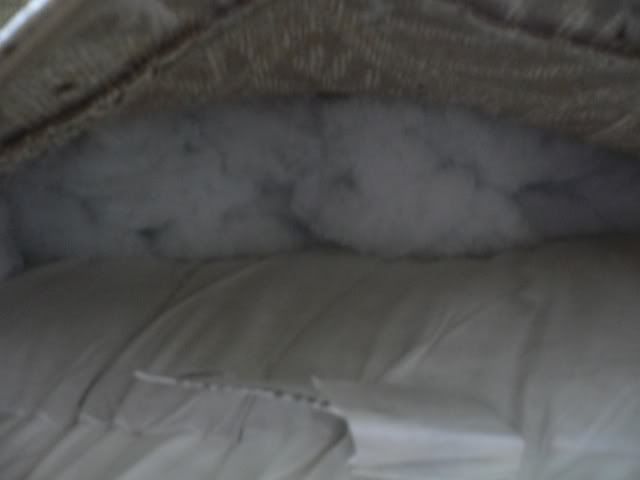
Hopefully, whatever your couch is filled with is enclosed in a casing of some sort. Mine looks like a pillow case. Open your box of fiberfil, and begin stuffing it into the back, sides, and corners of your cushion cover. You're filling in all that extra space the sagging has created.
Once the cushion cover is taught on the sides, begin filling in the center with fiberfil. I found the best way to do this was to just shove a bunch in there and work it around with my hands. Be sure to "tear" the fiberfil apart to help eliminate lumps and bumps (no matter how good you are at this, you'll still wind up with slightly lumpy cushions).
Continue stuffing towards the front.
Depending on your material, cushions size, and a whole lot of other factors, you may stop stuffing in a different area. I stopped about an inch before the zipper.
Zip up your cushion. This may take a little work, since your cushion cover is once again full.
Sit on it. I know, "Happy Days Reference." Seriously though, take a seat on your newly stuffed cushion. Does it feel firm? Are there any "holes" where you may have missed with fiberfil? If so, continue stuffing. If not, repeat these steps with each cushion.
Here I have two of the three done. You can see what a big difference it made!
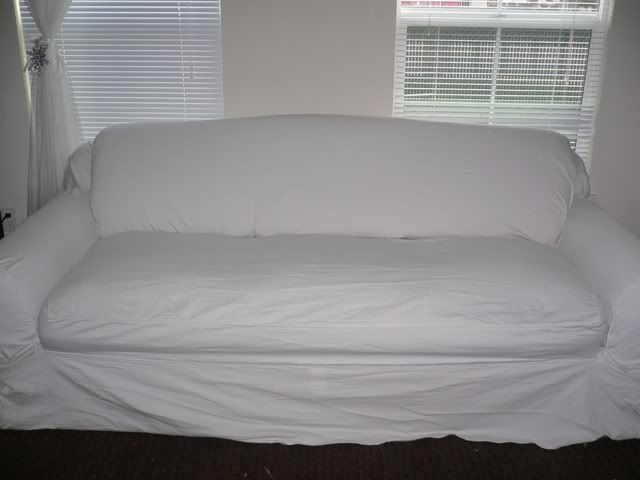
Once your cushions are stuffed, dress your couch with your new slipcover. This may require some cursing, crying, and a lot of huffing and puffing (if you're like me), until your husband steps in and tells you to go upstairs while he makes it look all pretty. Contrary to what SureFit says, these things are not the easiest to get on!
Now all it needs is some throw pillows, a throw, and to be steamed (and the rug will need to be vacuumed thanks to all those fluffy stray bits of fiberfil)! But at least these puppies will last us another few years--and it only cost $20 for the stuffing rather than $400 for the foam!
This tutorial will be placed in the HOW-TO'S section for furture reference.
I'll be linking up to Funky Junk's SNS #15.
About three months ago, we paid to turn our feather-down couch cushions into foam couch cushions. We went local, got a quote, paid the price, and I started questioning the decision immediately. Not because I didn't love the new cushions. But because we paid over $400 to have just the back cushions re-stuffed. We hadn't even switched out the seat cushions yet. Granted, $400 is still cheaper than buying a new couch, but if the price was going to be similar, we could have easily purchased a new Ektorp sofa system from IKEA. But, these are hand-me-down couches from my mom and I'm attached to them for some silly little reason. Give me a few more years and I may be ready for a full replacement.
Here you can see how badly the seat cushions were sagging in their covers--they look almost deflated.
But in the meantime, I still had half foam/half feather couches. We've known for a long time that we wanted slipcovers from Surefit. I'd spend hours drooling over how pristine the couches looked in some of those slipcovers. We finally took the plunge and bought a set. It was then I knew we were going to have to find a simple solution for those sagging seat cushions. Little did they know, but Surefit actually gave me my answer: I'd stuff the cushions myself! The best news? So can you!
SUPPLIES:
SIDE NOTE: Do not buy your fiberfil at Michael's if you can help it. They sell 1 pound bags for $5. Wal-Mart sells a 10-pound box for $20.
Remove your first cushion. I gave my couch a good vacuuming as I removed each one. Flip it around so that the bottom is now facing up, and the zipper is now facing out. Unzip your cushion cover.
Hopefully, whatever your couch is filled with is enclosed in a casing of some sort. Mine looks like a pillow case. Open your box of fiberfil, and begin stuffing it into the back, sides, and corners of your cushion cover. You're filling in all that extra space the sagging has created.
Once the cushion cover is taught on the sides, begin filling in the center with fiberfil. I found the best way to do this was to just shove a bunch in there and work it around with my hands. Be sure to "tear" the fiberfil apart to help eliminate lumps and bumps (no matter how good you are at this, you'll still wind up with slightly lumpy cushions).
Continue stuffing towards the front.
Depending on your material, cushions size, and a whole lot of other factors, you may stop stuffing in a different area. I stopped about an inch before the zipper.
Zip up your cushion. This may take a little work, since your cushion cover is once again full.
Sit on it. I know, "Happy Days Reference." Seriously though, take a seat on your newly stuffed cushion. Does it feel firm? Are there any "holes" where you may have missed with fiberfil? If so, continue stuffing. If not, repeat these steps with each cushion.
Here I have two of the three done. You can see what a big difference it made!
Once your cushions are stuffed, dress your couch with your new slipcover. This may require some cursing, crying, and a lot of huffing and puffing (if you're like me), until your husband steps in and tells you to go upstairs while he makes it look all pretty. Contrary to what SureFit says, these things are not the easiest to get on!
Now all it needs is some throw pillows, a throw, and to be steamed (and the rug will need to be vacuumed thanks to all those fluffy stray bits of fiberfil)! But at least these puppies will last us another few years--and it only cost $20 for the stuffing rather than $400 for the foam!
This tutorial will be placed in the HOW-TO'S section for furture reference.
I'll be linking up to Funky Junk's SNS #15.

I just restuffed the arms of my favorite recliner with polyfil! Anything to make it last a few more years! I have had surefit covers in the past and they aren't as easy to install as they make it seem! Nice work on your cushions! I agree $20 is way better than $400. It looks like a very comfy couch!
ReplyDeleteJody
Great idea on the stuffing! I soooo need to do this with my back cushions, so I appreciate your tip on Walmart pricing! Whoohoo!!
ReplyDeleteThanks for linking up to SNS!
FJ Donna
We have been wanting to do this with our couch and love seat for a long time. Thanks so much for the tutorial! Can't wait to do ours now. It looks super simple.
ReplyDeleteHope you have a great day! Beth. :)
Happy to help ladies! I do have to say though, the fiberfil does scratch up your hands a bit (like fiberglass) so be sure to scurb them afterwards. Otherwise, you end up with itchy little hands with red splotches on them. Boo.
ReplyDelete