

When I was doing this project, I searched and search and searched for tutorials on how to upholster a cane chair with a round back. The only ones I could find were for square back chairs, so just a fair warning, I'm not a professional and I was learning as I went!
SUPPLIES:
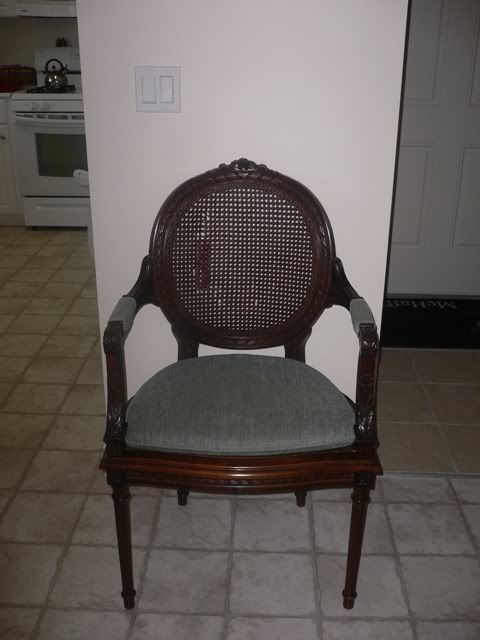
This was my little chair in the beginning.
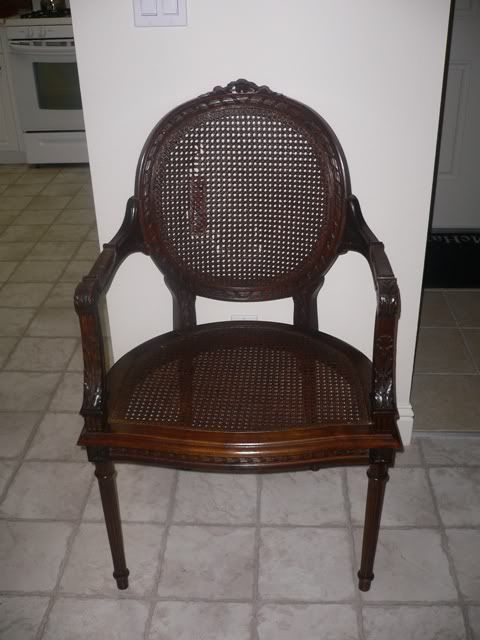
Remove all the old fabric and foam your piece may have. I found the best way was with a flat head screw driver, rubber mallet, and pliers. Using the old "hammer and chisel" method, it makes it easier to pry the staples loose from the wood.
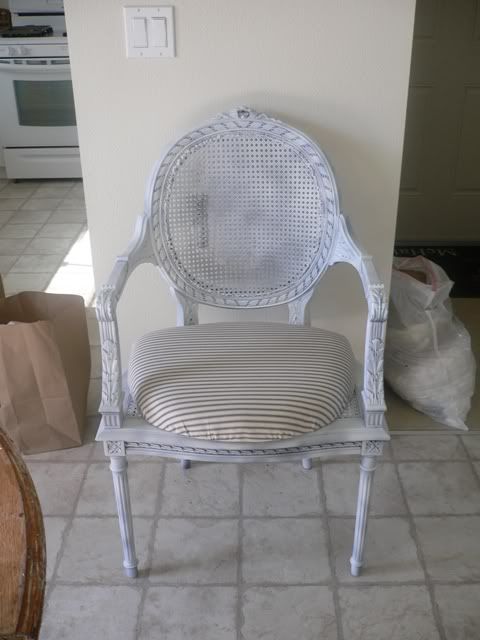
If you plan on painting, this would be the time to do it.
Using your wire cutters, remove the cane weaving from the back. Once the cane weaving is removed, it's time to trace out the round shape of your chair back. I used scrap cardboard for this. Cut out two pieces. Using your batting, trace and cut out the same circular shape (I think I got about four pieces out of two sheets of batting). This is the filling for your chair. Set these aside.
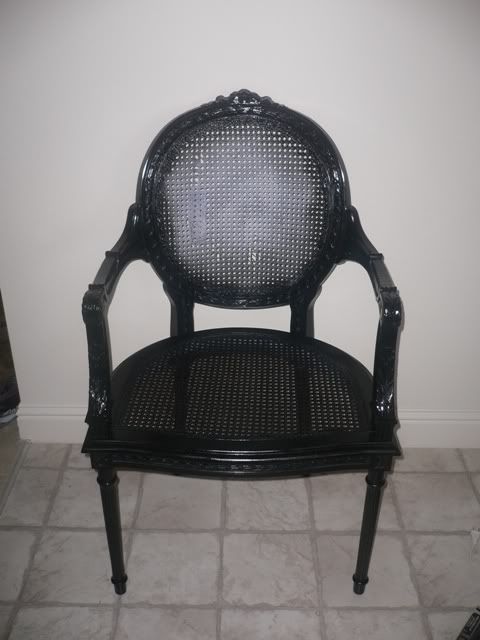
Next, cut out your fabric according to the size you need. Staple the fabric to the round frame of the chair. Make sure if your fabric has a pattern that it is centered, and straight. Don't be discouraged if it takes you a few tries to get it right. I definitely ended up with a few wrinkles here and there.
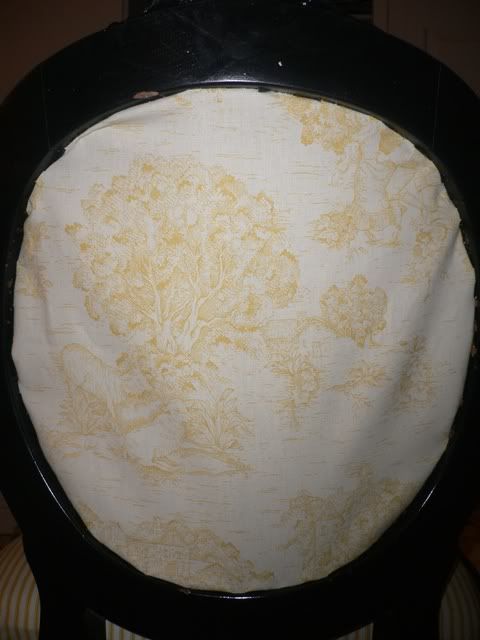
This is what it should (hopefully) look like from the front of the chair.
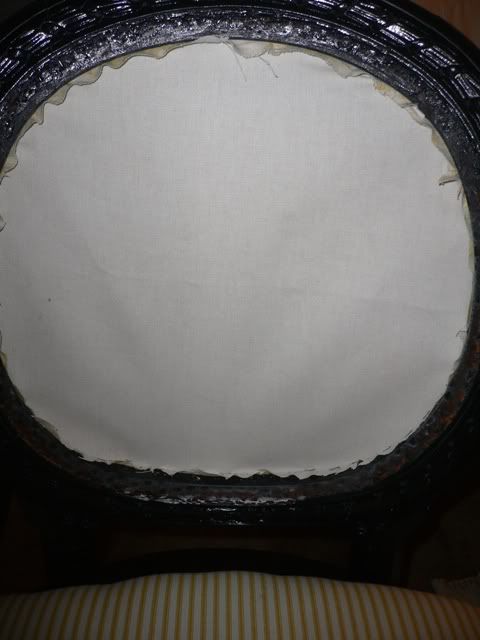
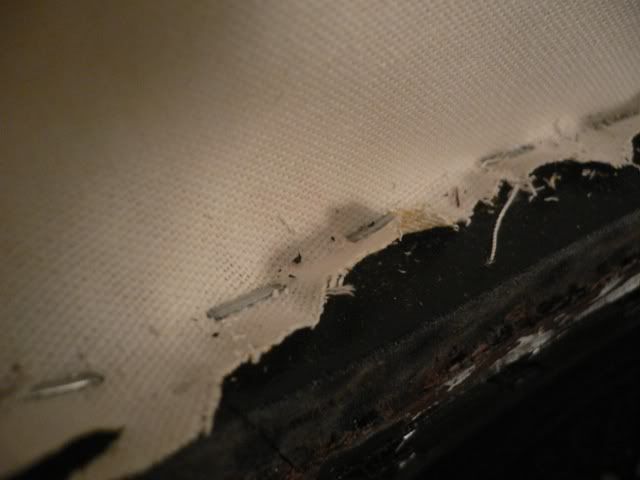
Trim off any excess fabric you may have.
I don't have photos of these next steps, so I'll try to break them down as best I can. Place your cardboard and batting on top of your back fabric. Arrange it however you'd like. I think I did a layer of batting, the cardboard, the rest of the batting, and the other peice of cardboard.
Once again, cut your fabric to size, this time, taking care to trim it down to size and shape. I used sewing pins to pin the fabric around the chair, just to give myself a guide for when I stapled.
Using your staple gun, staple the fabric around the chair frame, stopping before you staple it fully. Leave enough room for you to get your hand and arm inside. You'll be stuffing fiberfil into this opening.
Begin stuffing with the fiberfil, making sure to even it out so you have minimal lumps and bumps. Stuff the chair back until it's nice and full. Once you're satisfied with the firmness finish stapling the fabric to the frame.
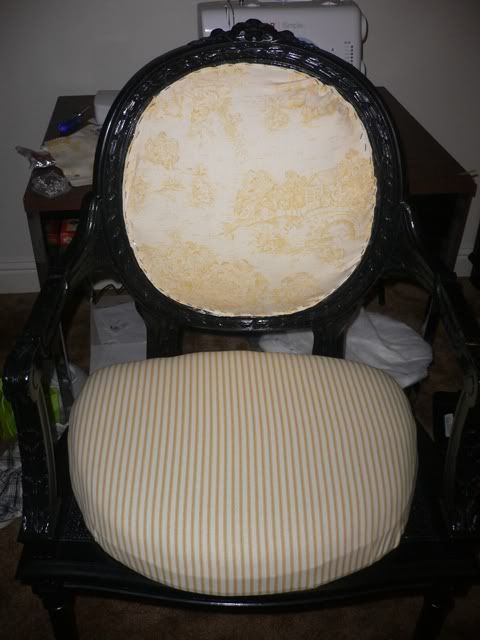
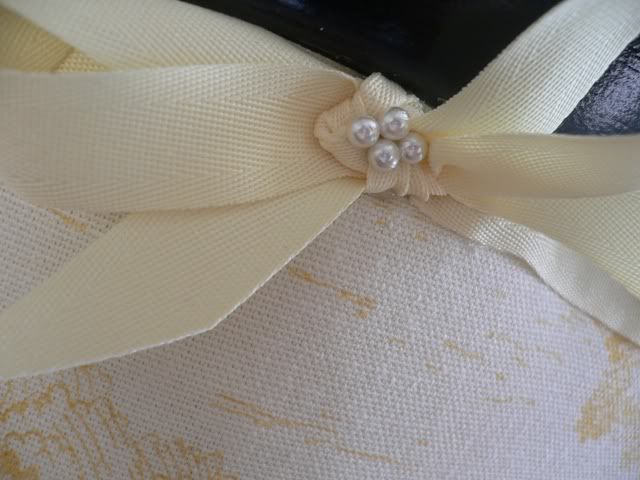
Now finish off your edges using ribbon, trim, or cording. You can also add a cute little bow!
I hope this helps you if you come across a lovely little cane chair in need of some TLC! To see my little chair in all her post-makeover glory or leave comments, click here.
I'll be linking this tutorial to Funk Junk's SNS #15.

No comments:
Post a Comment
Thanks for dropping by! I love comments and I read each and every one of them. You can also contact me by e-mail if you want to chat!
"Never miss an opportunity to make others happy, even if you have to leave them alone in order to do it."
~ Author Unknown
In other words: Be nice or I will delete you!