

You no longer have to stare at that ugly particle board backing that comes with your bookcase. I've seen this done with contact paper, wall paper, and even the bead board wall paper you can find at places like Home Depot. This method, uses wrapping paper.
SUPPLIES:
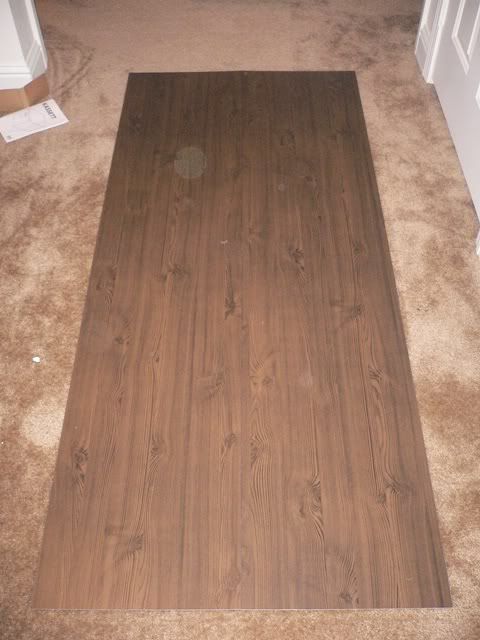
Start by laying out the back of your bookcase. In case there's any question about what we're working with here, this is what it should look like:
Okay? We're clear? Good. You can skip this step if you want to, but I find it helps. Unwrap your wrapping paper. If it's already cut into separate sheets, so much the better for you! If it's not, you'll have to do some measuring and cutting here. Using your books, lay out the wrapping paper and anchor the ends so that it has time to relax--working with the paper while it's still too tightly wound is just a pain!
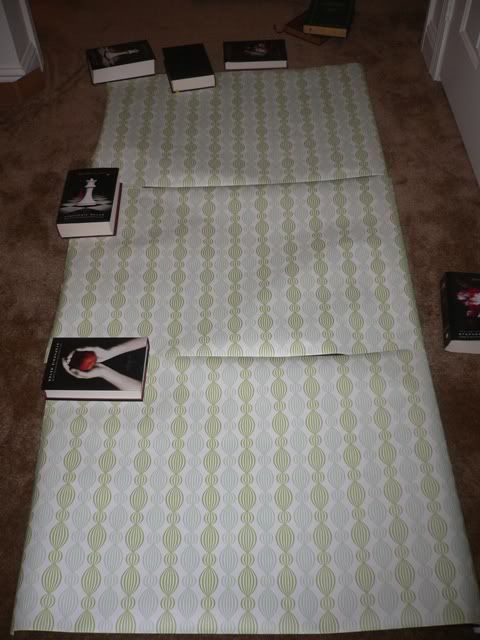
(Why yes, I do happen to have duplicate copies of the Twilight series! ;) One belongs to my sister.)
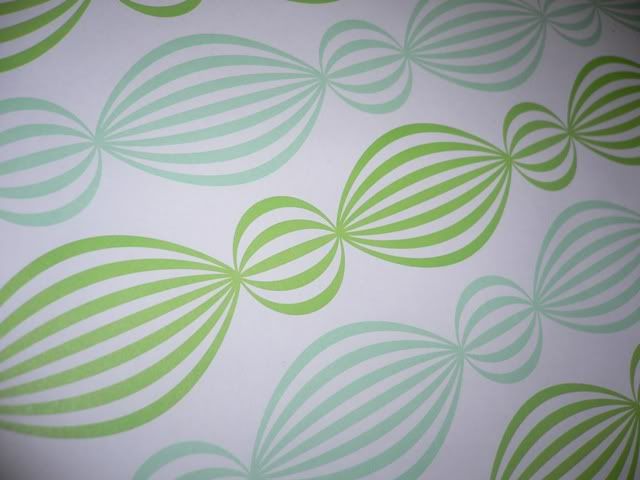
You may or may not be able to tell, but I used three sheets of the Martha Stewart paper. They were almost the exact perfect size for my backing with very little trimming needed.
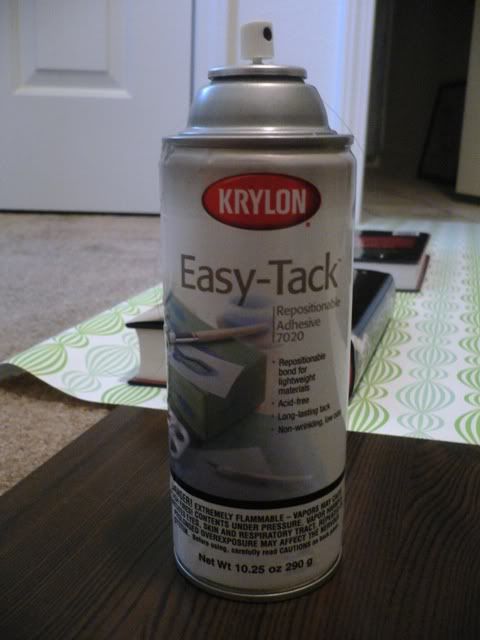
Once the paper has had time to loosen up, you can start spraying. Lay out your towel or drop cloth first, because spray adhesive gets everywhere no matter how careful you try to be!
Work in layers (if you have individual sheets) for the easiest execution. Keep one end of your paper anchored with books while you lift the other side and spray the underside of the paper. Sorry there's no photo of this--both my hands were kind of busy! ;)
Once you get a good coating on there (don't saturate the paper!) smooth out, pressing firmly into the back of the bookcase. Smooth out all the air bubbles and anchor again with your books.
Repeat for the other side.
Repeat for each layer, anchoring with books all the way around.
You don't need to wait for the adhesive to dry before starting the next step. Let your glue gun heat up nice and hot. Working around the edges, glue the paper to the back of the bookcase. I used an extra book to smooth and press the glue out because it was so hot to the touch, even through the paper. This step is important even though it seems redundant. The spray adhesive doesn't create a strong enough bond between the wrapping paper and the paper particle board, which is why the hot glue is necessary.
Now, let everything dry thoroughly.
Once your piece is dry, you can use your Xacto knife to trim off any excess paper that hangs over your backing.
Put your backing on your bookcase and voila!
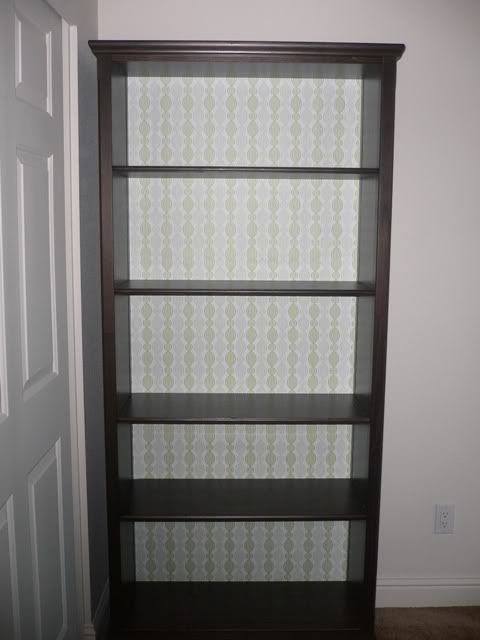
You've just given that store bought bookcase a face lift and some much needed personality! I couldn't believe how this one little thing took our bookcases from looking "study serious" to "bright and light" in a few easy steps.
And just because I can't get over that gorgeous paper, here's a nice close up of those yummy colors!
You can see more of this project in this post, and the final results in this post.

No comments:
Post a Comment
Thanks for dropping by! I love comments and I read each and every one of them. You can also contact me by e-mail if you want to chat!
"Never miss an opportunity to make others happy, even if you have to leave them alone in order to do it."
~ Author Unknown
In other words: Be nice or I will delete you!