

This pillow was inspired by all those gorgeous grain sack pillows out there--you know? The ones that go for about $60 a piece? Heck, even grain sack fabric is about $60 per yard!

image from Apartment Therapy
The funny thing is, I had set about doing this project before I realized that everyone else out there was DIY-ing them too! But in case you want to follow my tutorial, here's how we do it at Two Nuts in a Shell.
SUPPLIES:
Fabric (I bought a simple cotton fabric from JoAnn's)
Sewing machine (or no-sew supplies)
Yard stick and pen
Tape (painters, packers, any kind)
Craft paint and sponge brush
Pillow form
Pillow closing apparatus (zipper, buttons--I used Velcro) :)
First things first, determine your pillow size. I made an 18x18-inch size. Measure using your yardstick, adding two inches onto the size for your hem. So your square should actually be 20x20-inches. If you like your pillows plumper and fuller, you can always cut out your exact pillow size. The hems will make the cover a little more snug around the pillow.
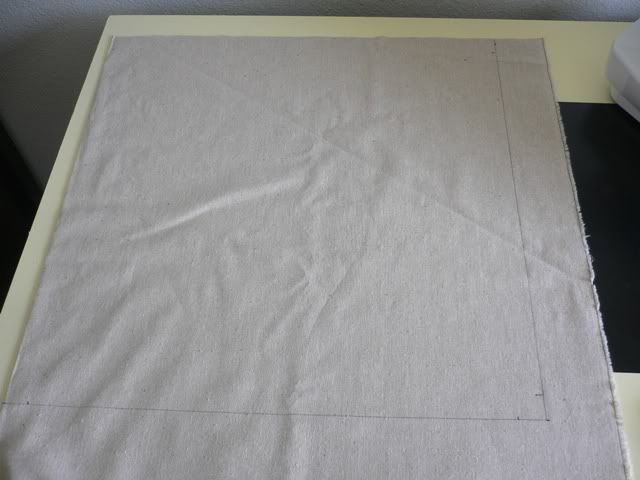
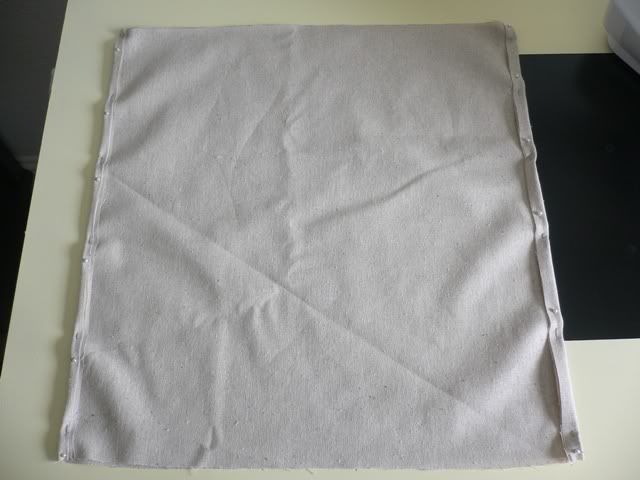
Cut out your square and pin the side hems in. Don't worry about the tops and bottoms yet. I find it's easier to do the sides in pairs.
Next, run your fabric through your sewing machine, or use your no-sew supplies to hem the sides. Make sure that you're sewing the "wrong sides" facing the outside. This usually only matters of you're using a fabric with a pattern, but with our simple cotton it doesn't make much of a difference. Just make sure that your pen or pencil marks will end up on the inside of the cover.
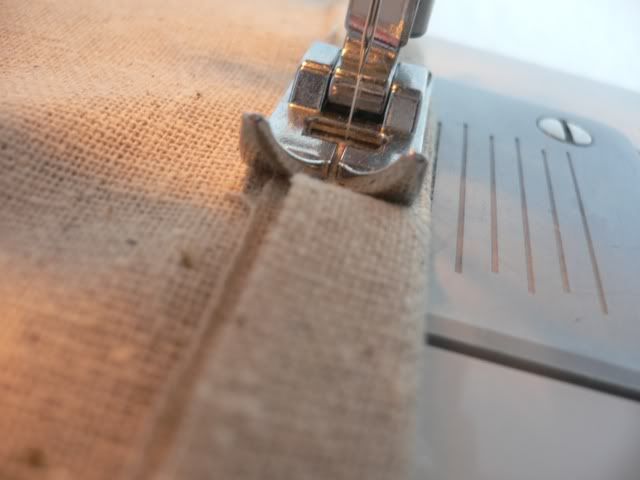
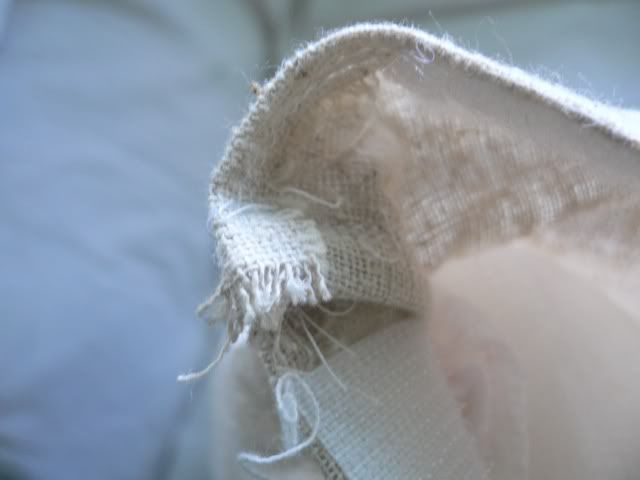
(Isn't the close up of this fabric gorgeous?! I love how closely it resembles an actual grain sack!)
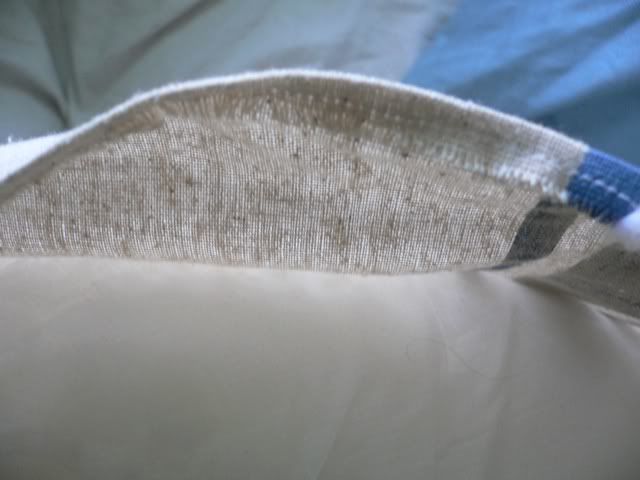
When it comes time to do your other sides, I sewed about 3/4 of the way down, stopped, hemmed the bottom portion of my pillow, and then finished stitching the sides. Since I didn't use a zipper, I needed to finish off the hems so they wouldn't fray. But essentially the bottom portion of my pillow is open. Hopefully, these photos will help (a little).
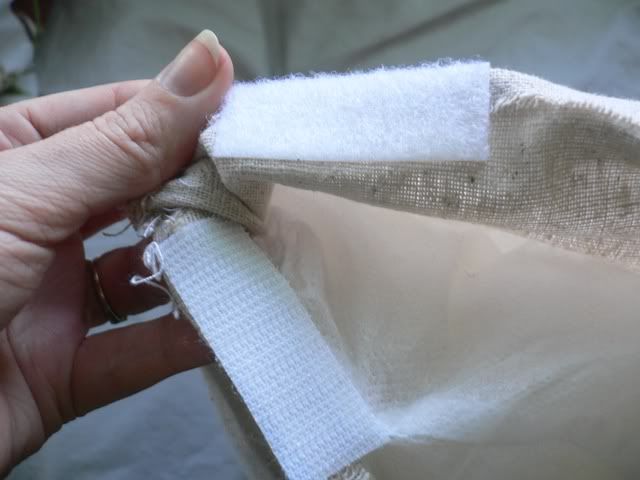
Attach your Velcro for closure. Any craft store sells sticky Velcro. I always attach my two sides and cut them as one so they're the same size.
Next: painting. Before we start on our stripes, make sure you separate your fabric using cardboard or paper bags. This keeps the paint from seeping through to the other side. I also made sure to put a little piece of cardboard at the top and have a little piece of paper bag sticking out of the bottom so I could carry my paint all the way to the edges.
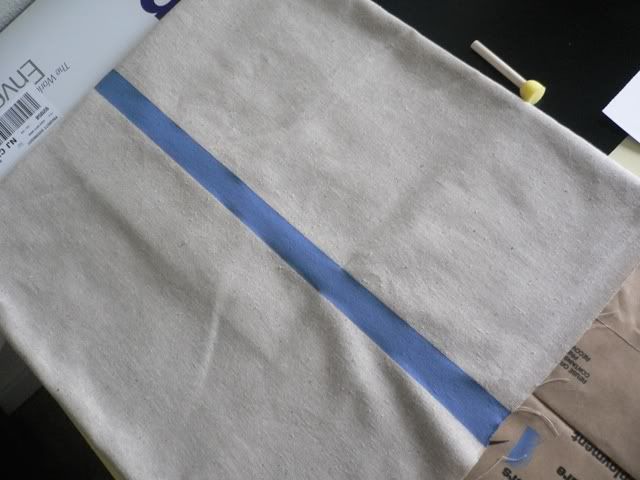
If you did an 18x18-inch pillow, the center of your pillow will be between 8.5-inches and 9.5-inches. Using your yardstick, tape off your center stripe. Press down firmly to keep the paint from seeping through.
Using a stencil brush (they're those round spongy ones), gather some paint making sure to blot off any excess. I used a pretty blue-grey paint called Sterling Blue by Folk Art.
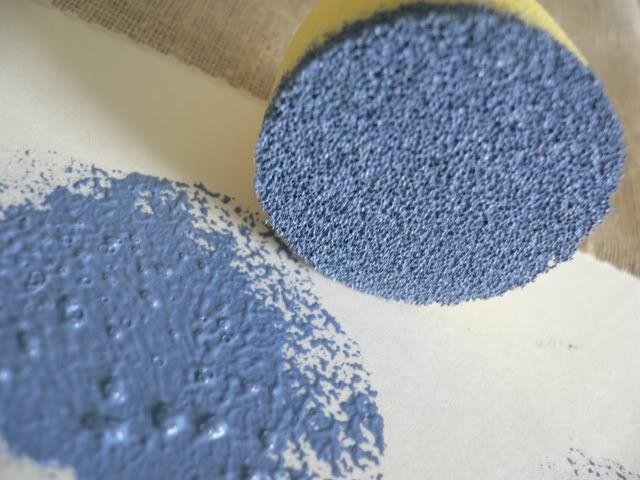
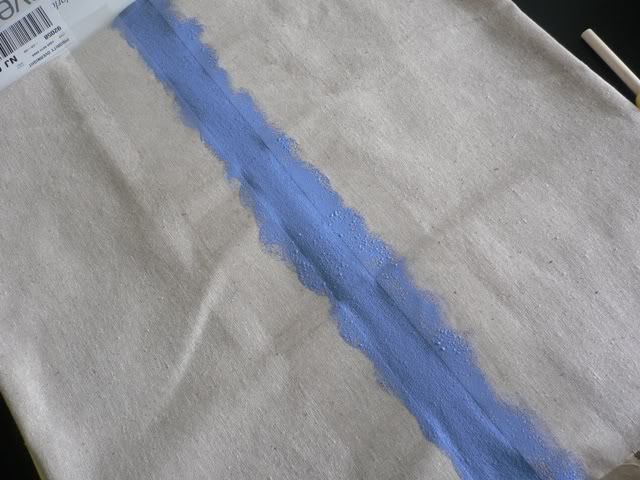
Start blotting the paint onto your fabric. Don't use too much paint. Seriously, a light hand is the way to go here.
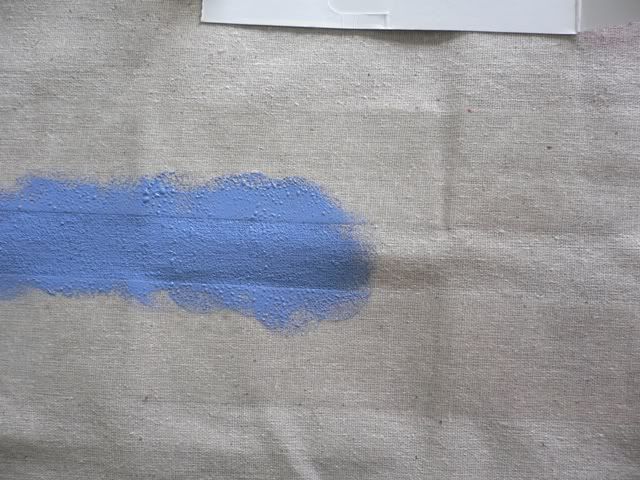
Continue blotting until you've filled in your stripe. You can also go back and fill in any blank spots. Don't worry about it looking perfect--real grain sack isn't!
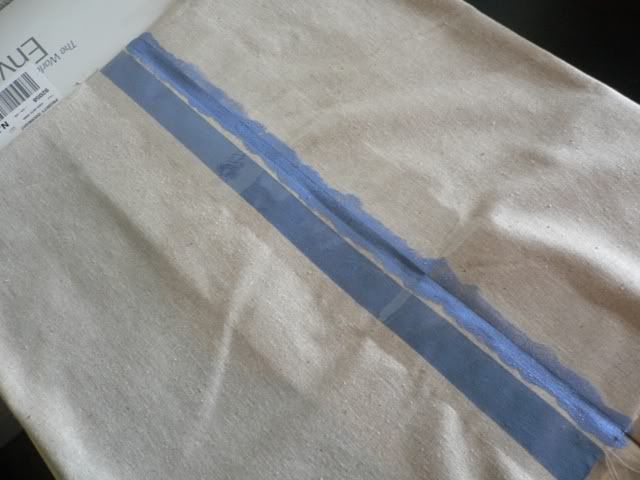
Once the paint is dry to the touch, go ahead and remove your tape. Go slowly so that any excess paint on your tape isn't cast off onto your fabric.
(Pretend that my pillow is already closed. I wasn't sure how I was going to close the pillow--zippers go on first, not last, oops!--and I didn't want to wait to paint the stripes on.)
Repeat these steps for your two smaller stripes. I just eyeballed mine (which unfortunately made them just a little uneven, but again, perfection is not the point here).

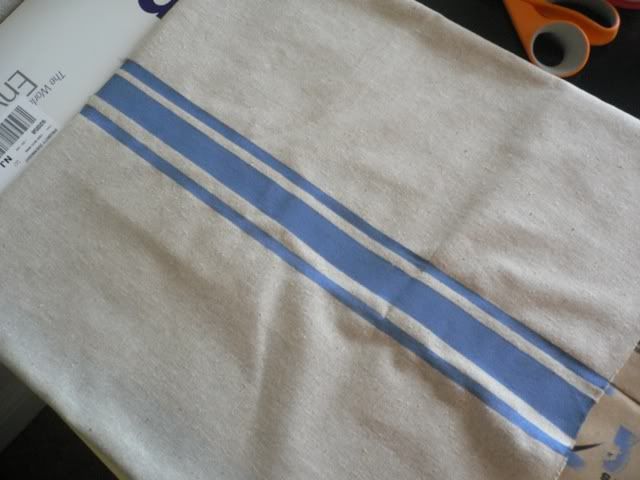
Once everything is dry, put your pillow back inside and display with pride! You just saved a bundle of money (overall this project cost me $6.28)!

image from Apartment Therapy
The funny thing is, I had set about doing this project before I realized that everyone else out there was DIY-ing them too! But in case you want to follow my tutorial, here's how we do it at Two Nuts in a Shell.
SUPPLIES:
First things first, determine your pillow size. I made an 18x18-inch size. Measure using your yardstick, adding two inches onto the size for your hem. So your square should actually be 20x20-inches. If you like your pillows plumper and fuller, you can always cut out your exact pillow size. The hems will make the cover a little more snug around the pillow.
Cut out your square and pin the side hems in. Don't worry about the tops and bottoms yet. I find it's easier to do the sides in pairs.
Next, run your fabric through your sewing machine, or use your no-sew supplies to hem the sides. Make sure that you're sewing the "wrong sides" facing the outside. This usually only matters of you're using a fabric with a pattern, but with our simple cotton it doesn't make much of a difference. Just make sure that your pen or pencil marks will end up on the inside of the cover.
(Isn't the close up of this fabric gorgeous?! I love how closely it resembles an actual grain sack!)
When it comes time to do your other sides, I sewed about 3/4 of the way down, stopped, hemmed the bottom portion of my pillow, and then finished stitching the sides. Since I didn't use a zipper, I needed to finish off the hems so they wouldn't fray. But essentially the bottom portion of my pillow is open. Hopefully, these photos will help (a little).
Attach your Velcro for closure. Any craft store sells sticky Velcro. I always attach my two sides and cut them as one so they're the same size.
Next: painting. Before we start on our stripes, make sure you separate your fabric using cardboard or paper bags. This keeps the paint from seeping through to the other side. I also made sure to put a little piece of cardboard at the top and have a little piece of paper bag sticking out of the bottom so I could carry my paint all the way to the edges.
If you did an 18x18-inch pillow, the center of your pillow will be between 8.5-inches and 9.5-inches. Using your yardstick, tape off your center stripe. Press down firmly to keep the paint from seeping through.
Using a stencil brush (they're those round spongy ones), gather some paint making sure to blot off any excess. I used a pretty blue-grey paint called Sterling Blue by Folk Art.
Start blotting the paint onto your fabric. Don't use too much paint. Seriously, a light hand is the way to go here.
Continue blotting until you've filled in your stripe. You can also go back and fill in any blank spots. Don't worry about it looking perfect--real grain sack isn't!
Once the paint is dry to the touch, go ahead and remove your tape. Go slowly so that any excess paint on your tape isn't cast off onto your fabric.
(Pretend that my pillow is already closed. I wasn't sure how I was going to close the pillow--zippers go on first, not last, oops!--and I didn't want to wait to paint the stripes on.)
Repeat these steps for your two smaller stripes. I just eyeballed mine (which unfortunately made them just a little uneven, but again, perfection is not the point here).
Once everything is dry, put your pillow back inside and display with pride! You just saved a bundle of money (overall this project cost me $6.28)!

Very cute! Nice tutorial! Love knock-offs~means more money in my pocket!
ReplyDeleteThanks for sharing,
Jody
Excellent idea; thank you!
ReplyDelete