

I hope you were able to relax over the holiday! We sure didn't! I am determined to get our house in order--a feat that was helped along greatly by my to-do list in 2009. It's been updated and revamped a little for this year, but we've already dove in head first and got a lot accomplished this weekend!
First things first--about a month ago, I started looking for a new area rug. We had two 5x8-foot rugs pushed together to make one large area rug. Aside from the size issue, it was beige and just plain boring boring boring.
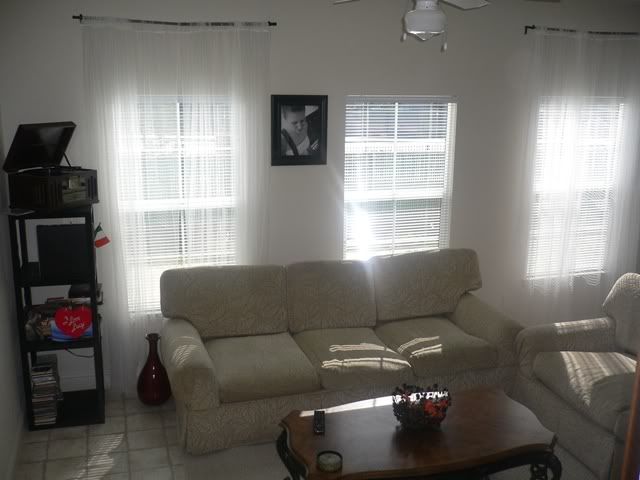
Notice the very obvious seems. I hated how it looked.
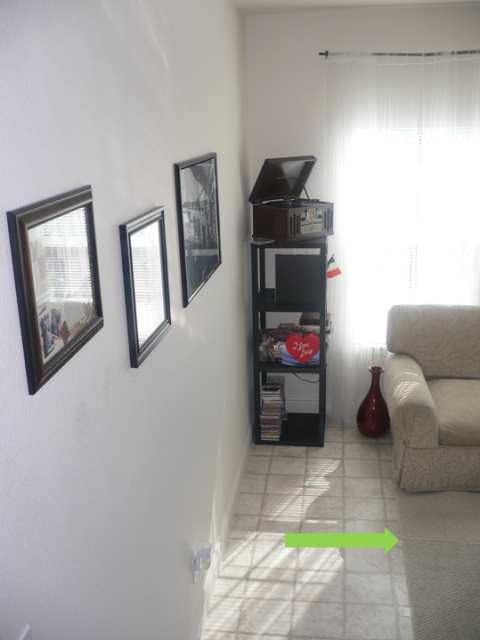
Luckily, my search didn't last long. I found a gorgeous rug at Ballard Designs. The full 8x10-foot rug was only $250--a price I still haven't been able to match or beat since! Plus, it's a delicious hand braided chocolate jute rug and adds just the right amount of texture and color to our living room.

For anyone considering jute rugs for indoors--do it! I was worried about how it was going to feel under our bare feet, but it actually has a soft and fuzzy quality to it. I can't speak for all jute rugs, but this one is an A+!
Once our coffee table is painted and couches are slip covered, the whole room will (hopefully) look much more crisp and put together...
...much like our office is becoming! You can see the pitiful little before here and the "make-over" we scrounged up here. Using Christmas money and gift cards our family was generous enough to bless us with, we've made leaps and bounds in this little room.
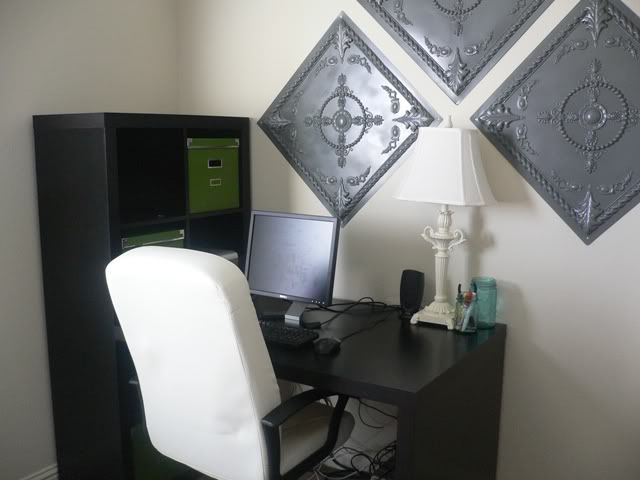
(I've never desired wireless accesories more than after I saw this photo for the first time!)
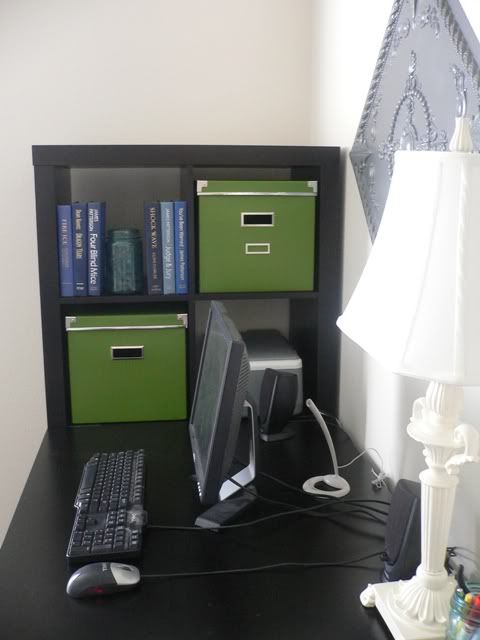
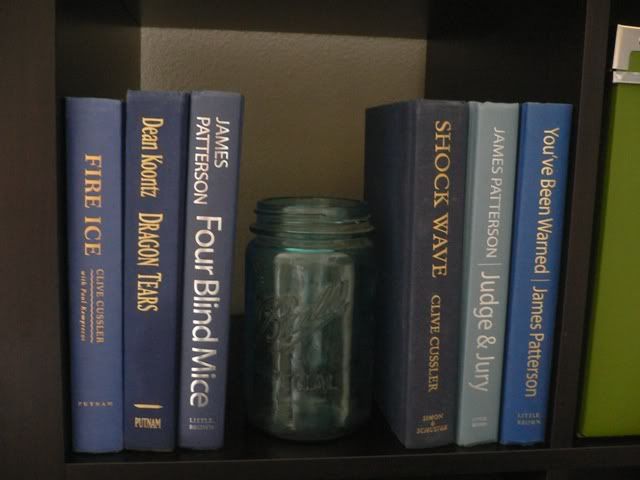
To take the color scheme throughout the room, we bought green Kassett storage boxes from IKEA, gathered a few of our books with blue covers, and snuck in one of my Ball mason jars I bought up in Oregon.
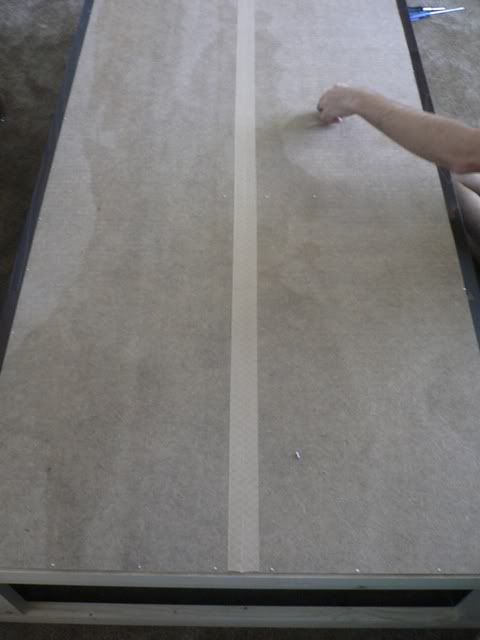
Of course, the inspiration for this color motif was the gorgeous Martha Stewart wrapping paper I'd seen and planned to use on our bookcases. I was on pins and needles watching Jason nail in all together--I was so anxious to flip it over and see how it looked!
And I LOVED it!
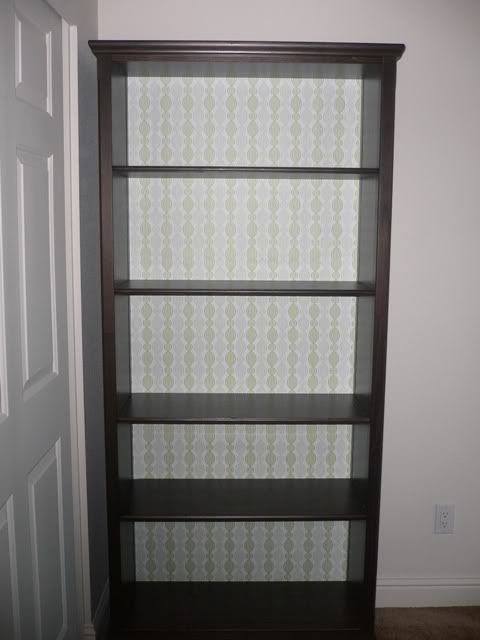
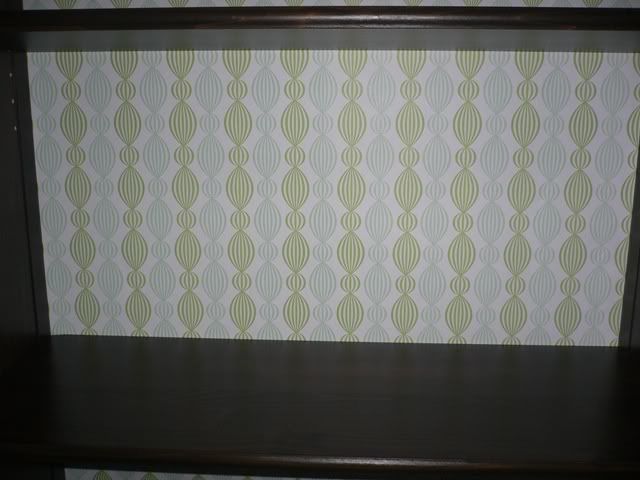
The colors are so fresh and it makes the entire thing so much brighter! I can't wait to apply the paper to our other bookcase as well. Then, comes the really fun part: accessorizing! ;)
So, what do you think of our up and coming little office? Not too shabby for two kids on a budget, huh? Once everything is finished, I'll do a grand unveiling with before and after shots so we can see the journey its taken.
Do you have any big plans for 2010?

First things first--about a month ago, I started looking for a new area rug. We had two 5x8-foot rugs pushed together to make one large area rug. Aside from the size issue, it was beige and just plain boring boring boring.
Notice the very obvious seems. I hated how it looked.
Luckily, my search didn't last long. I found a gorgeous rug at Ballard Designs. The full 8x10-foot rug was only $250--a price I still haven't been able to match or beat since! Plus, it's a delicious hand braided chocolate jute rug and adds just the right amount of texture and color to our living room.
For anyone considering jute rugs for indoors--do it! I was worried about how it was going to feel under our bare feet, but it actually has a soft and fuzzy quality to it. I can't speak for all jute rugs, but this one is an A+!
Once our coffee table is painted and couches are slip covered, the whole room will (hopefully) look much more crisp and put together...
...much like our office is becoming! You can see the pitiful little before here and the "make-over" we scrounged up here. Using Christmas money and gift cards our family was generous enough to bless us with, we've made leaps and bounds in this little room.
(I've never desired wireless accesories more than after I saw this photo for the first time!)
To take the color scheme throughout the room, we bought green Kassett storage boxes from IKEA, gathered a few of our books with blue covers, and snuck in one of my Ball mason jars I bought up in Oregon.
Of course, the inspiration for this color motif was the gorgeous Martha Stewart wrapping paper I'd seen and planned to use on our bookcases. I was on pins and needles watching Jason nail in all together--I was so anxious to flip it over and see how it looked!
And I LOVED it!
The colors are so fresh and it makes the entire thing so much brighter! I can't wait to apply the paper to our other bookcase as well. Then, comes the really fun part: accessorizing! ;)
So, what do you think of our up and coming little office? Not too shabby for two kids on a budget, huh? Once everything is finished, I'll do a grand unveiling with before and after shots so we can see the journey its taken.
Do you have any big plans for 2010?

The rug was a PERFECT addition to your home! I love your color combination with the office and bookshelf! The paper is beautiful! It's hard to see what you did, it looks like one sheet on the front with no seam, but the back looks like it's 2 seperate sheets being nailed down. I plan on doing the same thing, can you offer any tips?
ReplyDeleteYour room looks incredible so far! I can't wait to see it all put together!!
@Kati--Actually, the back that you see being nailed down is the regular back to the bookcase. You know? That partical board stuff that they come with? Before Jason nailed it on, I used spray adhesive and hot glue to attach the wrapping paper to it, then we just put the bookcase together like normal. I'm working on a tutorial for it! :)
ReplyDeletenice! I can't wait to see the tutorial! I have been waiting to do this, and have had several options: wrapping paper; cloth; fake beadboard; beadboard wallpaper. Thank you for replying!
ReplyDeleteHave a wonderful weekend!
thank you for posting that! I was wracking my brain trying to think of why there was the seam down the back of the board in the middle, DUHHHH, LOL, I was a little slow there! I guess I pictured it long ways down. Is the front seamless or do the shelves just so happen to cover where the seams would have been? Sorry for so many questions.
ReplyDeleteNo problem! :) The paper is NOT seamless since I used sheets rather than one whole roll. I think there are only two visable seams--one will be covered by books, and the other one is towards the top of one of the shelves. And since it's patterned, you'd only notice the seams if you were really looking!
ReplyDelete